I was recently compelled to move from the town-house that I had been renting. I then had to find a new place to live post-haste. This frenzied search for real estate is the reason for my lapse in posts, as well as any measurable progress on my numerous projects.
Luckily, I was able to find a place to live in the right price range, and in the very community in which we wanted to live! The previous owner had moved out over a decade prior to it being put on the market, and it had been sitting vacant all these years. Naturally, the property needed quite a bit of TLC. The town-home is a 50 year old property, and nearly completely original. There were things needed to be fixed and many opportunities for upgrades. And if one is going to go through the trouble to fix something up, one may as well go whole-hog!
Things that need to go
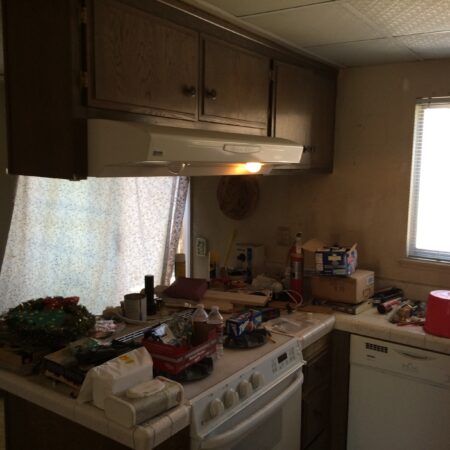
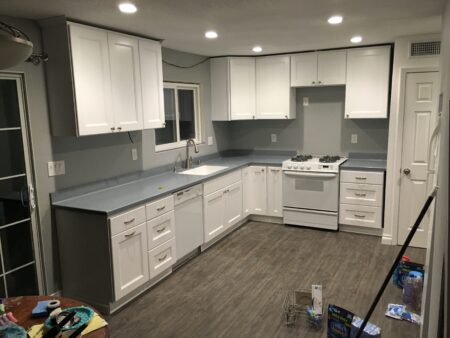
The kitchen needs to be re-done. It had the original cabinets. The configuration was a small u shaped kitchen. It clearly segregated the dining area from the cooking area. Due to the size constraints, the oven and range were in the peninsula. There was an opportunity to improve the space to make it feel more open and modern.
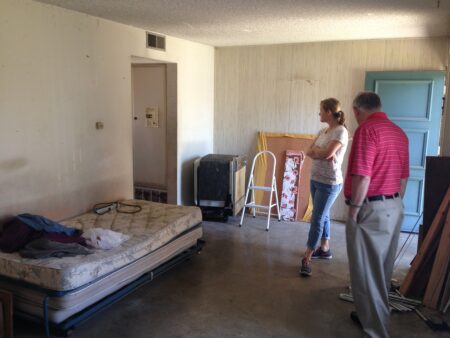
The stairs opened into both the dining room and the living room on the bottom floor. The opening was neat, but we would have a lot more wall space if it only opened into one room.
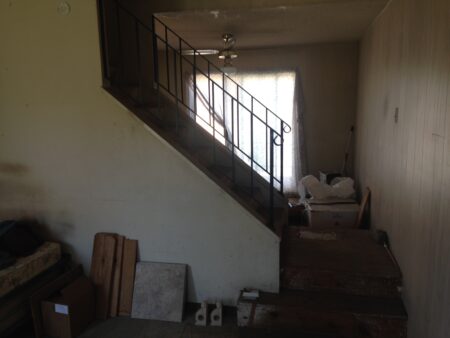
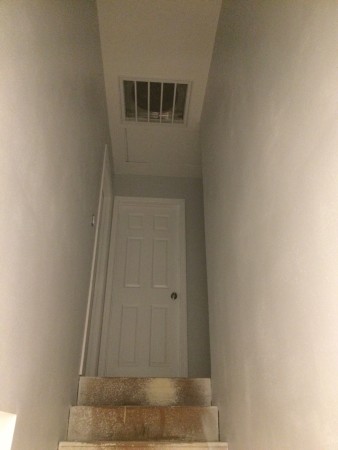
The stairs has a large dead space above it that isn’t being utilized. We will either utilize it or get rid of it so it feels more open.
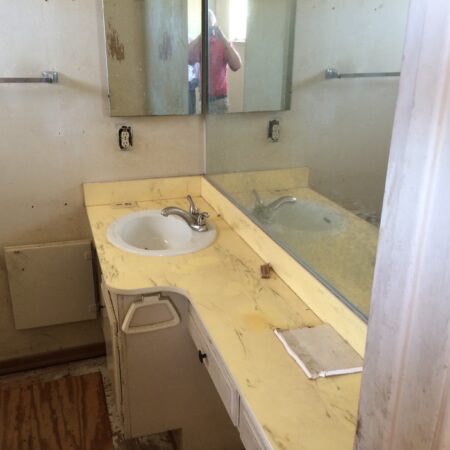
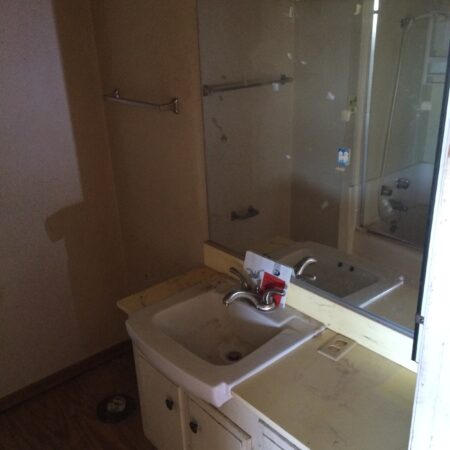
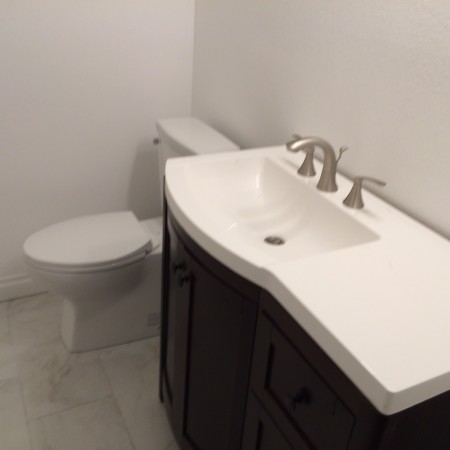
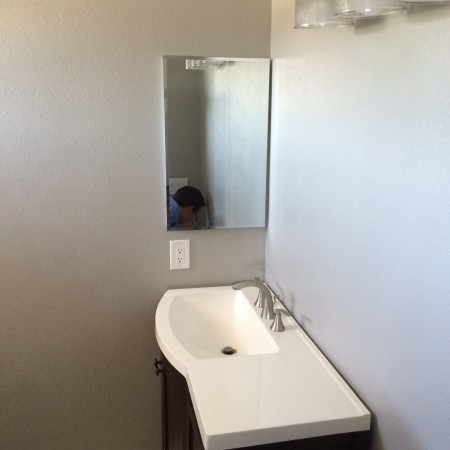
The bathrooms appeared to be left in a mid-remodel state. No flooring, no toilets, yellowed counter-tops. Another opportunity for improvement!
Things that need to change
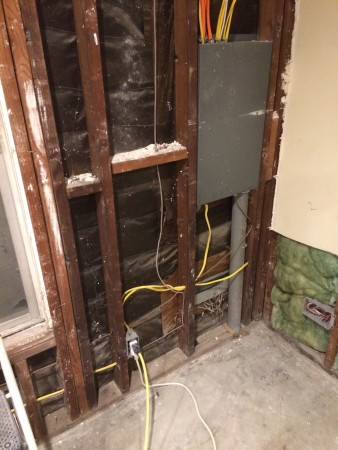
Aluminum wiring. The property was built during the 60’s when aluminum wiring was briefly the norm. We will replace it with copper, and save ourselves the fire-risk! This also gives us the benefit of being able to wire our light switches so that they behave the way we would expect them to.
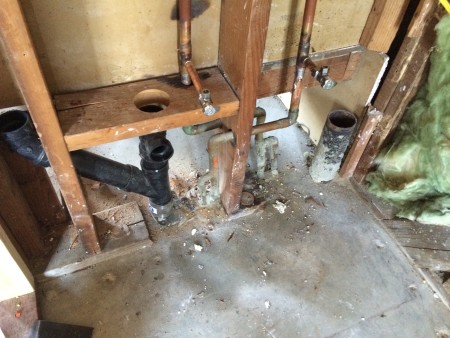
ABS plumbing will replace the outdated cast iron plumbing. No old sewage for us to contend with!
Things that need to be added
The original plans for our unit that we found at City Hall showed that there was a half bath downstairs. Now there is not! But there soon will be…
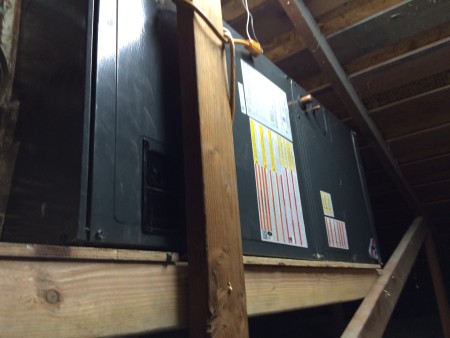
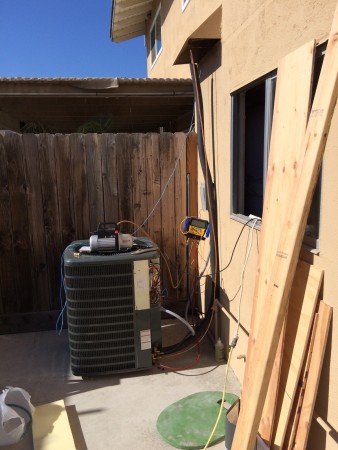
It gets hot here. Really hot. We had a tough time during some of the summer months at our old town-home. We don’t want to repeat that, so we will put in air-conditioning!
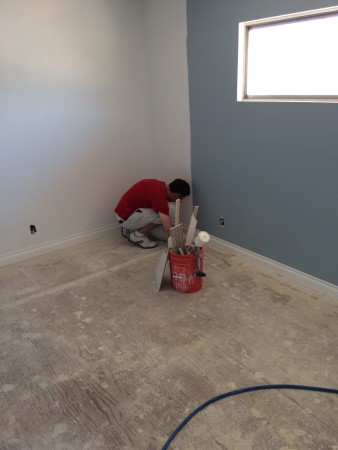
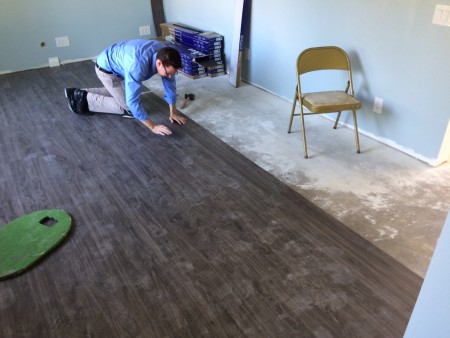
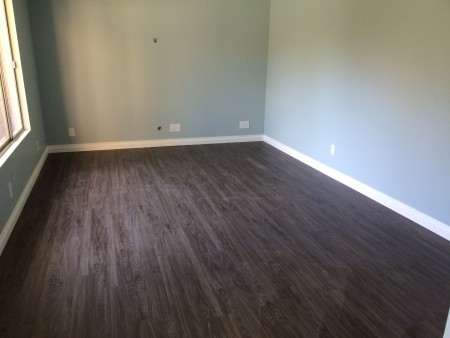
Flooring. All the flooring is completely absent. We will be going with something that looks like wood, as well as carpet.
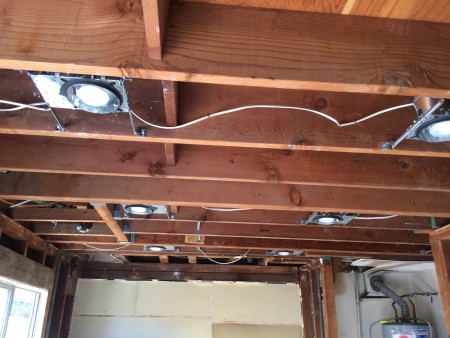
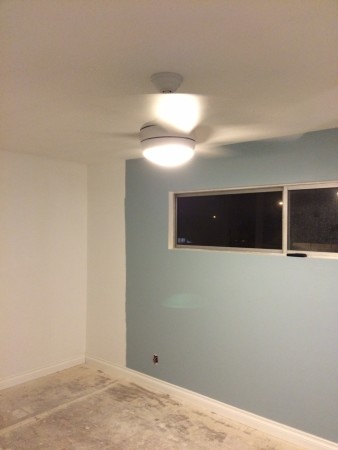
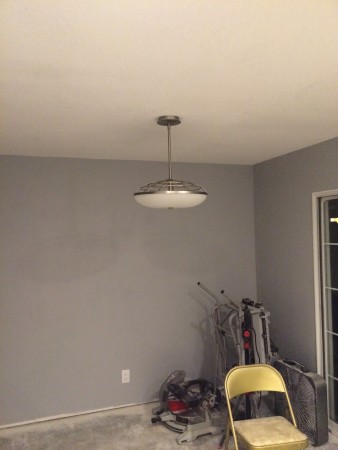
Lights. Older houses usually have no built in lights; just sockets that are connected to the switches. But no more! Recessed lighting, and ceiling fans will adorn this old house!
Time frame
Well, there isn’t much time to get this all done. The goal will be three weeks. This is hopelessly optimistic, but still worth shooting for. All of the work will be done by… Well… My dad, and me, and anyone who is willing to help. The following posts will follow our progress with this seeming impossible task. I’m sure we will learn lots along the way.
Week 1

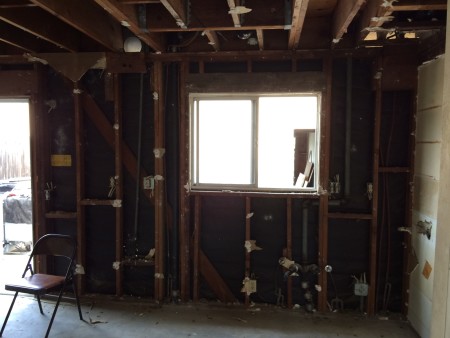
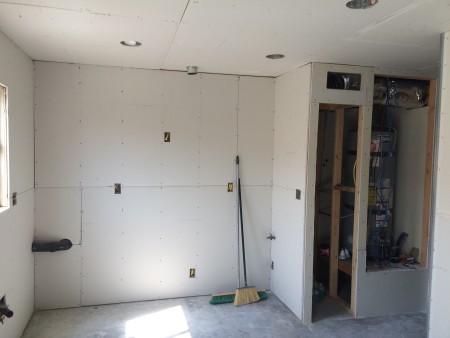
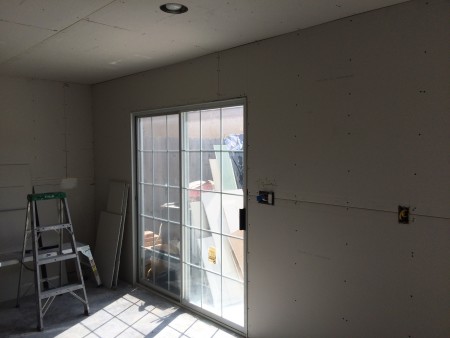
I took this entire week off from work to… work on this project. The main focus this week was tearing into the walls, and getting it ready to put back together.
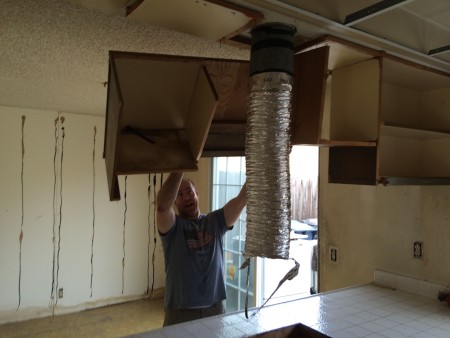
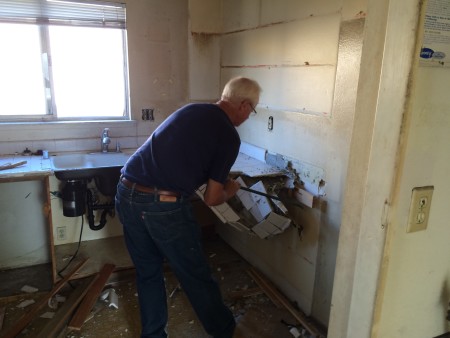

We got rid of the old kitchen and bathrooms pretty quickly and easily. No surprises there. We proceeded to remove all the drywall on exterior walls, because there is no insulation. No wonder it gets so hot! This also gave us easy access to wires and pipes. We removed the ceiling too, as it was necessary for all the wiring as well.

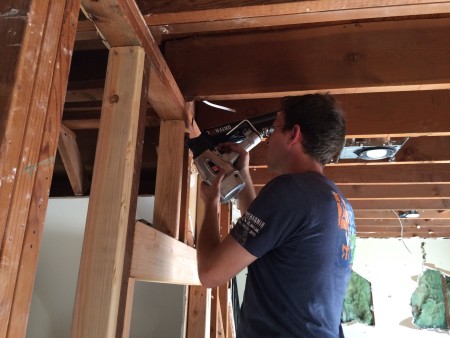
I figured out where all the lighting would go, and put in the fixtures accordingly. I was able to run wire with the help of my friends while my dad masterminded the whole electrical operation and wired up the main fuse box.
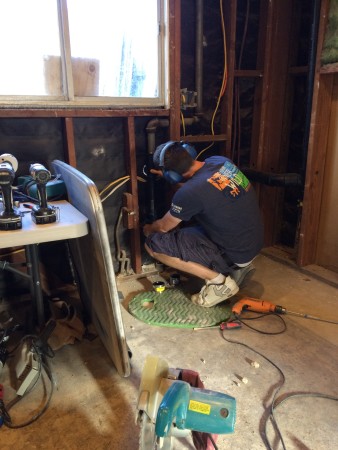
We got the air conditioning unit in place and (temporarily) installed. This was a bit difficult because it didn’t entirely fit in the attic as we had planned. We had to remove the attic stairs, and notch out one of the rafters with a sawzall in order to shimmy it into place. Once in place, we all helped run the copper lines to the unit outside and then dad charged it up. Now we can work in the cool! The plumbing for the condensate line won’t be installed until later, nor will the return be put in properly until we have time down the road.
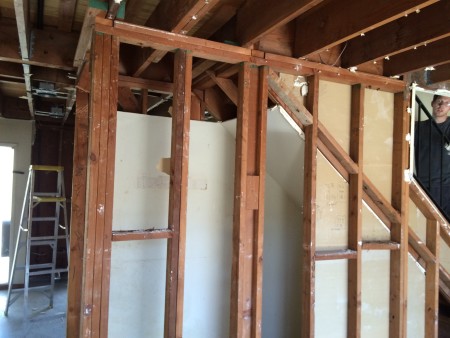
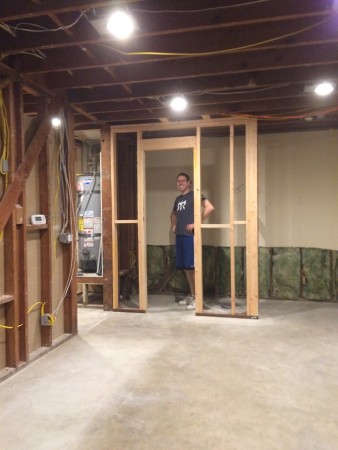
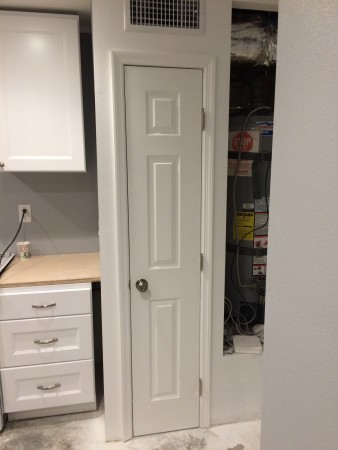
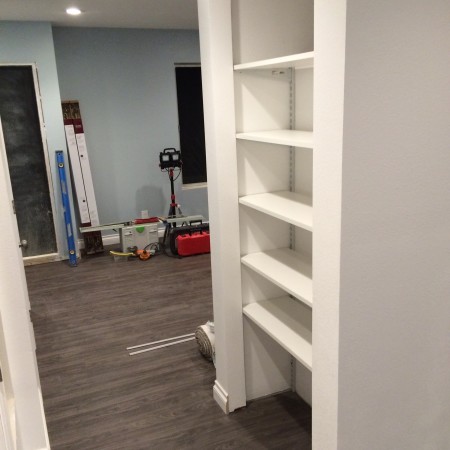
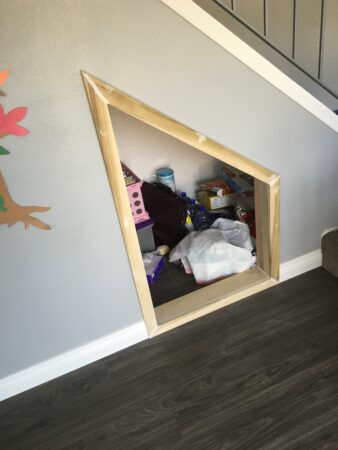
The area under the stairs appears to have been underutilized space for most of it’s life. I am told that it was the habitation of the former owner’s duck. We reworked it from being one closet to being a pantry, refrigeration alcove, and a storage space. We had to add in some walls, and remove some 2x4s. A large 6×4 header was inserted with the appropriate amount of jack studs in order to preserve the structural integrity of the walls.

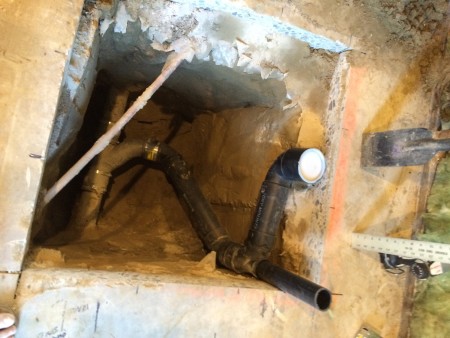
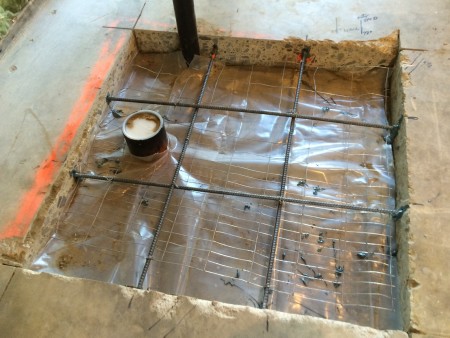
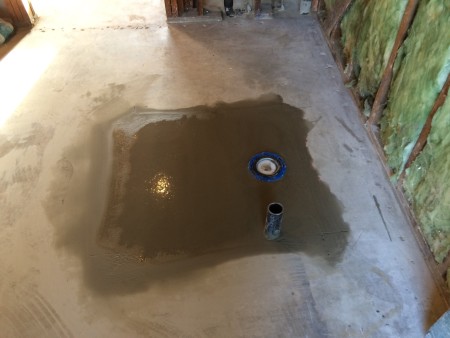
The last thing that we finished this week was getting the plumbing installed for the half bath. This involved cutting away the concrete, digging 3 feet down to the sewer pipe, and adding a y junction that comes up to the toilet. This had to be filled back in with dirt, then a layer of plastic, and finally a layer of concrete with re-bar and chicken wire embedded there-in.

We got quite a lot done in just 6 days!
Week 2
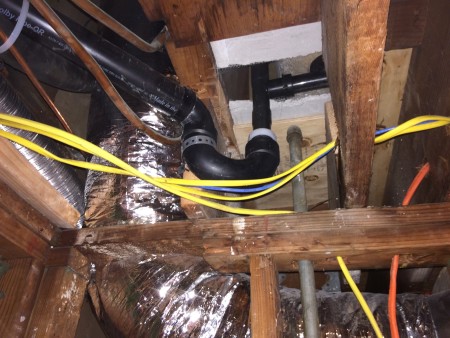
This week, we focused a lot on plumbing. We began to remove the exposed iron sewage pipes in order to replace it with the newer ABS pipes. Most of the pipes above the ground all the way to the fixtures were replaced.
More wiring was run from the breaker to the outlets throughout the hose. In the bedrooms, we had to put in mounts for ceiling fans. This was an easy task because the attic gives us direct access to the ceiling sheet rock.
The half bathroom downstairs got fitted with walls. Nothing tricky there. We used pressure treated lumber on the base, which gets nailed into the concrete using a RamSet (powdered nail gun). The door for the bathroom got some of the beefy 4×6 header left over from the stairs modification last week. Nothing wrong with over-engineering…
A new copper line had to be run from the bathroom over to the refrigeration alcove for a water supply line for a future refrigerator. We also wired it up for power. A second supply line was run from the sink to the other end of the 1/2 bath for the toilet supply line.
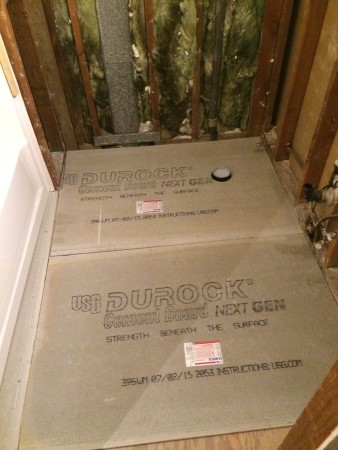
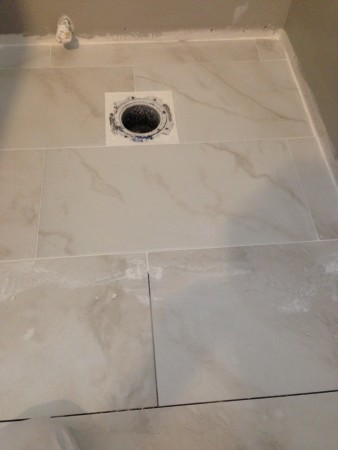
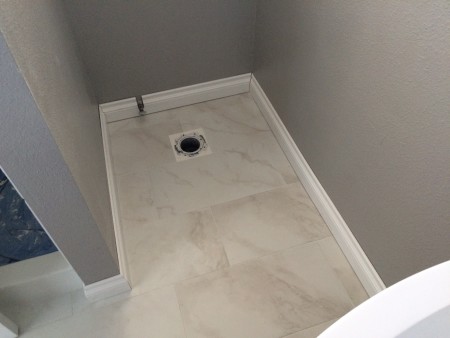
In the upstairs bathroom, we laid some concrete board (1/4 inch) for the tile to be set on. The only other modification in the upstairs bathroom was in the master bath. The original bathroom had a corner type shower stall with 2 walls. We changed this to be a booth type shower with 3 walls. This required adding a wall to the bathroom to separate the toilet from the shower.
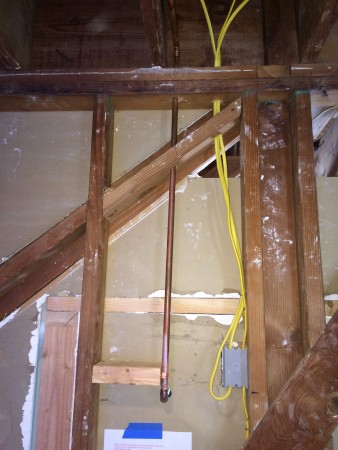
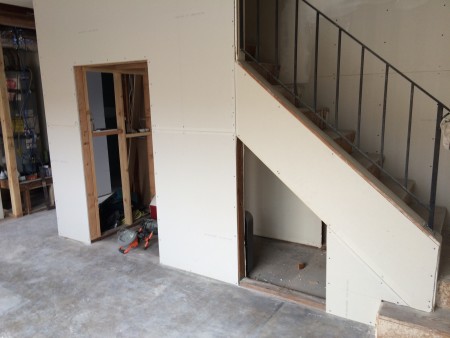
The stair well was a mystery. For some reason, the stairs had a sloping ceiling that (kind of) followed the slope of the stairs. It made it feel confining, and even more baffling, was that the space was completely unutilized behind. We had to knock it out last week in order to get the new bathtub up the stairs. This week, I made a wall/platform to enclose a storage space that will be accessible from the master bedroom closet. The remainder of the stairwell will be open so it doesn’t feel so claustrophobic.
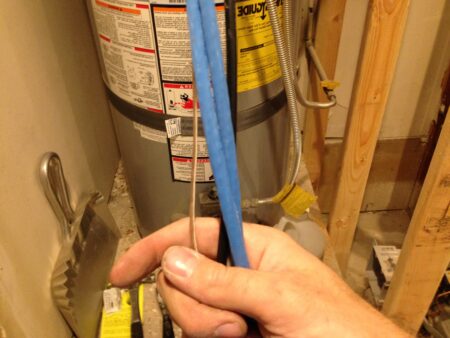
Lastly, I ran some CAT6A to make sure we are set for the future of 10 gigabit ethernet!
Week 3
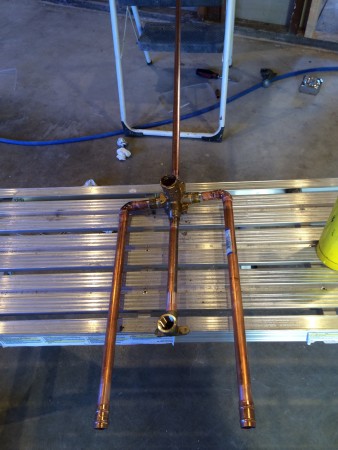
This week, I returned to work. We are now just working in evenings and on Saturdays. We got the copper pipe for the new shower fixtures brazed and ready to go. Now that all the copper is done, we were able to pressurize it and check for leaks. We only had a couple places that needed to be re-brazed.
We also connected the sewage lines to the fittings for the toilet and shower. We leak tested it and it all looks good to go.
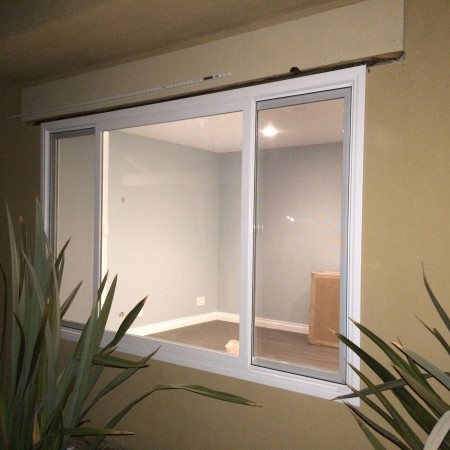
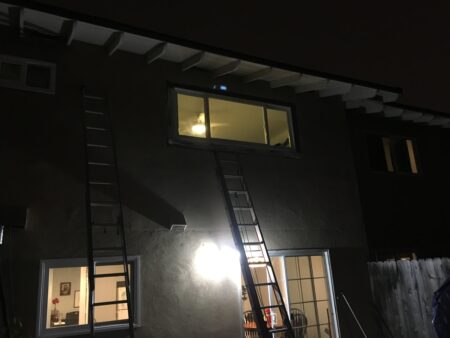
The master bedroom had the oddest (not-to-code) window you’ve ever seen. It is a 2 foot by 8 foot window that is 54 inches off the ground. Code requires that bedroom windows are no more than 42 inches off the ground so that in the case of an emergency, occupants can climb out. We aren’t ready to insert a new window just yet, but we want to be ready, so we cut the 2x4s and inserted a new sill at the correct height so we can easily replace the window with a 3×8 foot window at a later date.
The kitchen plumbing was finished, as well as some other odds and ends, like the exhaust for the future microwave.
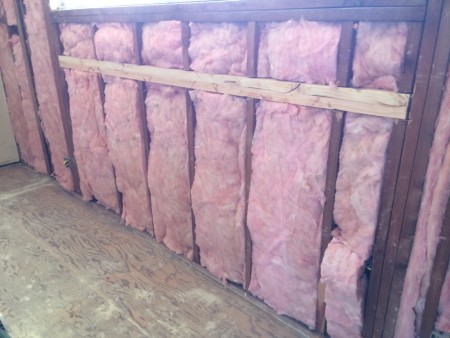
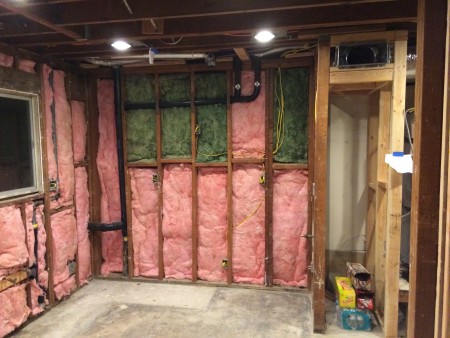
The last thing to do was to insert the insulation. We insulated all of the outside walls in an attempt to make the house’s temperature easier to manage. It looks so nice all pink and green! The green was the existing insulation that they put in to act as a sound buffer for the neighbors.
The very last thing before letting the drywallers button it up was to staple all the electrical cables. Electrical wires (romex) needs to be stapled to the studs within a foot of the electrical boxes (outlets). There should also be staples to keep the wires from sagging in the overhead stretches.
Now, dry-walling will begin.
Week 4
We hired a guy and his brother to drywall the entire place. All of the downstairs needed to be dry walled, as well as exterior walls upstairs and patching throughout.
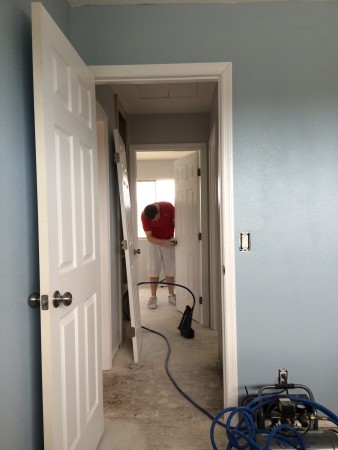
In the mean time, we kept ourselves busy by assembling kitchen cabinets, and pre-painting the new doors we purchased. The doors came pre-hung, and we got the solid core doors. We used an airless spray gun, which made it only take a few seconds to paint an entire door. We also got the trim and baseboard painted as well.
By the end of the week, the downstairs was textured. The upstairs is still a work in progress.
Week 5-6
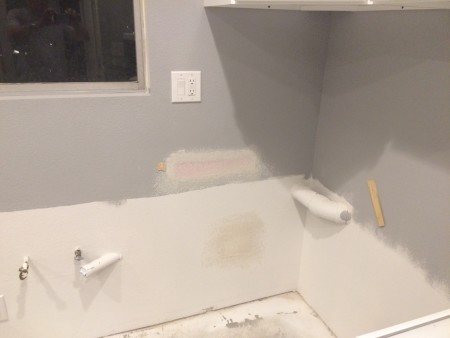
With the downstairs ready to go, I primed the entire thing using the airless sprayer. That made it take a little more than one hour.
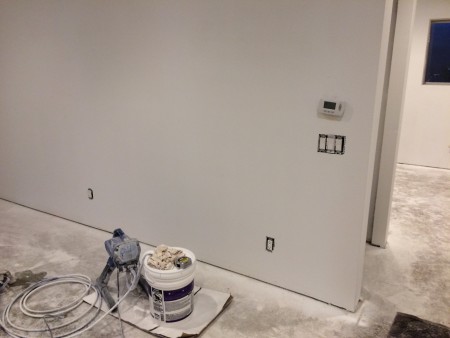
Once the primer dried, I was able to paint the ceiling. (again with the sprayer).
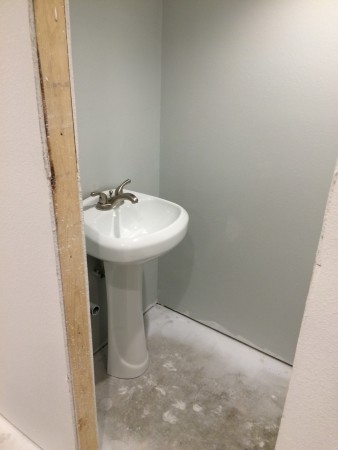
The remainder will have to be rolled. The first room to be rolled was the half-bath. Once it was painted, dad was anxious to hook up the pedestal sink and toilet. (Now we can stop bugging the neighbors…)
The rest of the downstairs was gradually painted over the week. As walls got painted, switches, and outlets got connected.
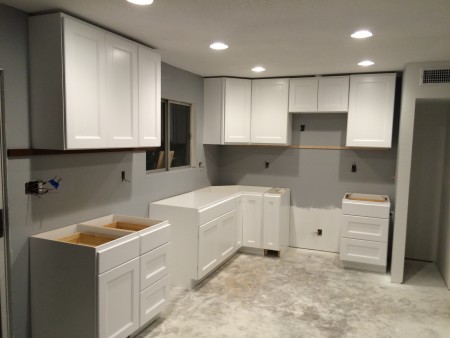
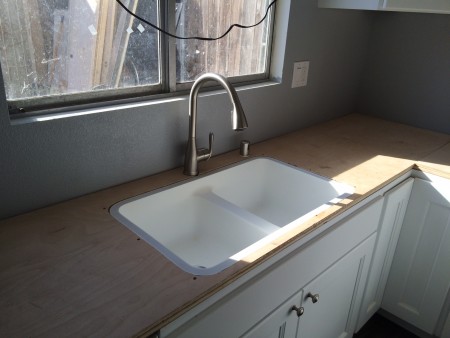
The cabinets we put together got roughly placed in the kitchen. A temporary counter top made of plywood was also installed. This will actually stay as the structural layer underneath the eventual corian counter top that will be installed later on.
We hung the first door, which was the bathroom door. This was the first time i had ever hung a door. Not too shabby!
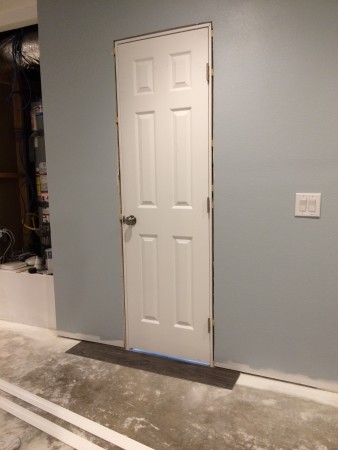
The next day, with the help of a friend from church, we were able to hang the remainder of the doors in just a couple of hours. It’s beginning to feel like an actual house!
With all the walls being finished and textured, we were able to paint throughout the house.
Week 7-8
The progress on the house slowed a little bit during these two weeks. This is partially due to burn-out, and partially due to the fact that the smaller pieces of the project seem less grandiose when finished.
One of the first things I worked on in my spare time was grouting the tile. That made a huge difference in the presentation of the tile. It looks so new and clean!
Another thing my dad and I were able to finish up during our off hours was the air conditioning. It’s been hooked up, but needed some additional things to be 100% complete. One of those was the installation of the air return. For practicality reasons, it was installed at the top of the stairs. This allows for easy changing of filters which is supposed to happen quarterly. We also hooked up the last room.
New regulation in our city require that the garbage disposal and dishwasher have independent circuits. This seems ludicrous for appliances that are used only for a small amount of the time each day… But none-the-less, it required some clever wiring to bring it up to code. A small patch of the wall, and some splicing into existing wires that were going to the garage, we were able to accomplish this fairly quickly.
Door trim throughout the house is now on. It’s not a difficult thing to do, but took some time. It makes quite a big difference in the appearance of the house.
Baseboards got installed upstairs. Those pieces were very large, and kind of hard to maneuver. We made the cuts on the back patio, then brought the large pieces up through the bedroom window.
Once installed, we had to painstakingly go through and caulk the edges and joints. It’s still not all done. I debate the worth of such laborious endeavors; alas, it does look better in the end.
Week 9
Week nine began with some important business, like the addition of a kitchen sink (albeit with plywood counter top for now), the addition of fixtures and proper sealing of the bathtub and shower, and fully functional bathroom vanities and toilets.
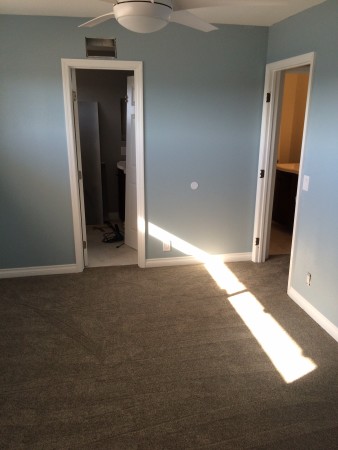
Ceiling fans and lighting fixtures were installed.
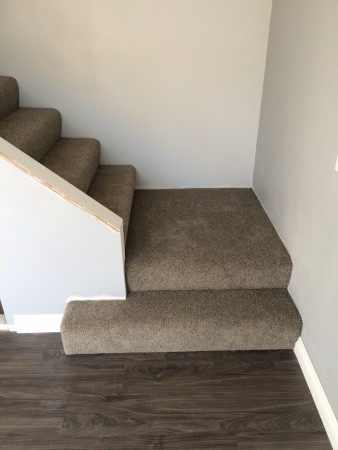
We also completed the flooring downstairs! With this, we also installed all the remaining baseboards.
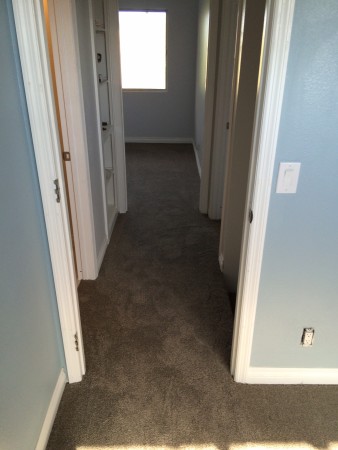
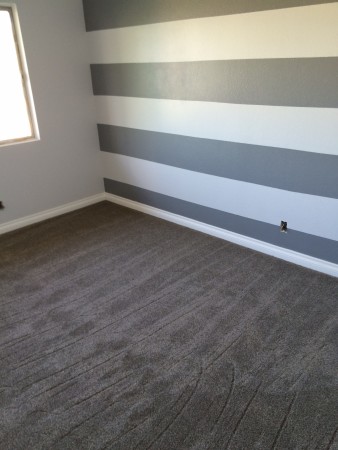
The carpet installers came, and got the upstairs and stairway carpeted. It looks amazing!
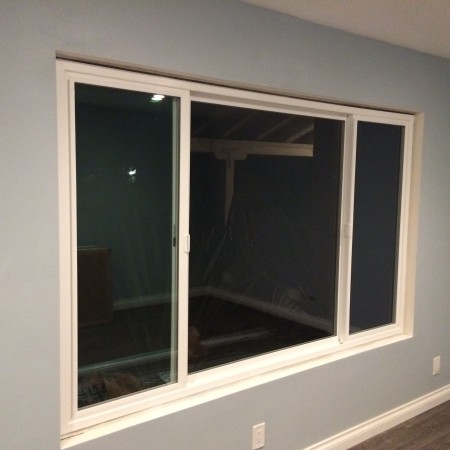
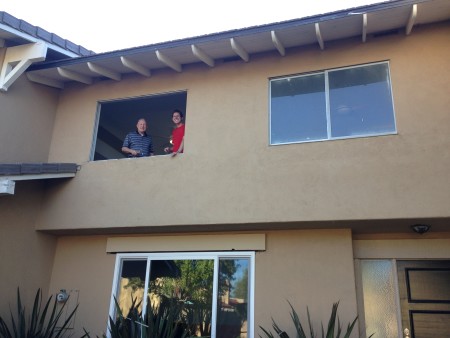
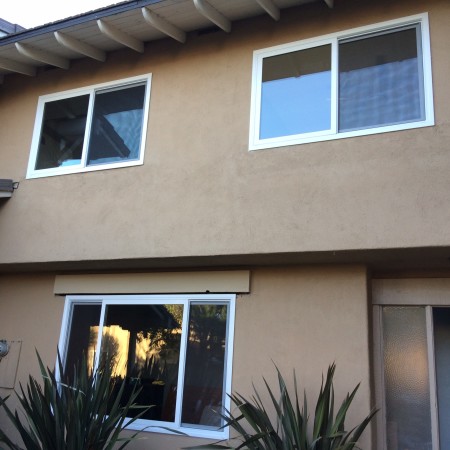
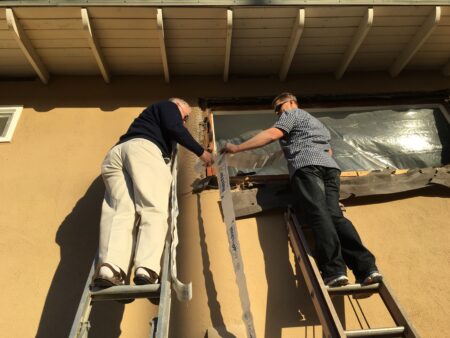
Another big item that got finished was the replacement of 4 windows (out of 6). The remaining windows are less important right now because they will require more work. The four windows we replaced are window inserts, meaning that nothing needed to be modified (drywall, stucco, framing, etc).
Some other minor things got finished, like the medicine cabinets, pantry shelving, and closets.
With so much complete, it is finally time to move in. We moved in this week, and will have to finish the rest as we go. The kids love it, and we love it too. It’s changed so radically from its previous incarnation.
Onward
As time has gone on, we’ve been able to complete more things at our own pace. One of the first things was a corian counter top. To save on money, we bought the material directly and my dad fabricated it in his workshop. We then transported it, and installed it on top of the plywood counter top we had been using. (I didn’t manage to take any photos during installation…)
We got the big master bedroom window installed. It required cutting away the stucco, expanding the hole to the pre-prepared new size, installing the window itself, and then waterproofing with flashing material, after which the whole this is restuccoed and painted. My contractor friend was kind enough to come help and make sure we did it correctly.
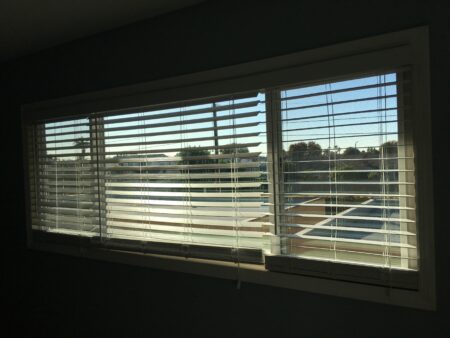
We’ve installed blinds and interior sills and trim on the windows.
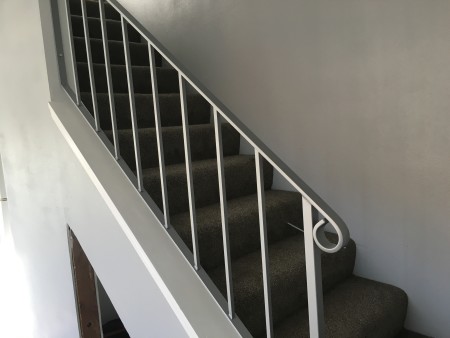
And we took the original stair railing, had it sandblasted and powder coated, then reinstalled it.
There are still quite a few things that will need to be tackled. Some of these include:
- Doors for linen closets, and pantry
- Closet doors
- Other cosmetic things
Certainly, there is plenty to do, and it will keep us busy, I’m sure, for the foreseeable future. The good news is that the bulk is finished, and we are finally getting settled into this new home.
Thank you
A big thank you to everyone who helped. This includes friends, relative, neighbors, all who selflessly helped on this huge project. And a special thanks to my dad, without whom, this project could not have happened. He provided the knowledge, experience, and work ethic needed to accomplish such a task!
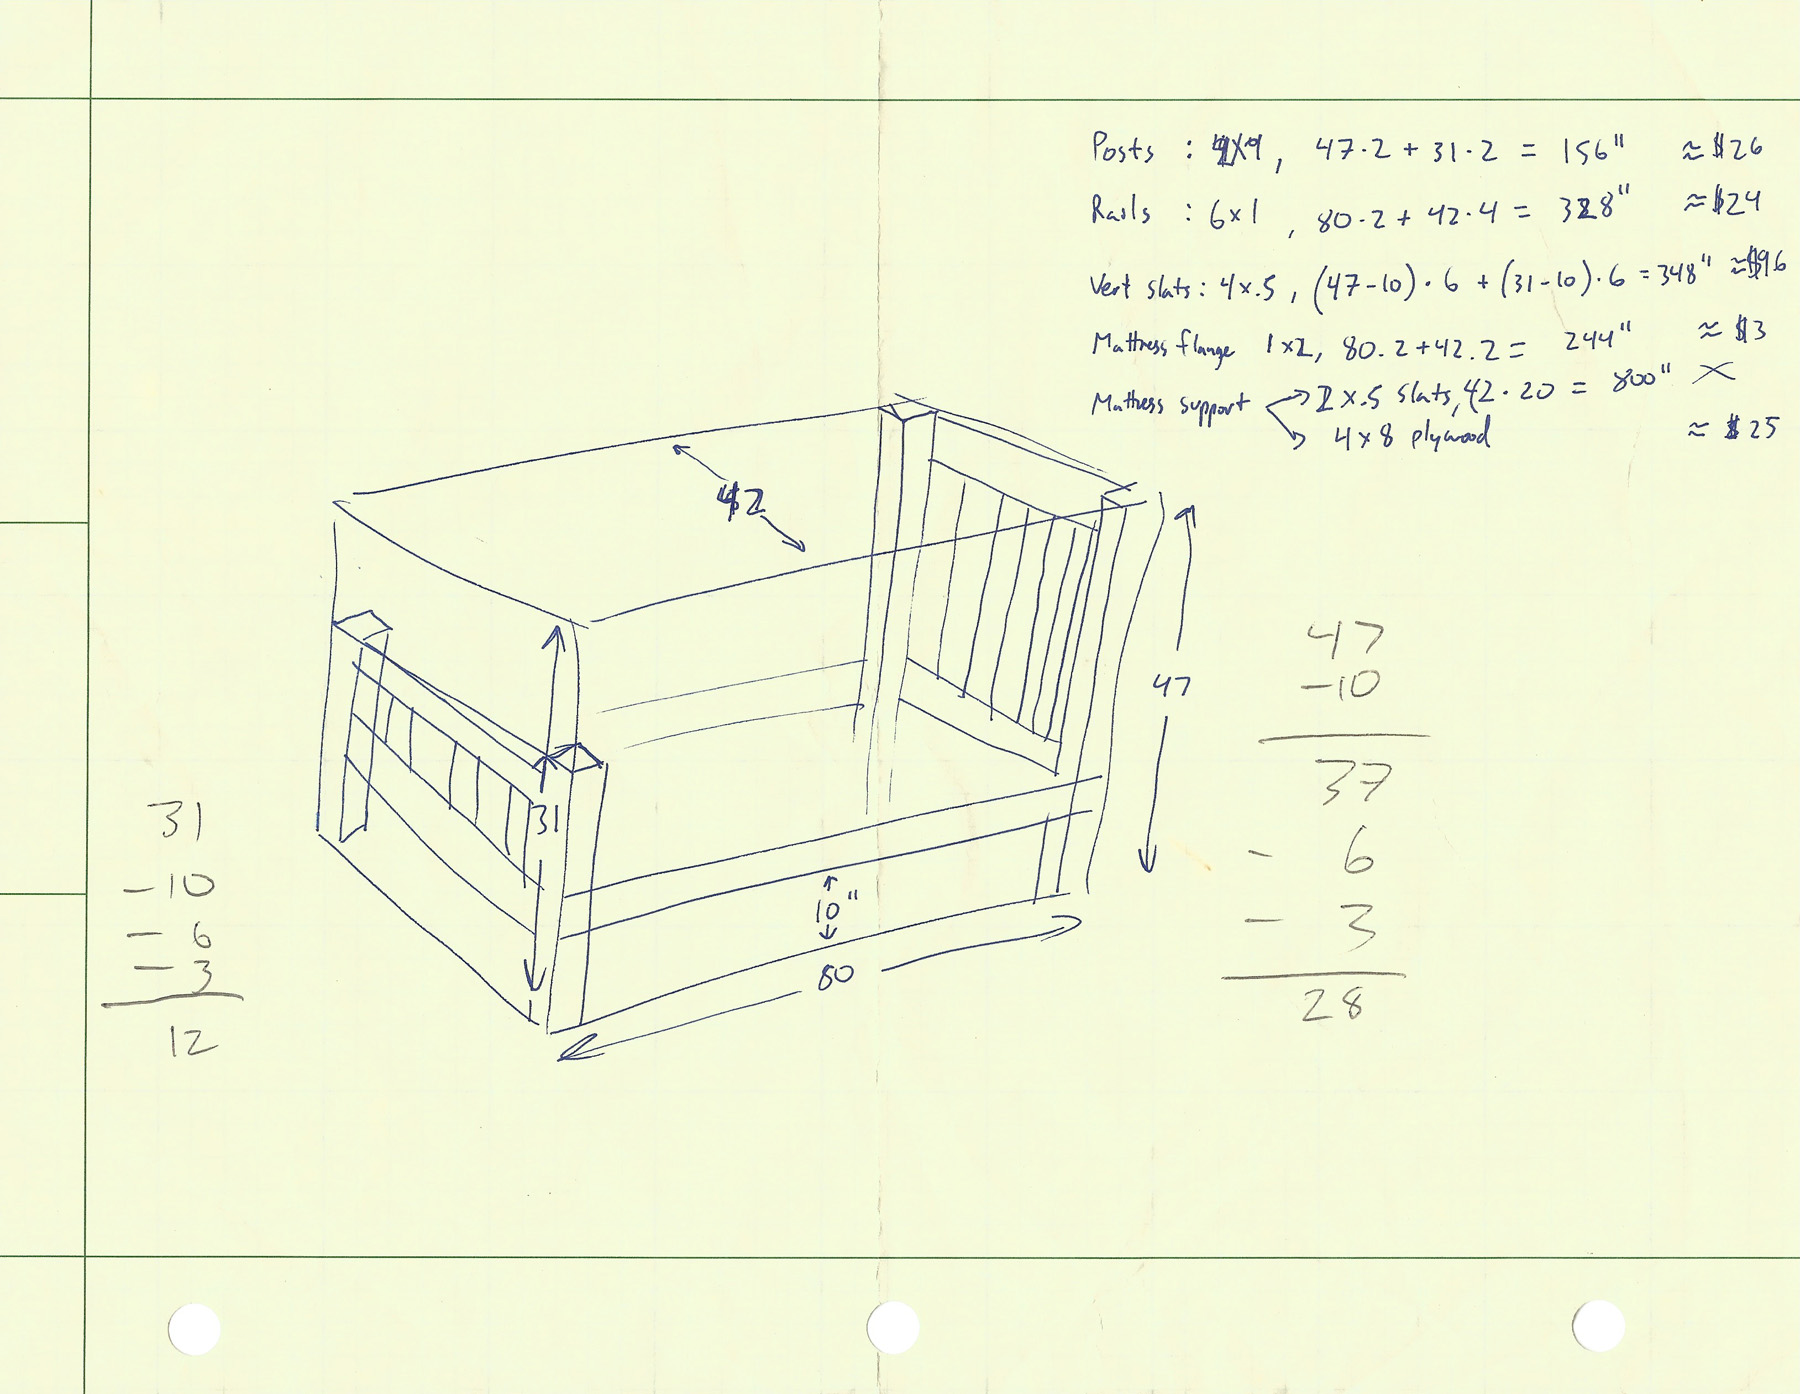
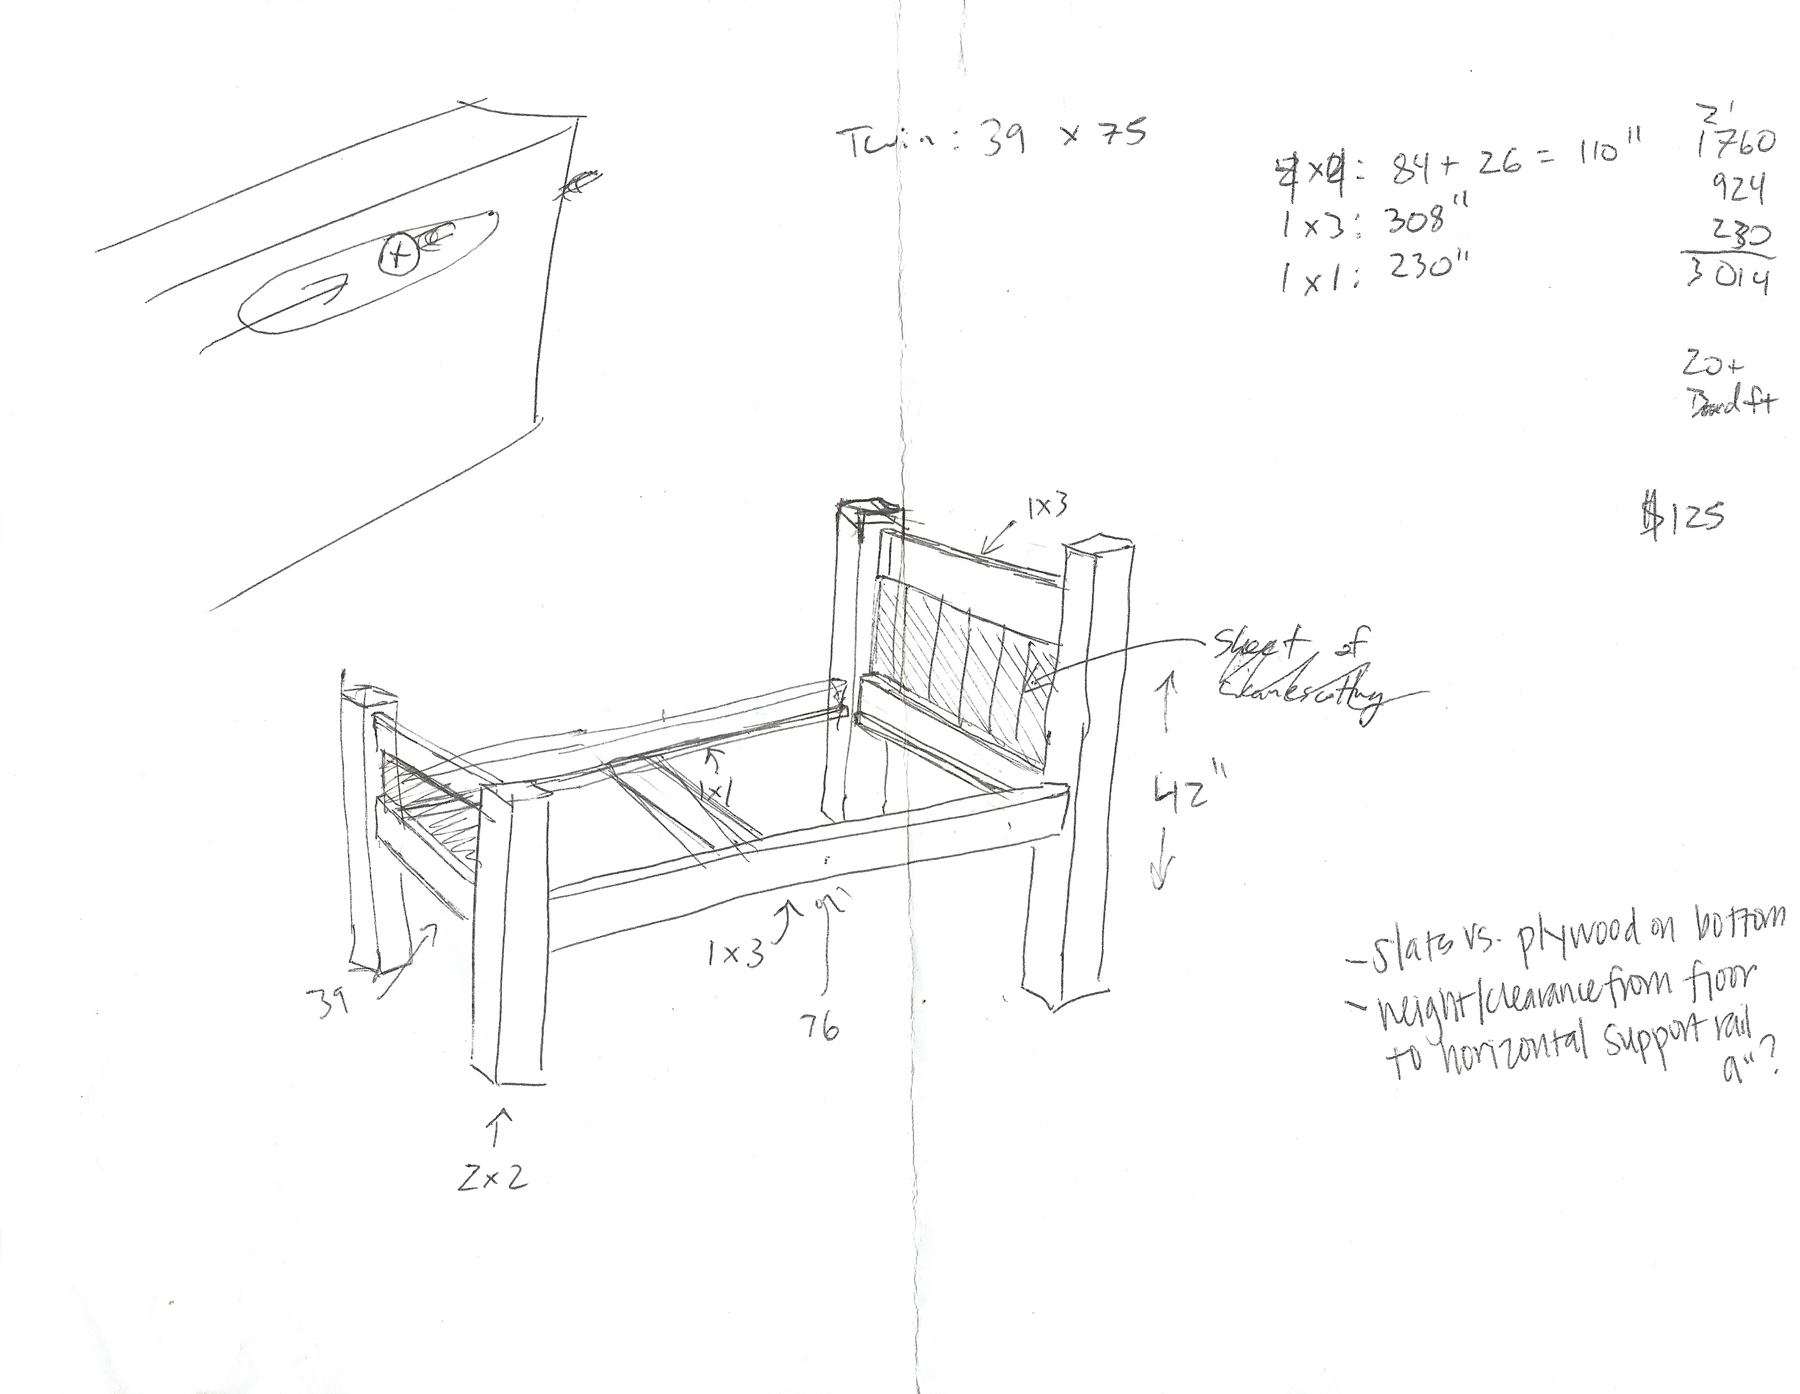
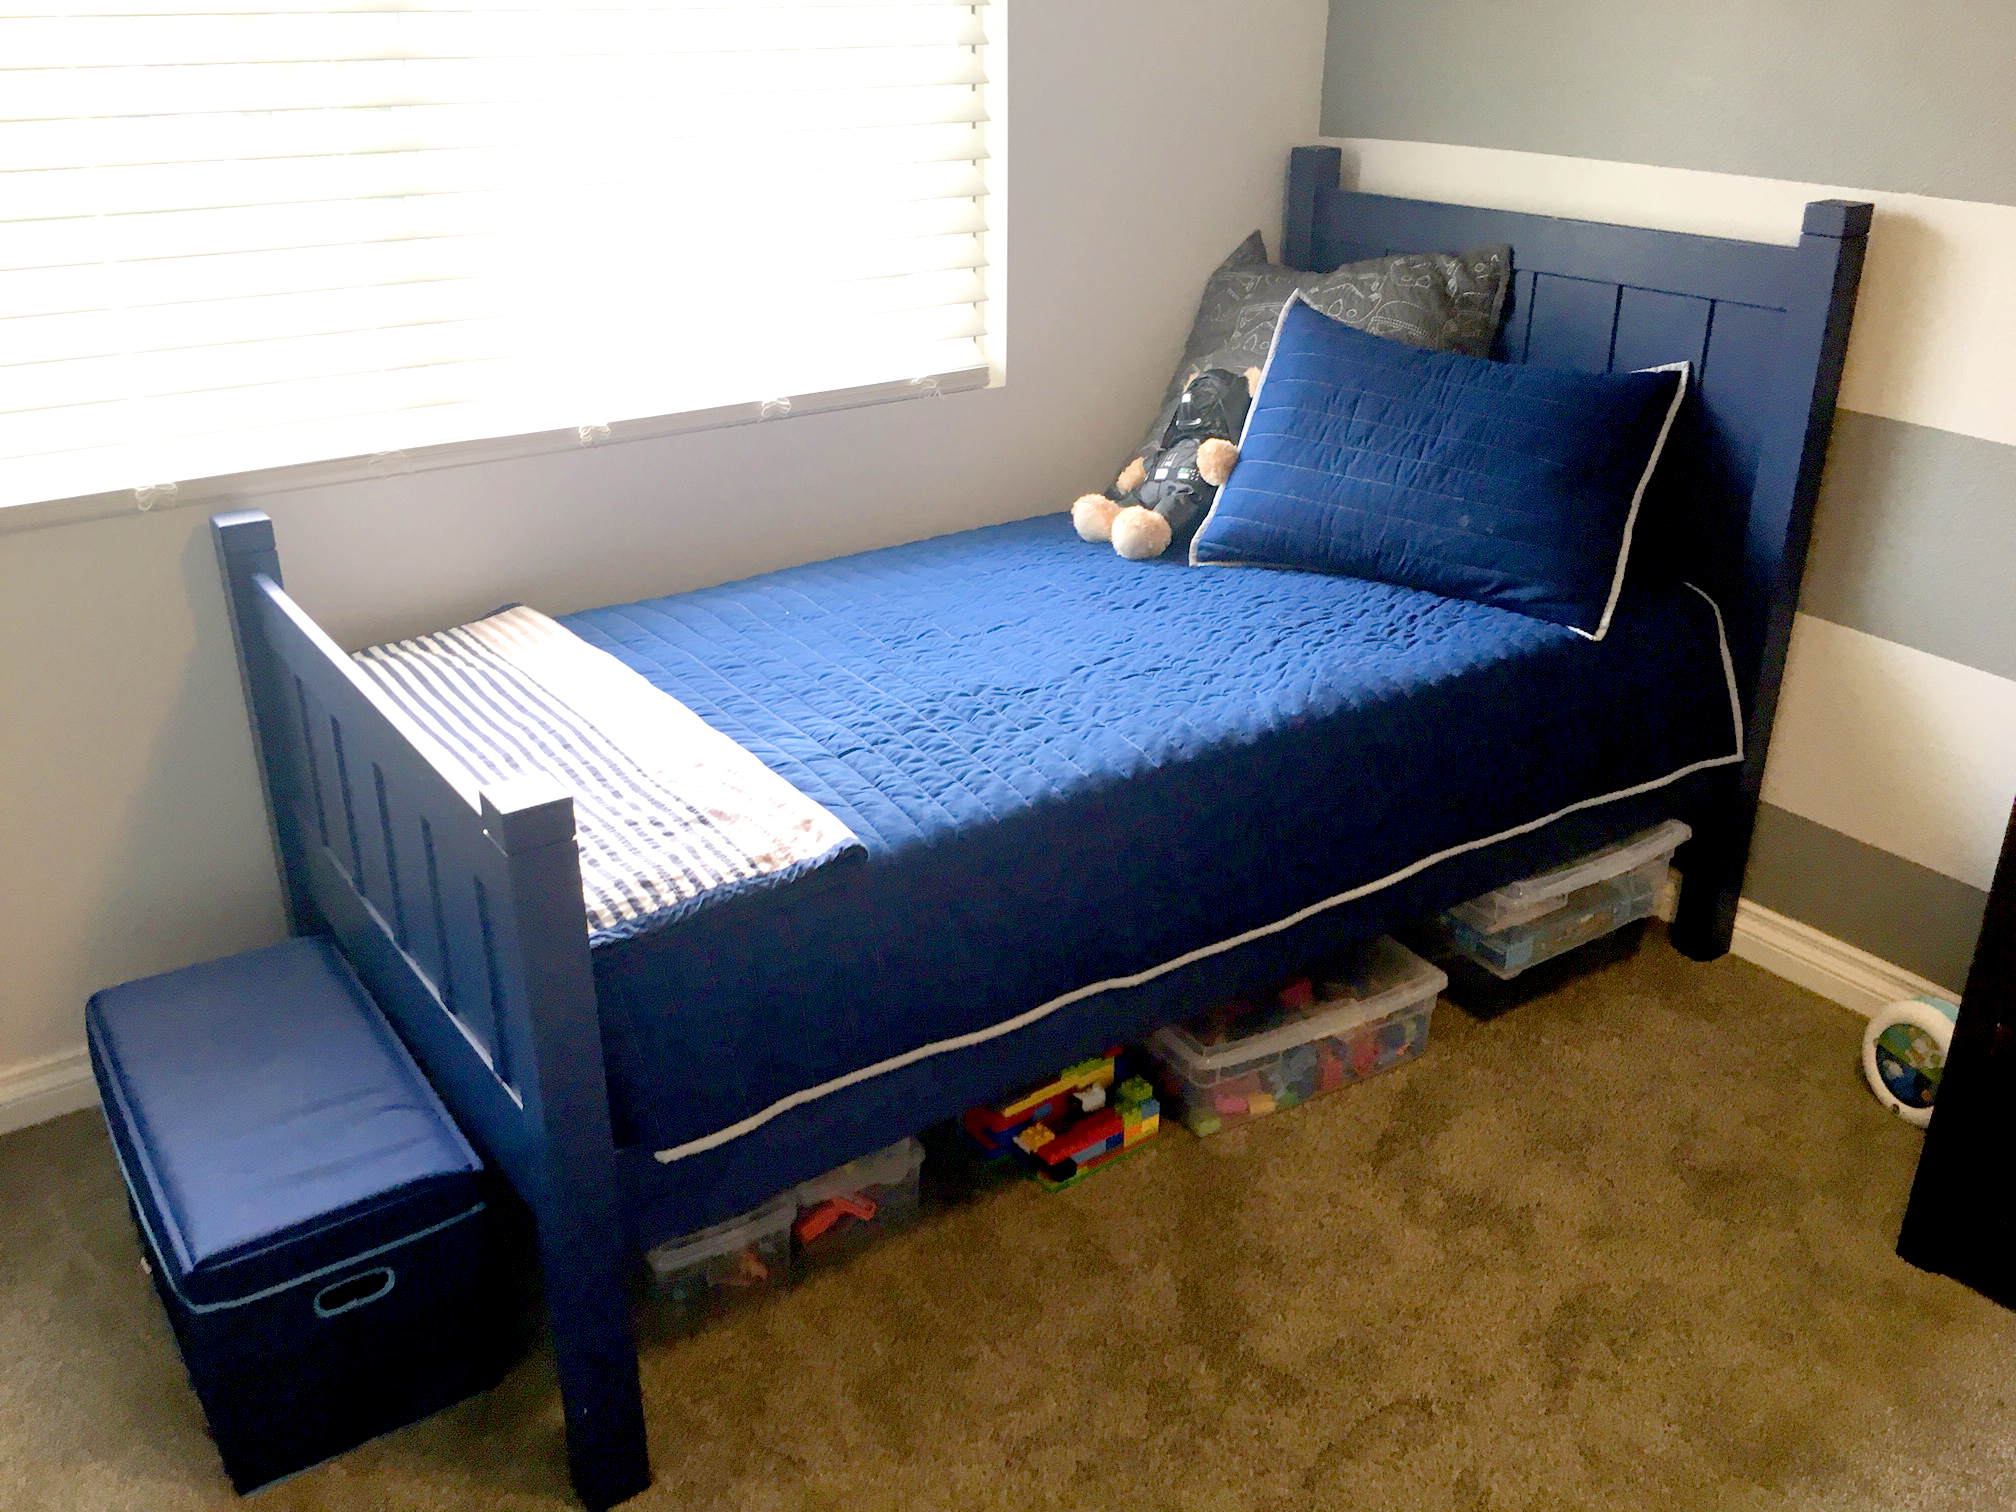
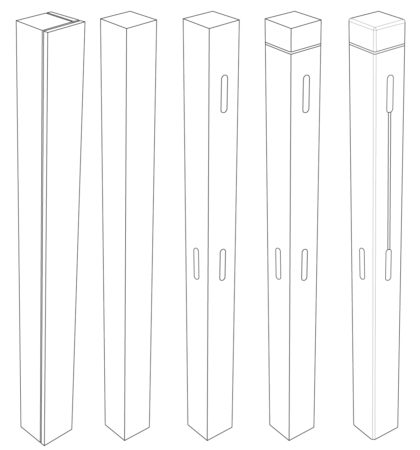 The bedposts are made from 4x4s meant for framing, which come in 8 foot lengths. The posts for the headboard are 4 feet tall, and the posts for the foot board are about 3 feet tall, so there was plenty of wood to get the posts from the 2 lengths that were purchased.
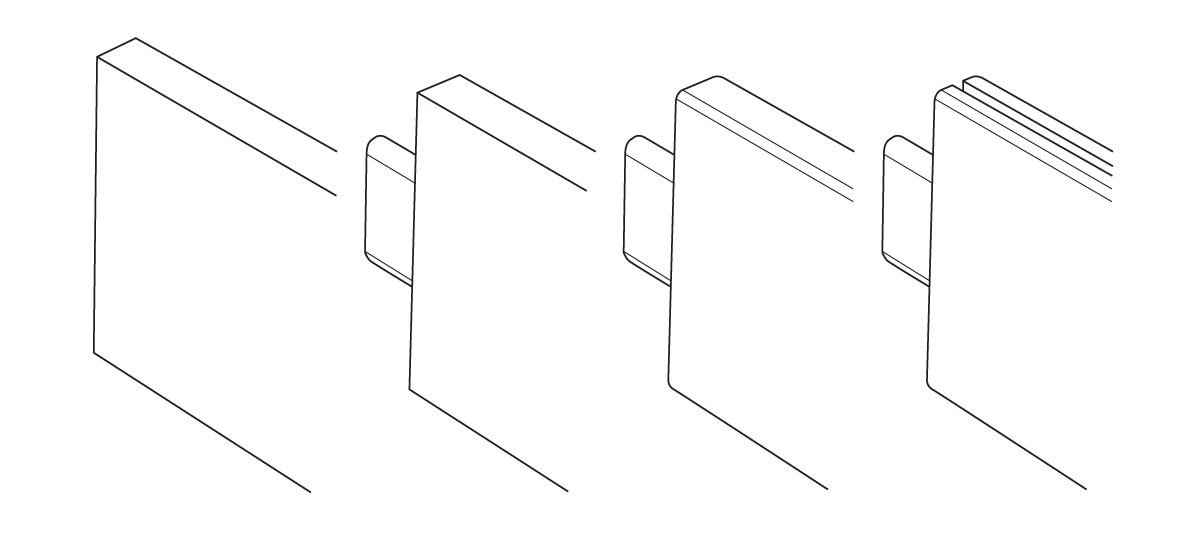 The lower rails for the bed frame are made from the 1×6 planks of wood, and the upper rails for the head and foot boards are made from the 1×4 planks of wood.
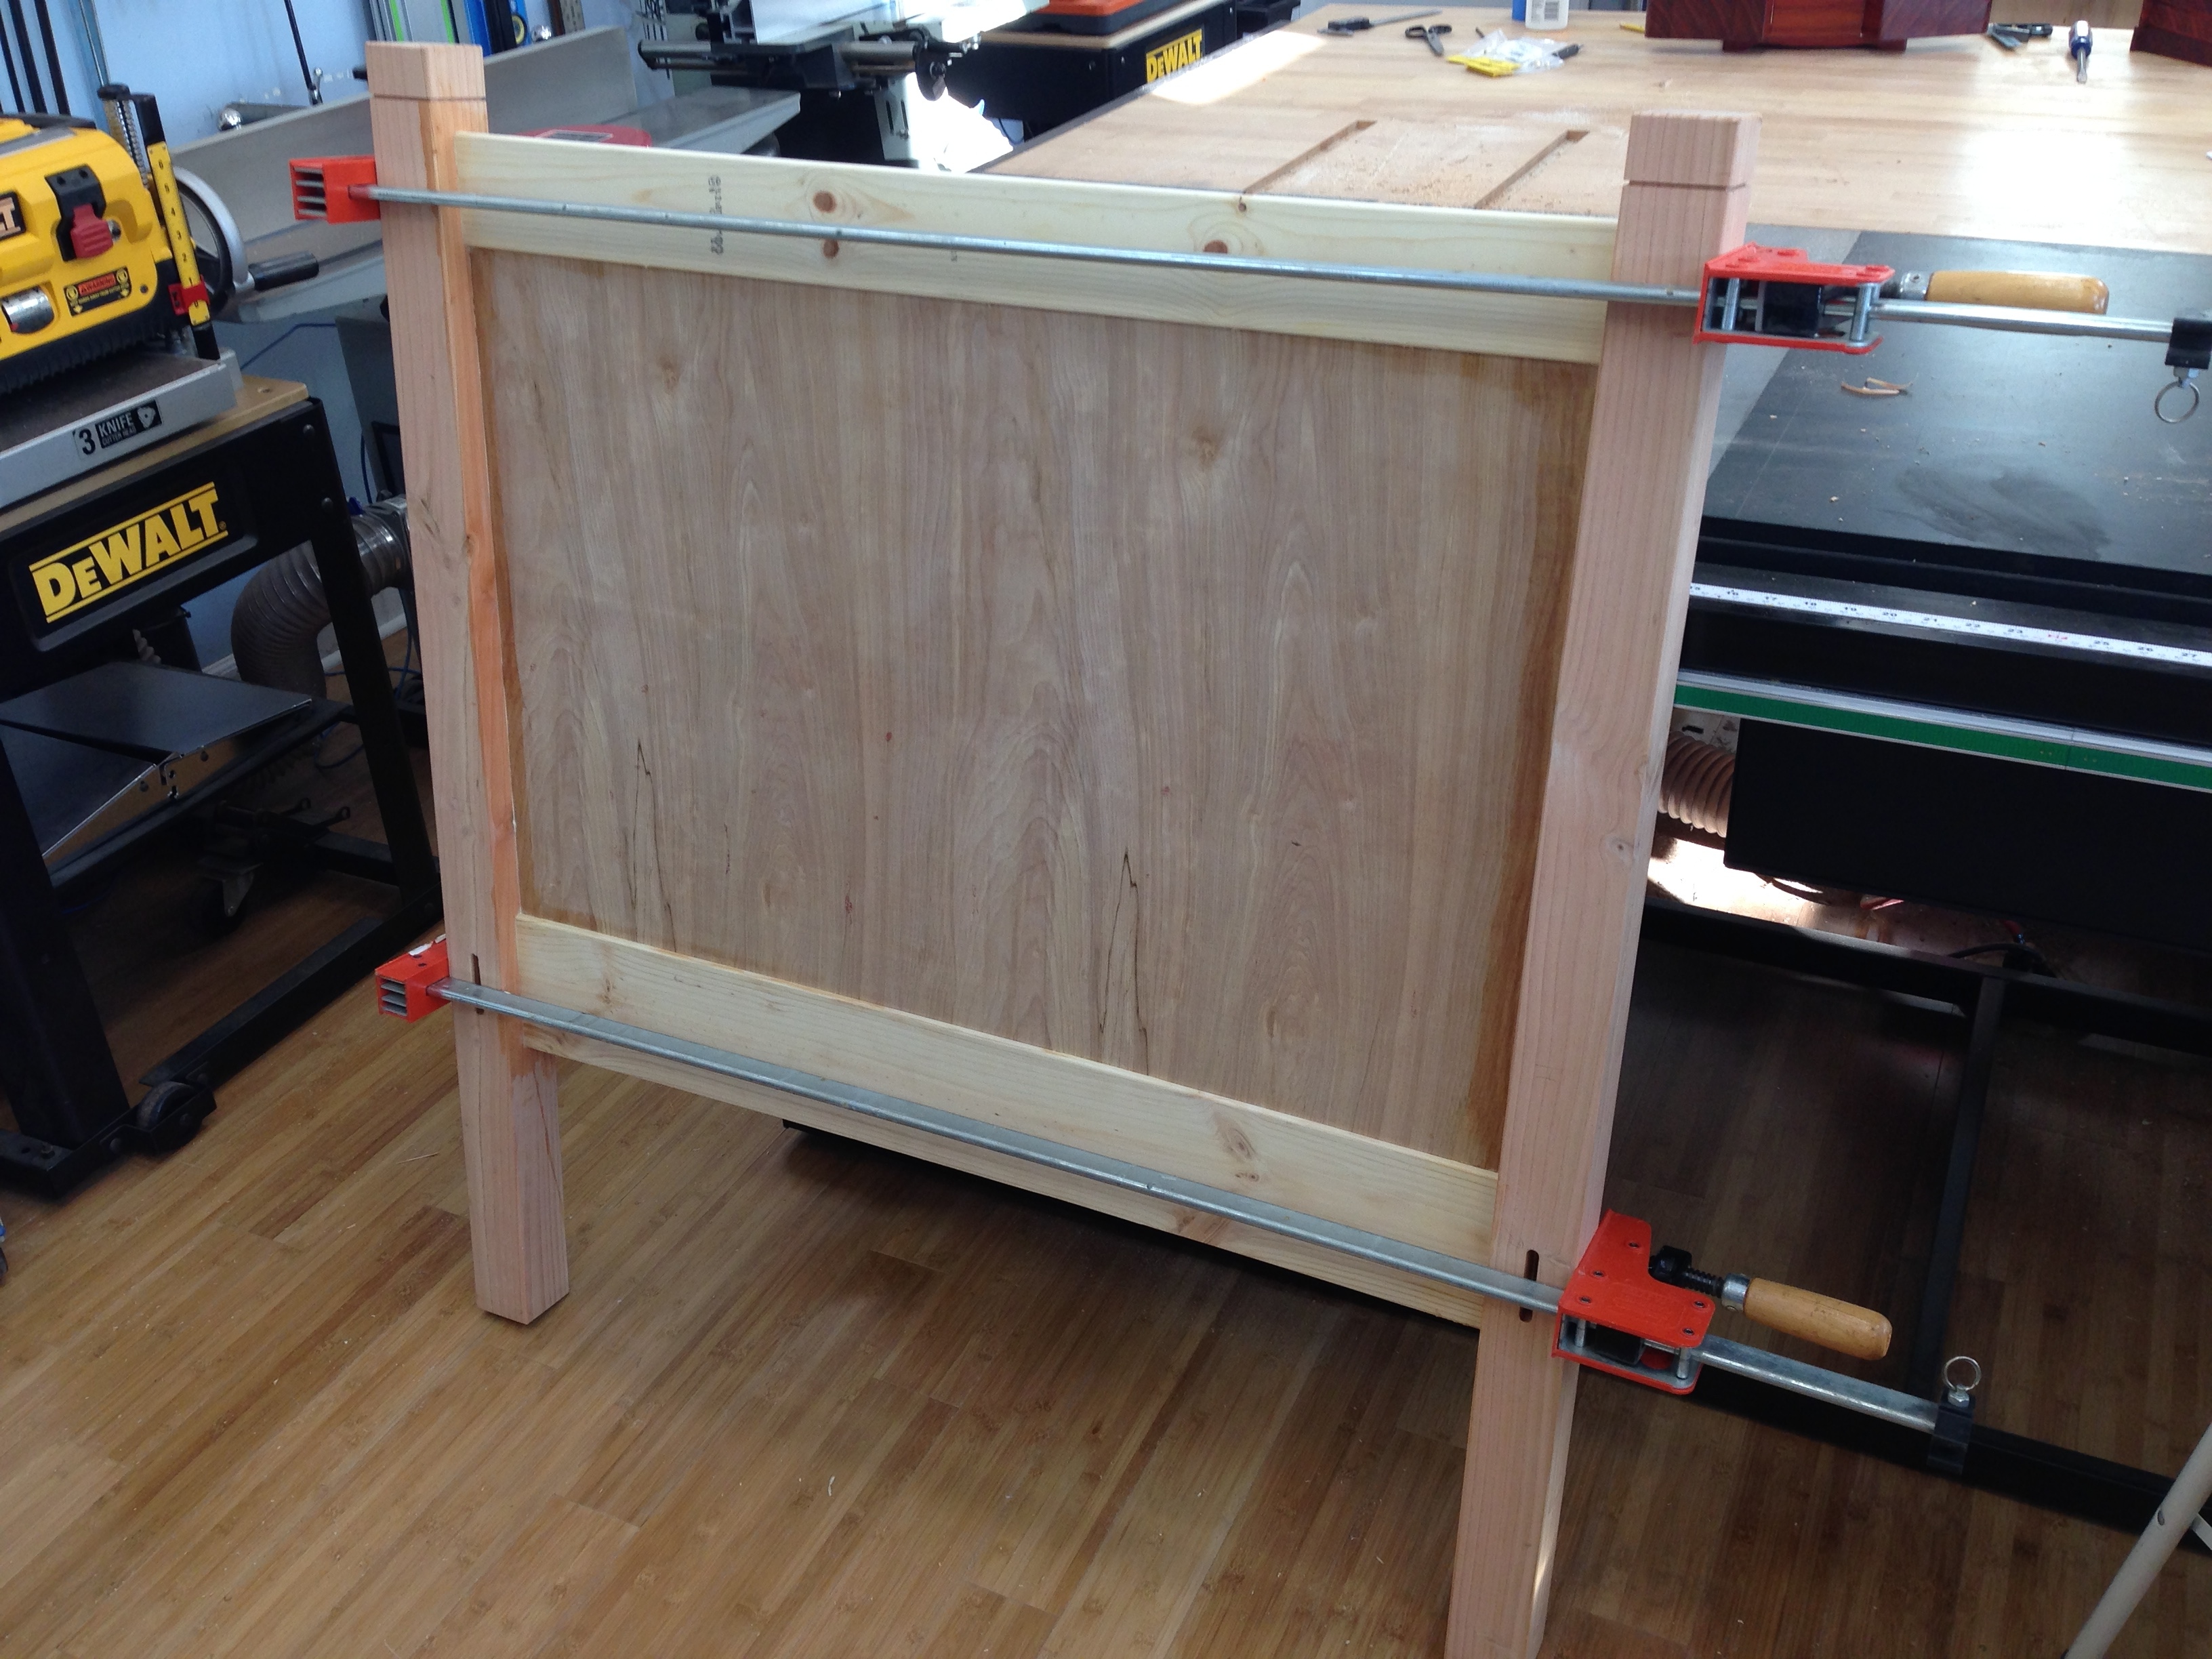 Glue is applied to the exposed grooves. The headboard material is then slid down from the top until it is seated in the groove on the post. Finally, glue is applied to the other end of the rail’s tenons, as well as the end of the headboard sheet, and the other post is tapped into place. The whole thing is clamped for a few hours until the completed headboard is dry.
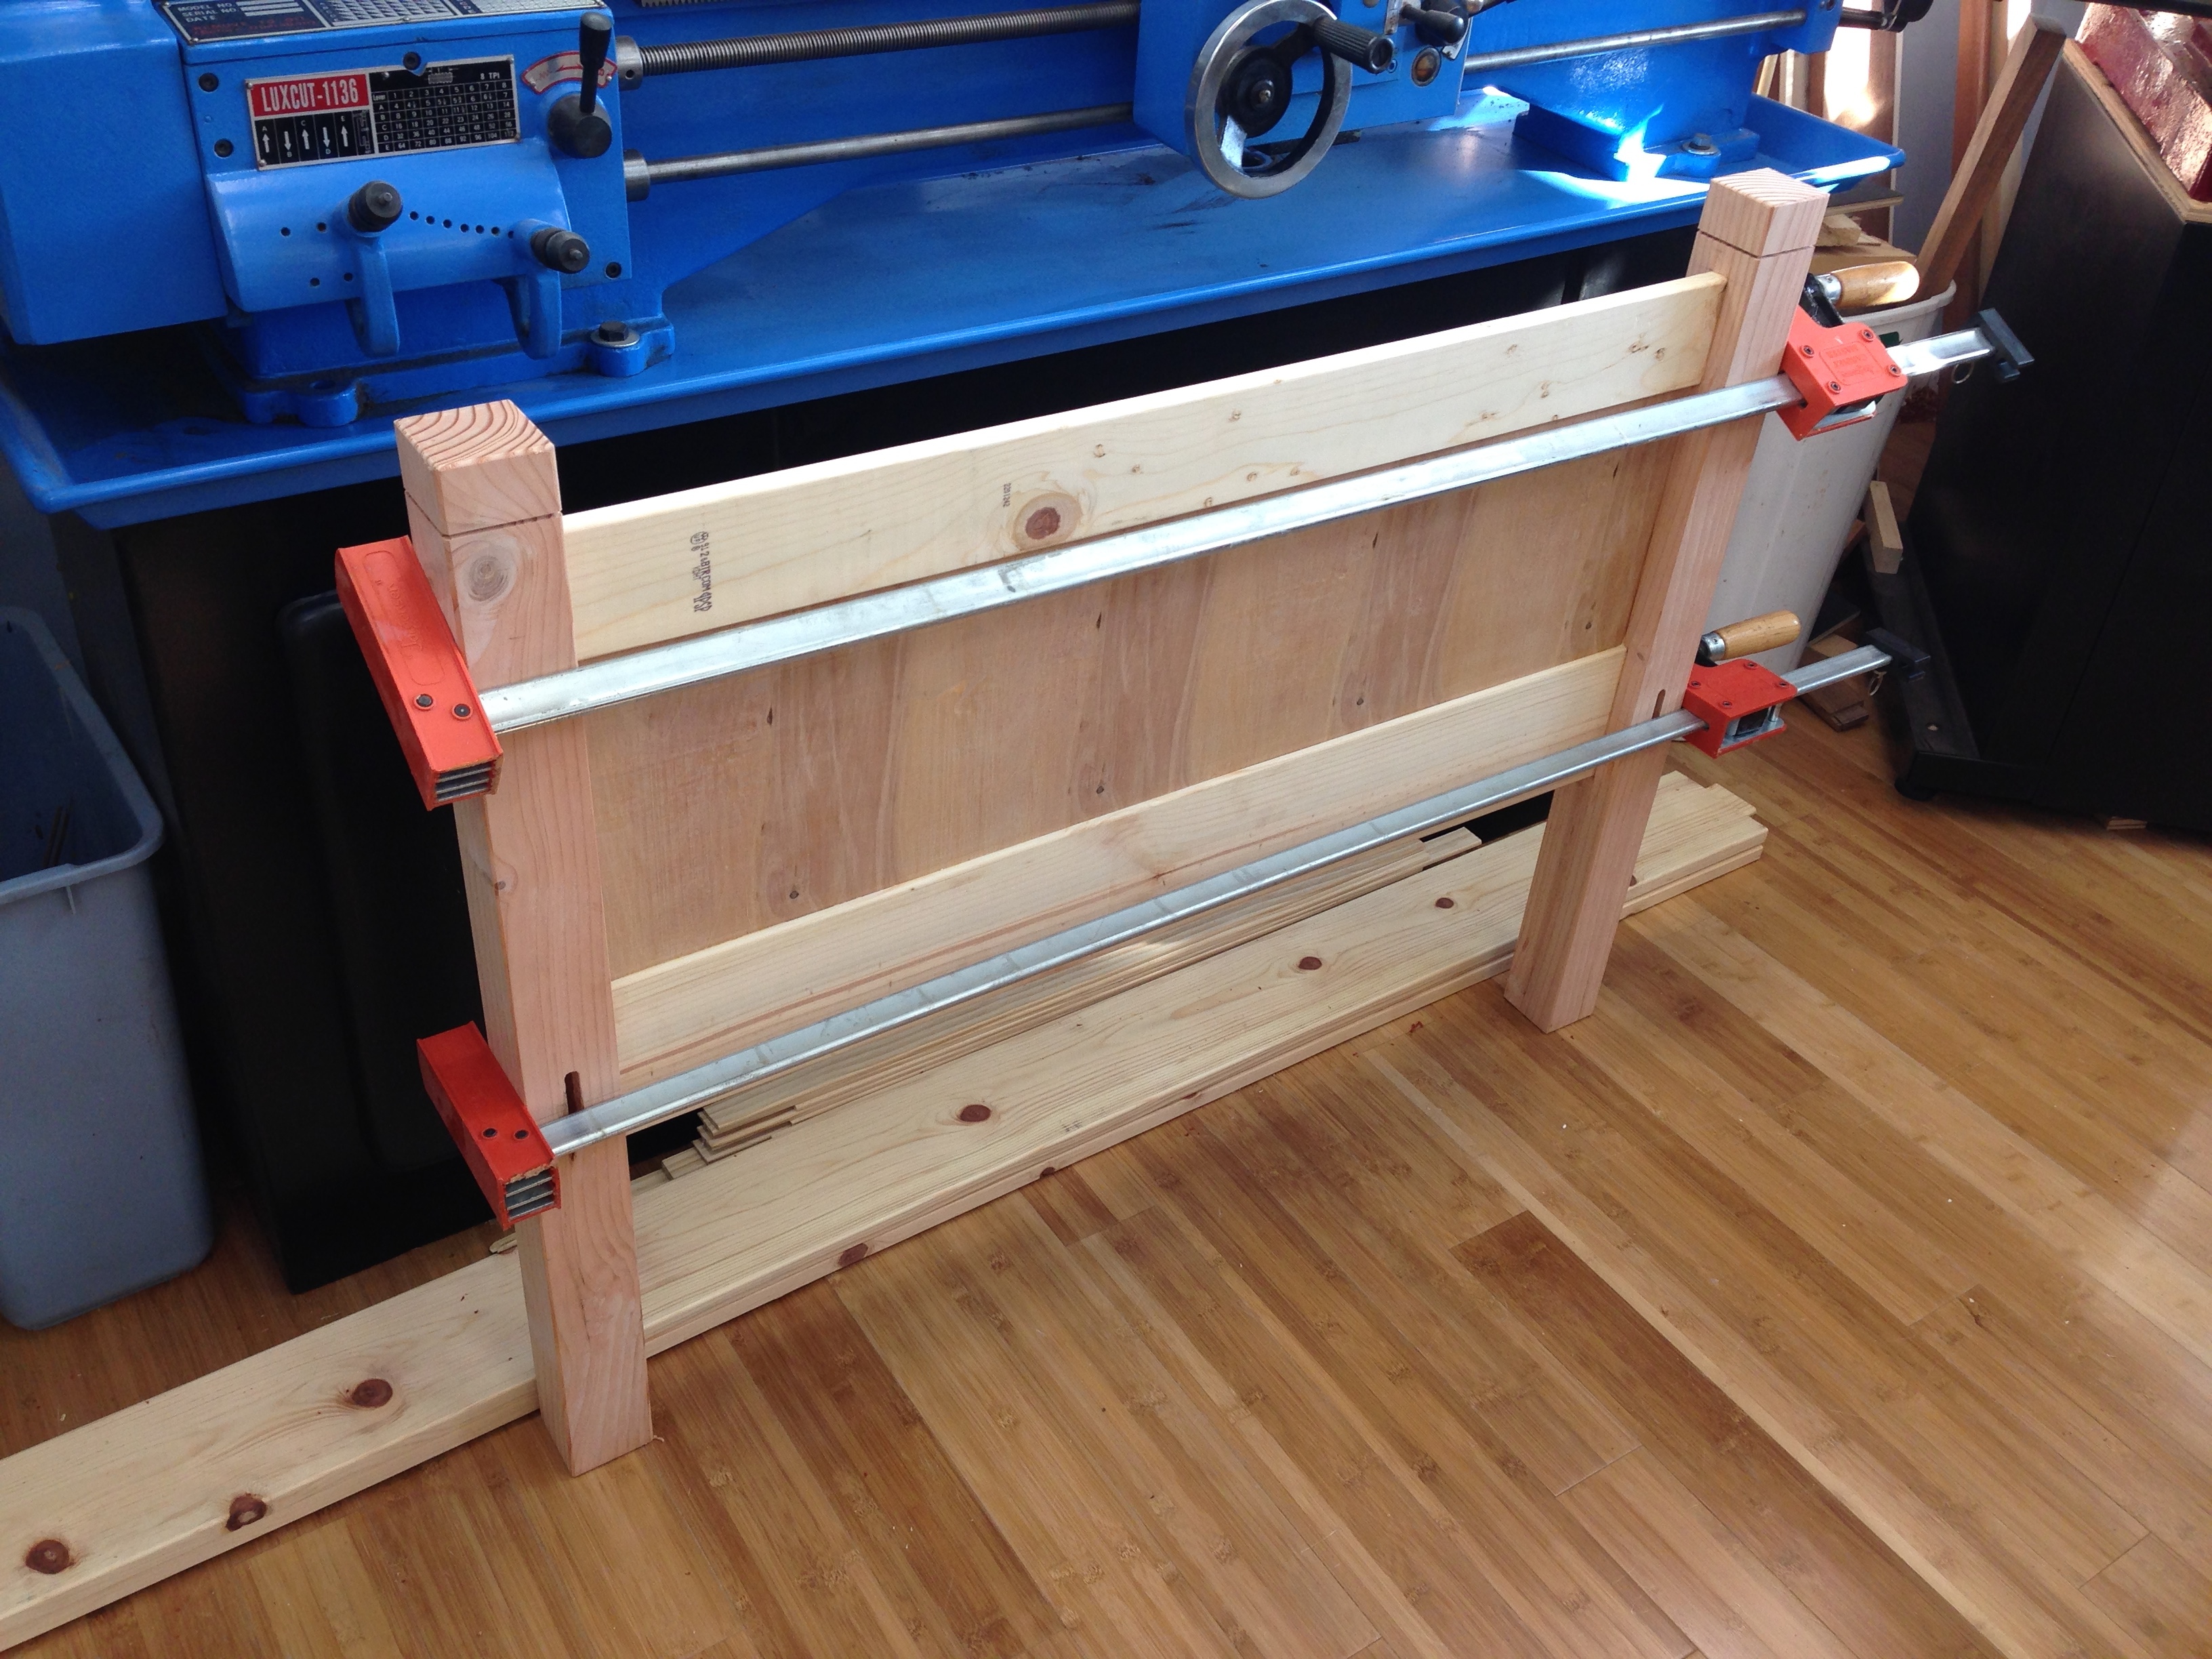 I followed this same procedure for the foot board.
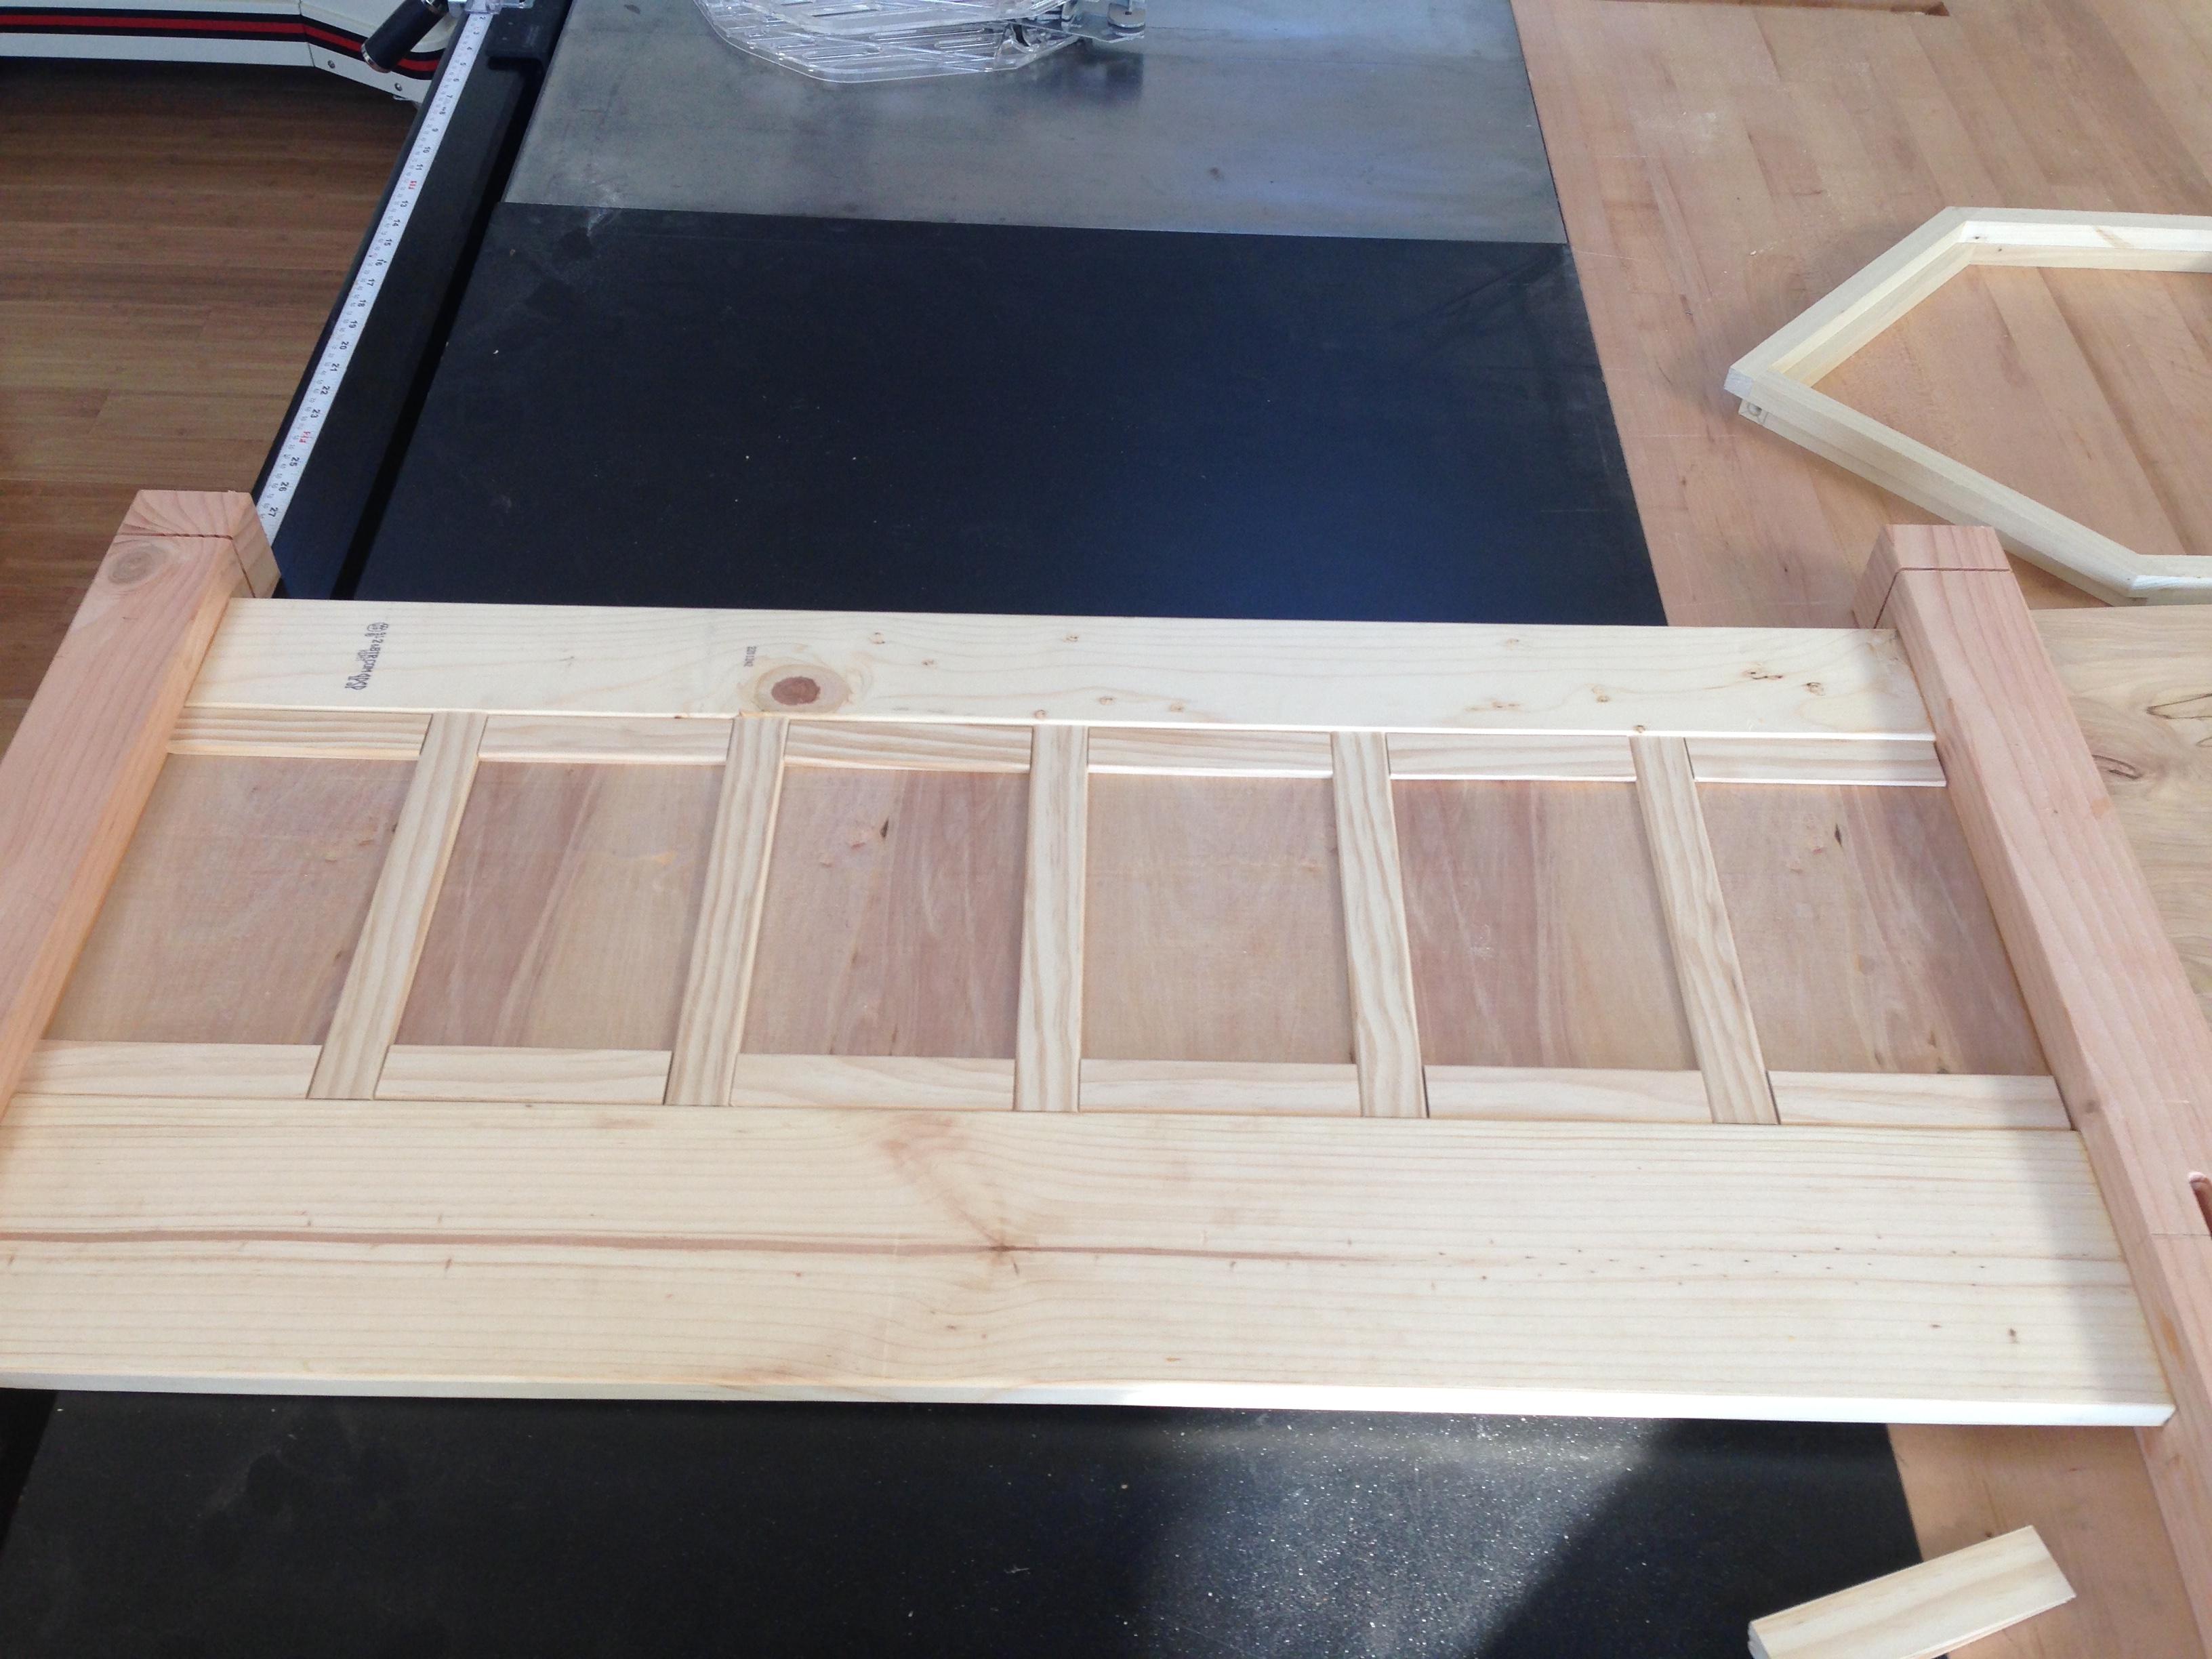 Lastly, slats are added. I took the 1 x 1/4 material and cut it down to the proper length to match the height of the inset area on the headboard. I also used extra material to make spacing jigs to help me distribute the slats evenly across the head and foot boards. They were glued in place. In addition to adding visual interest, the slats add a significant amount of stiffness to the otherwise flimsy 1/4″ material.
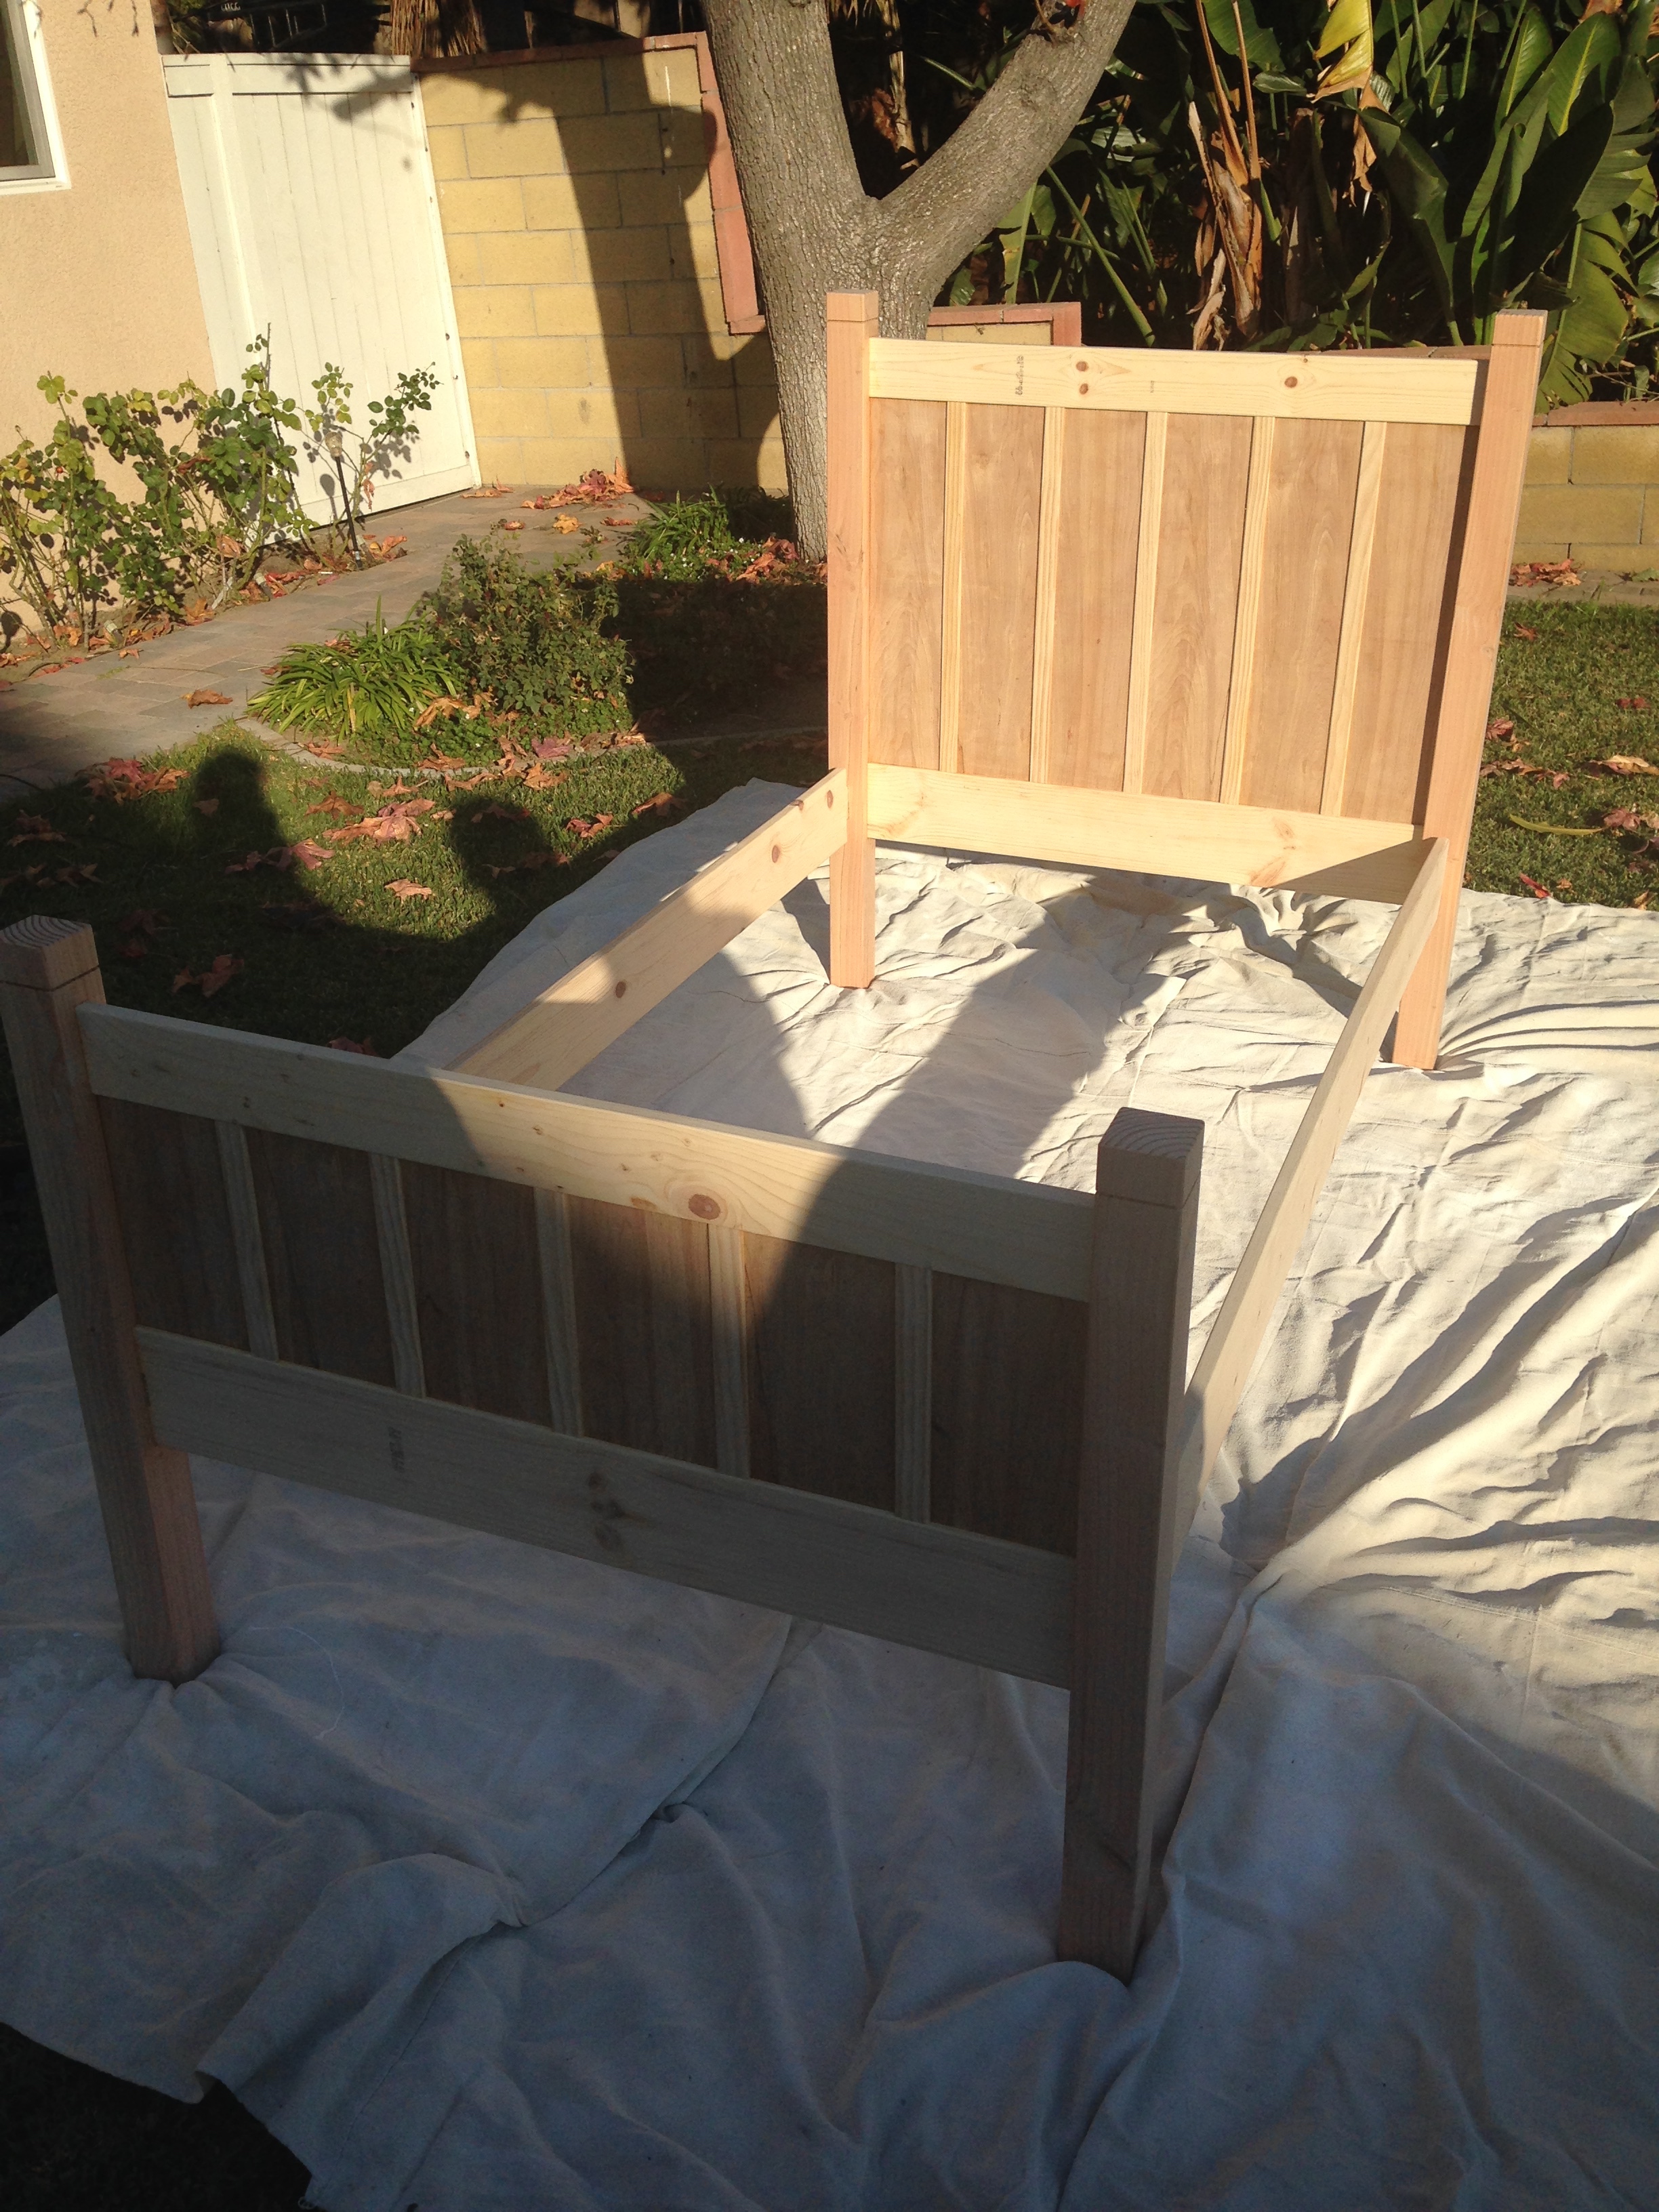 The whole bed was dry-fit together and painted all at once. I masked off a strip on the inner side of the long rails where I planned to put in the flanges that will support the mattress board.
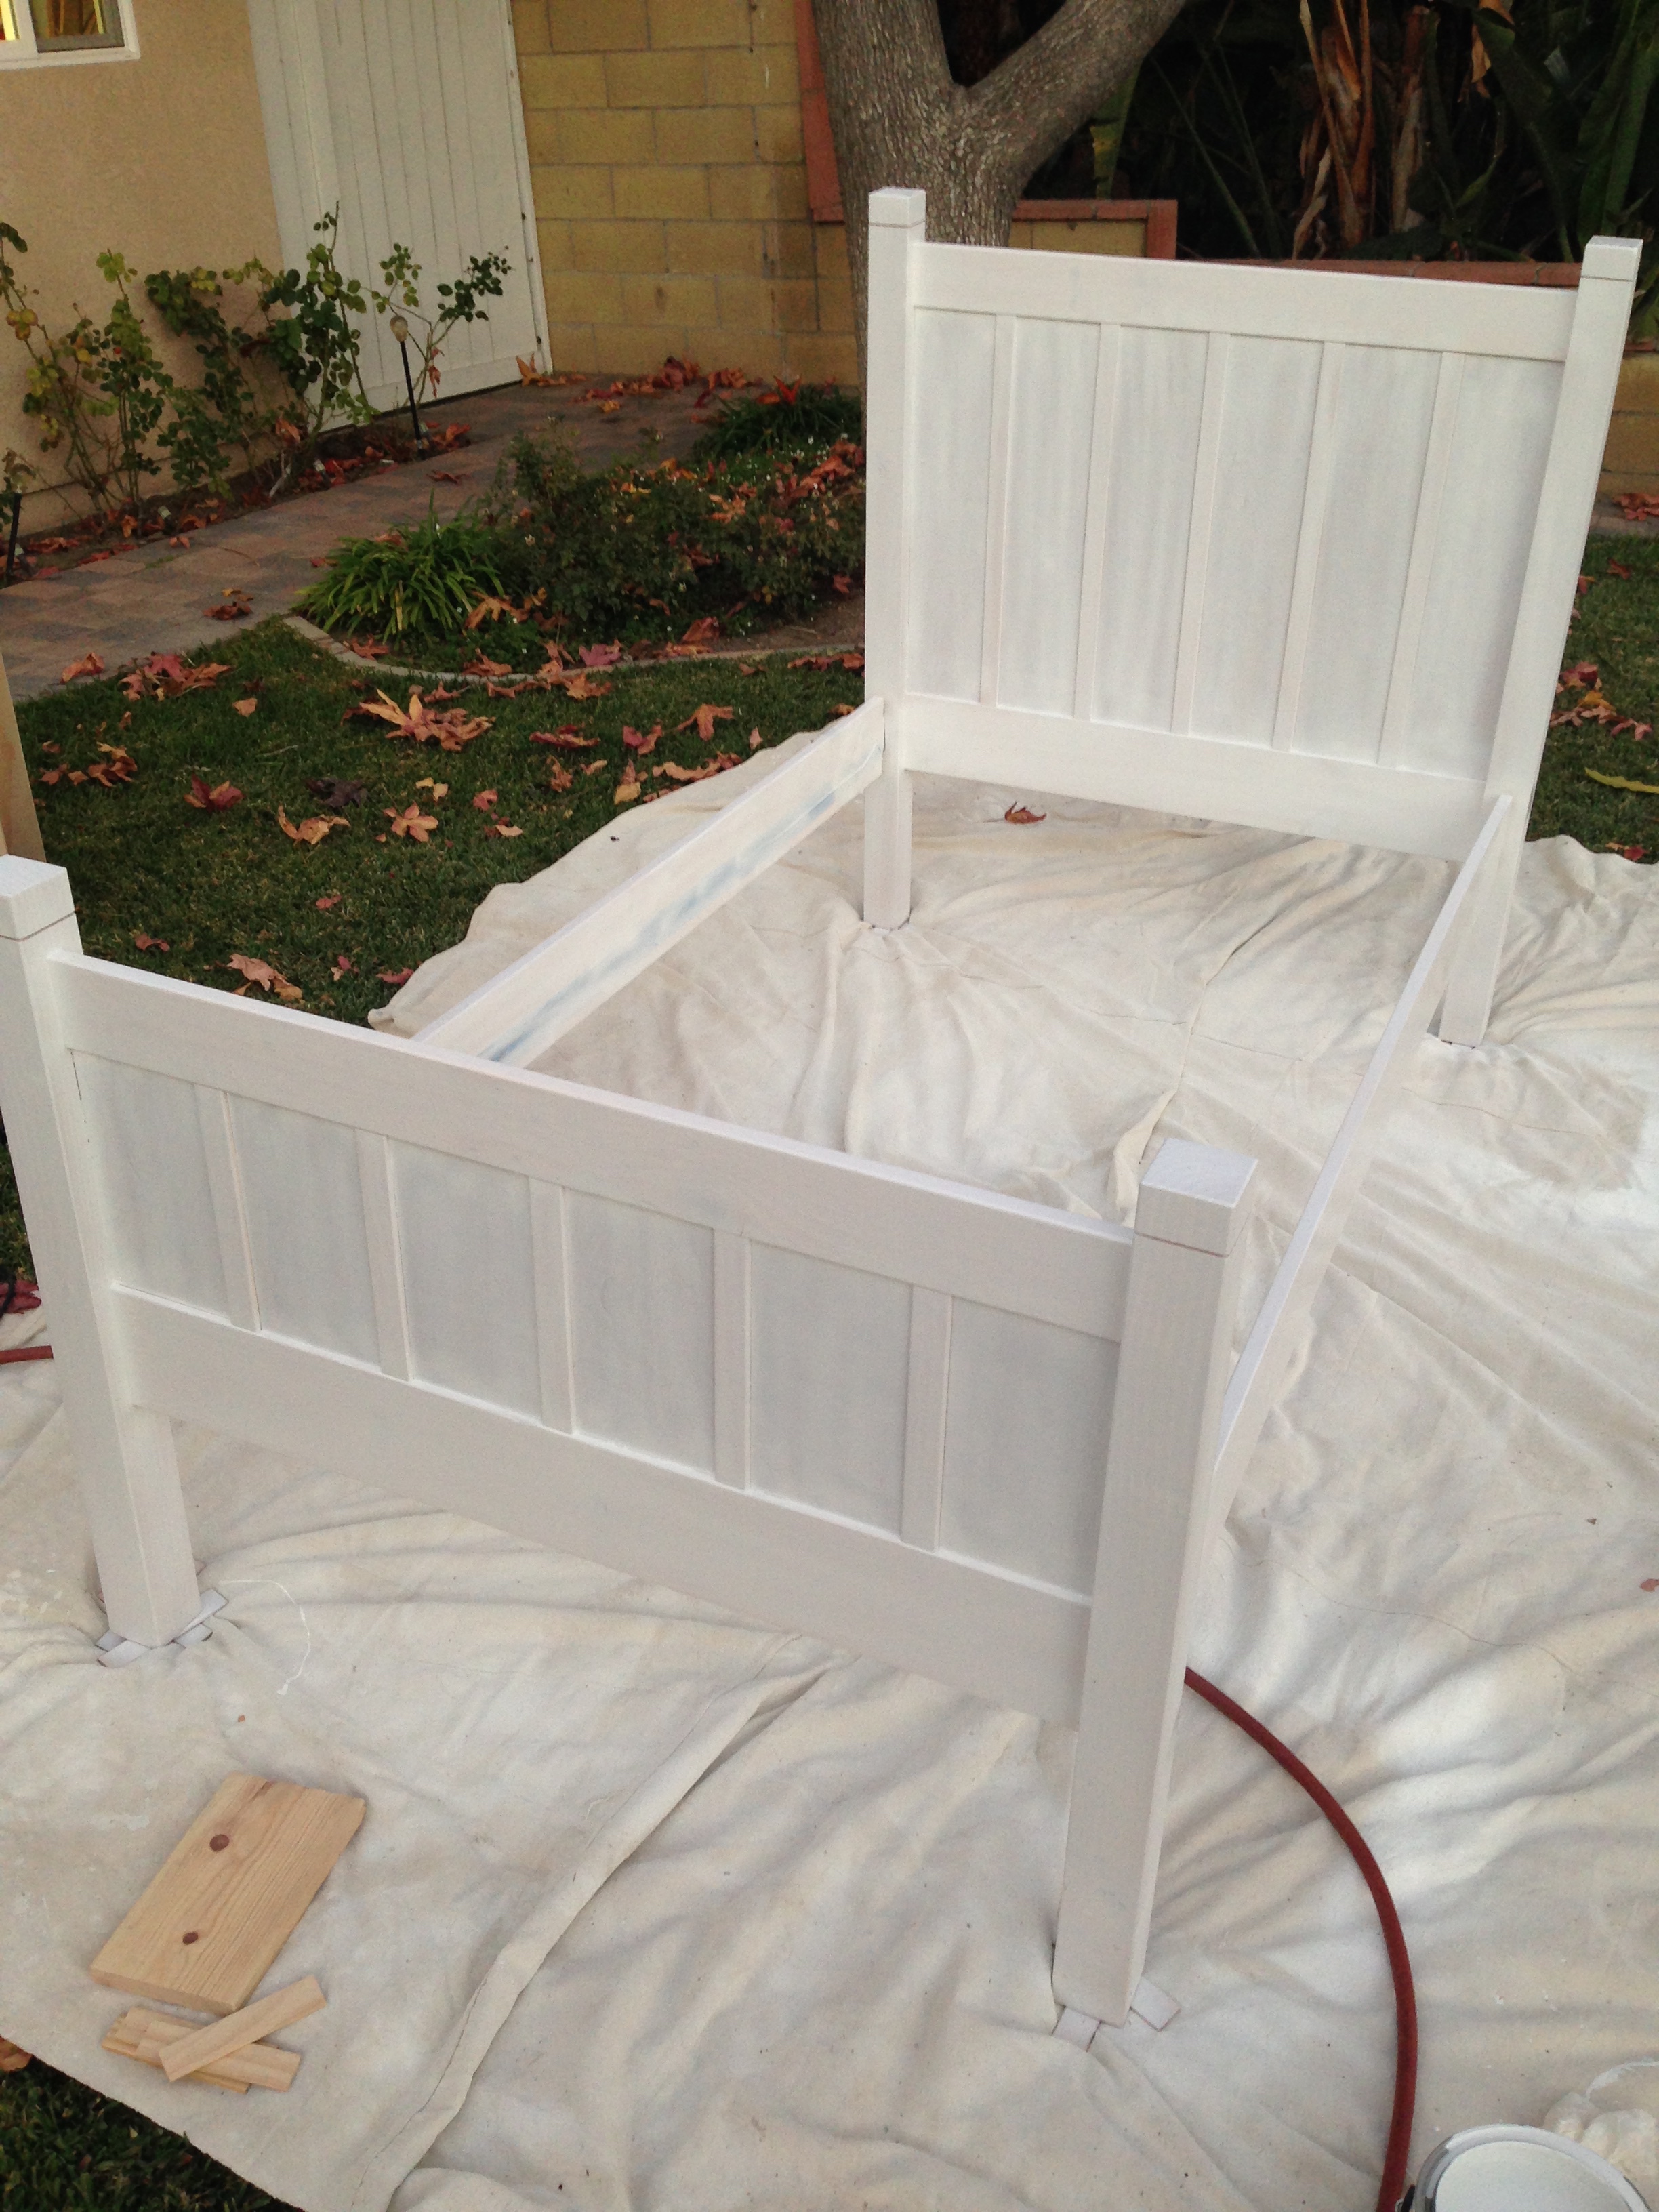 I applied one coat of primer using a gravity fed spraying apparatus for the air compressor. This ended up taking forever due to the small amount of paint that the nozzle delivered. It took about an hour, but was reasonably evenly covered.
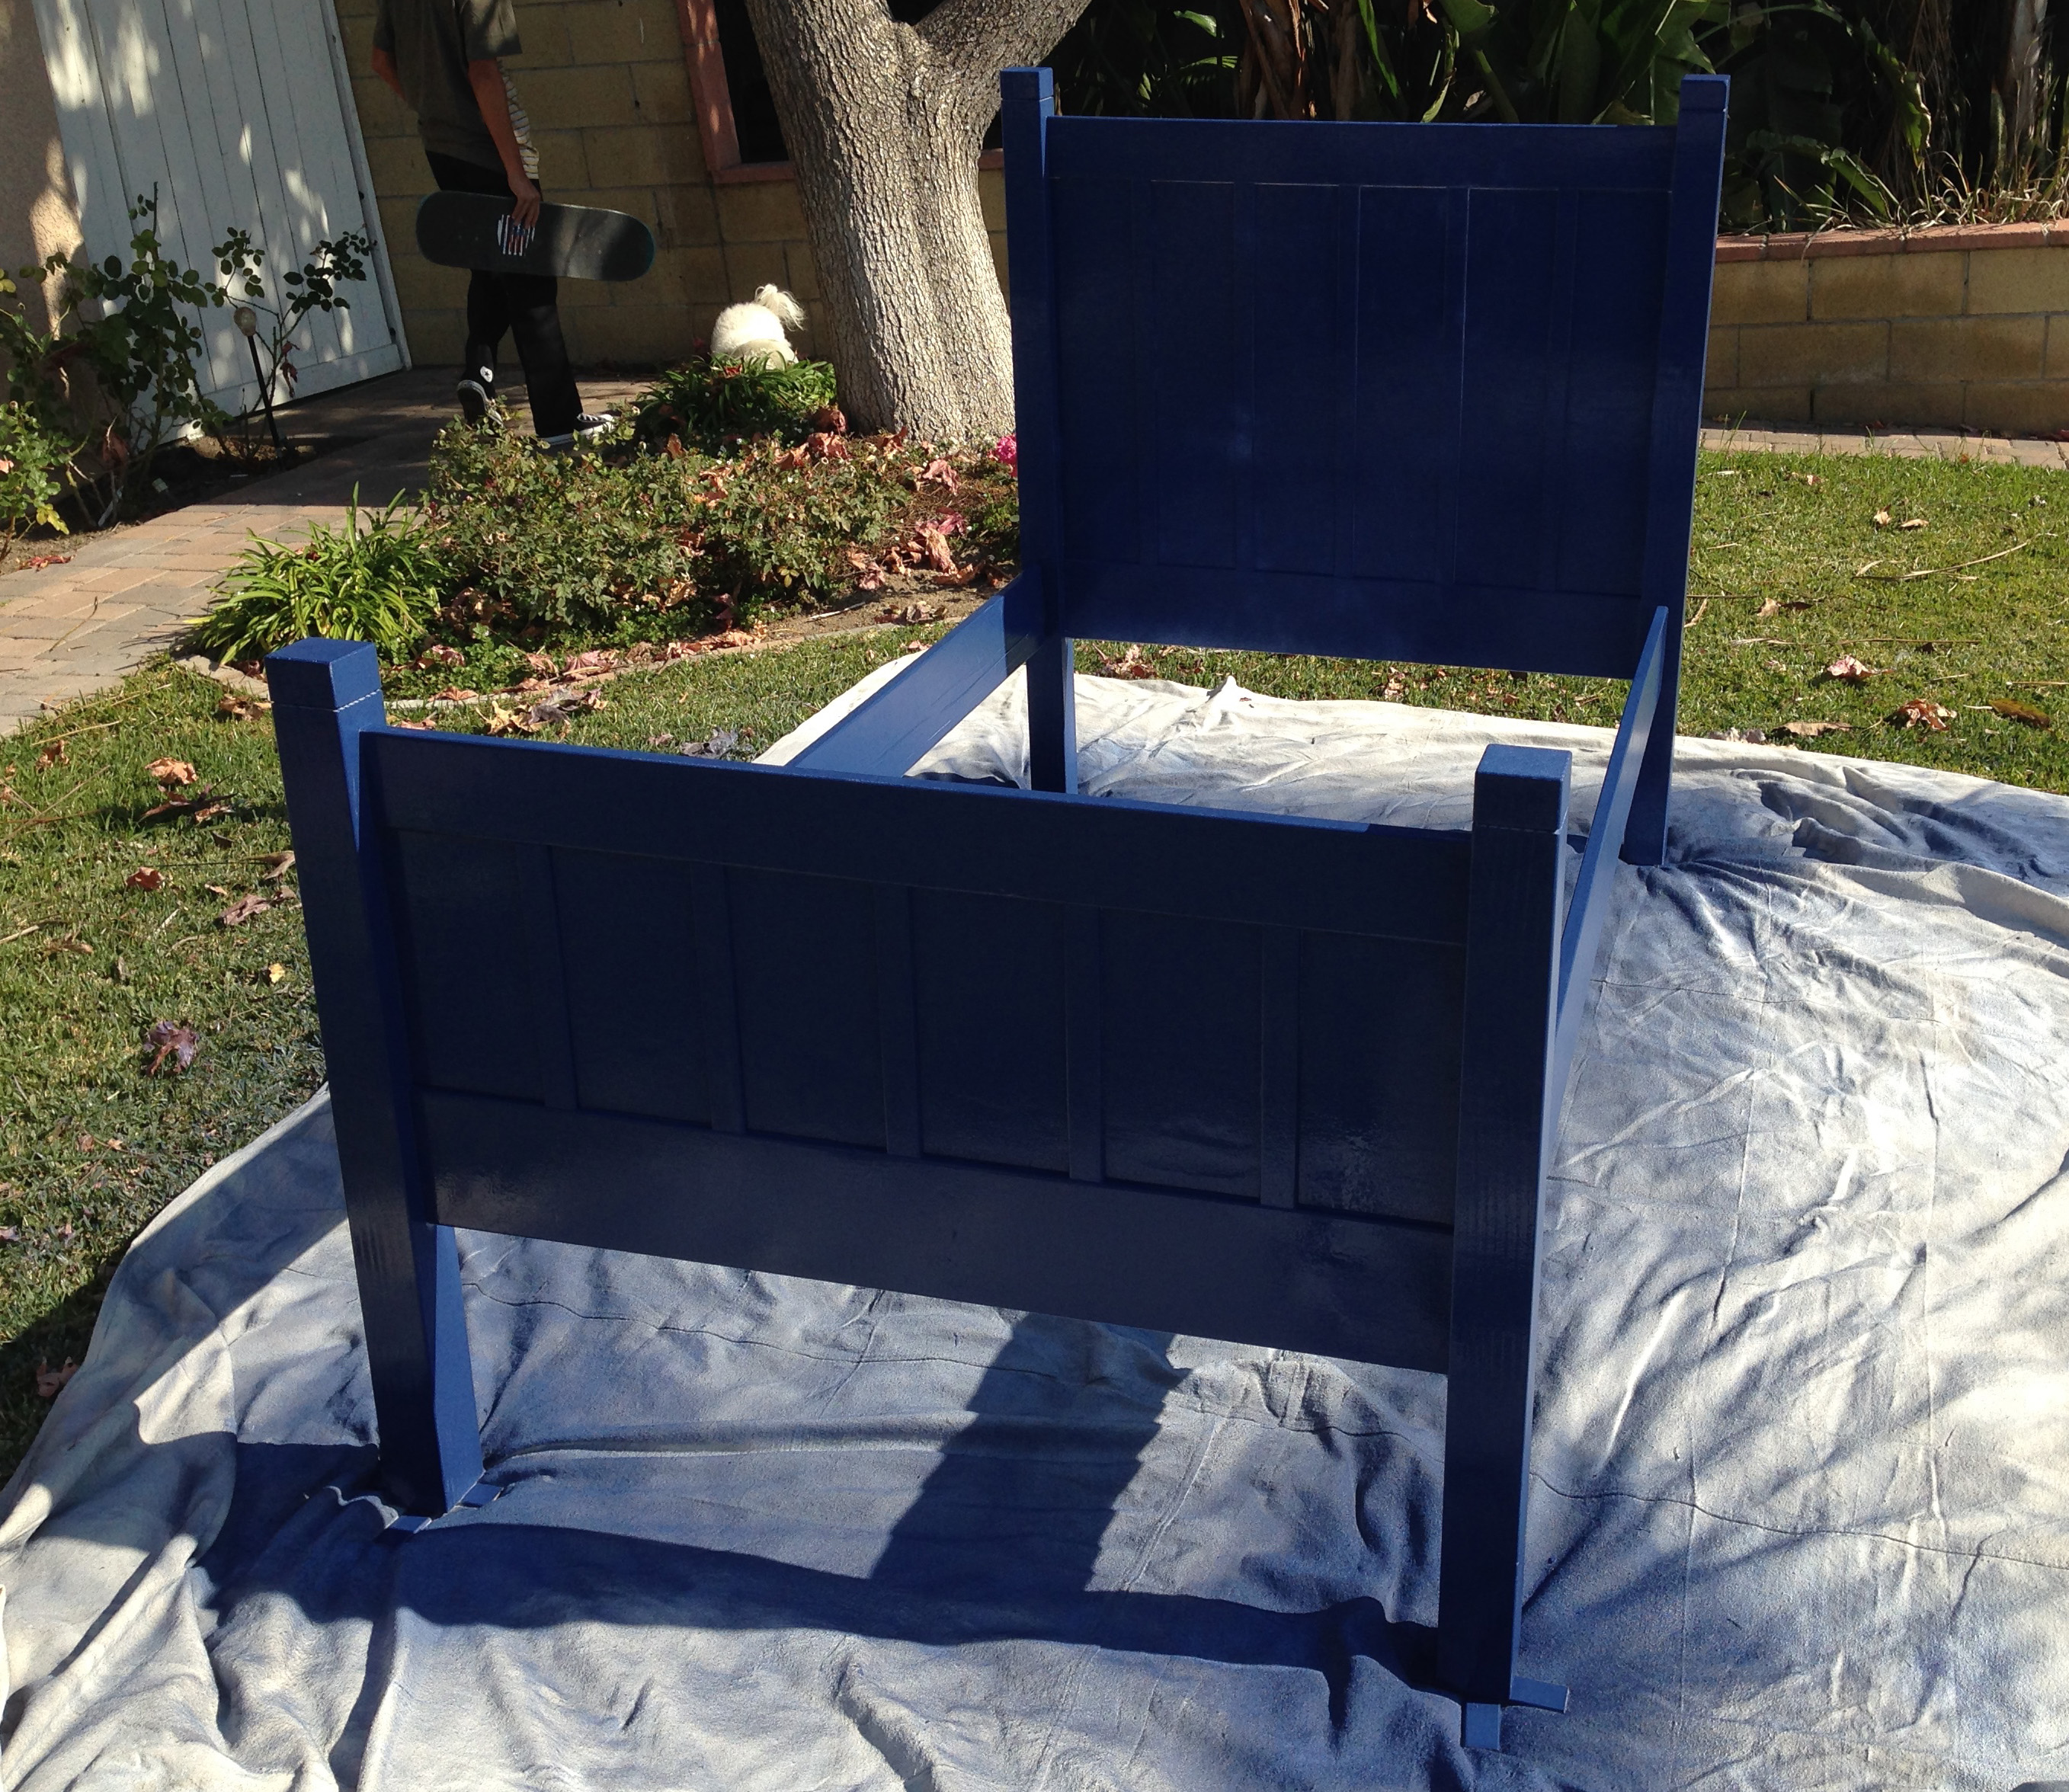 I let the primer dry completely, and then began applying coats of the blue paint using an airless sprayer. The airless sprayer delivered a much thicker coat, and after 3-4 coats of paint, I had used the whole gallon! It looked pretty good though.