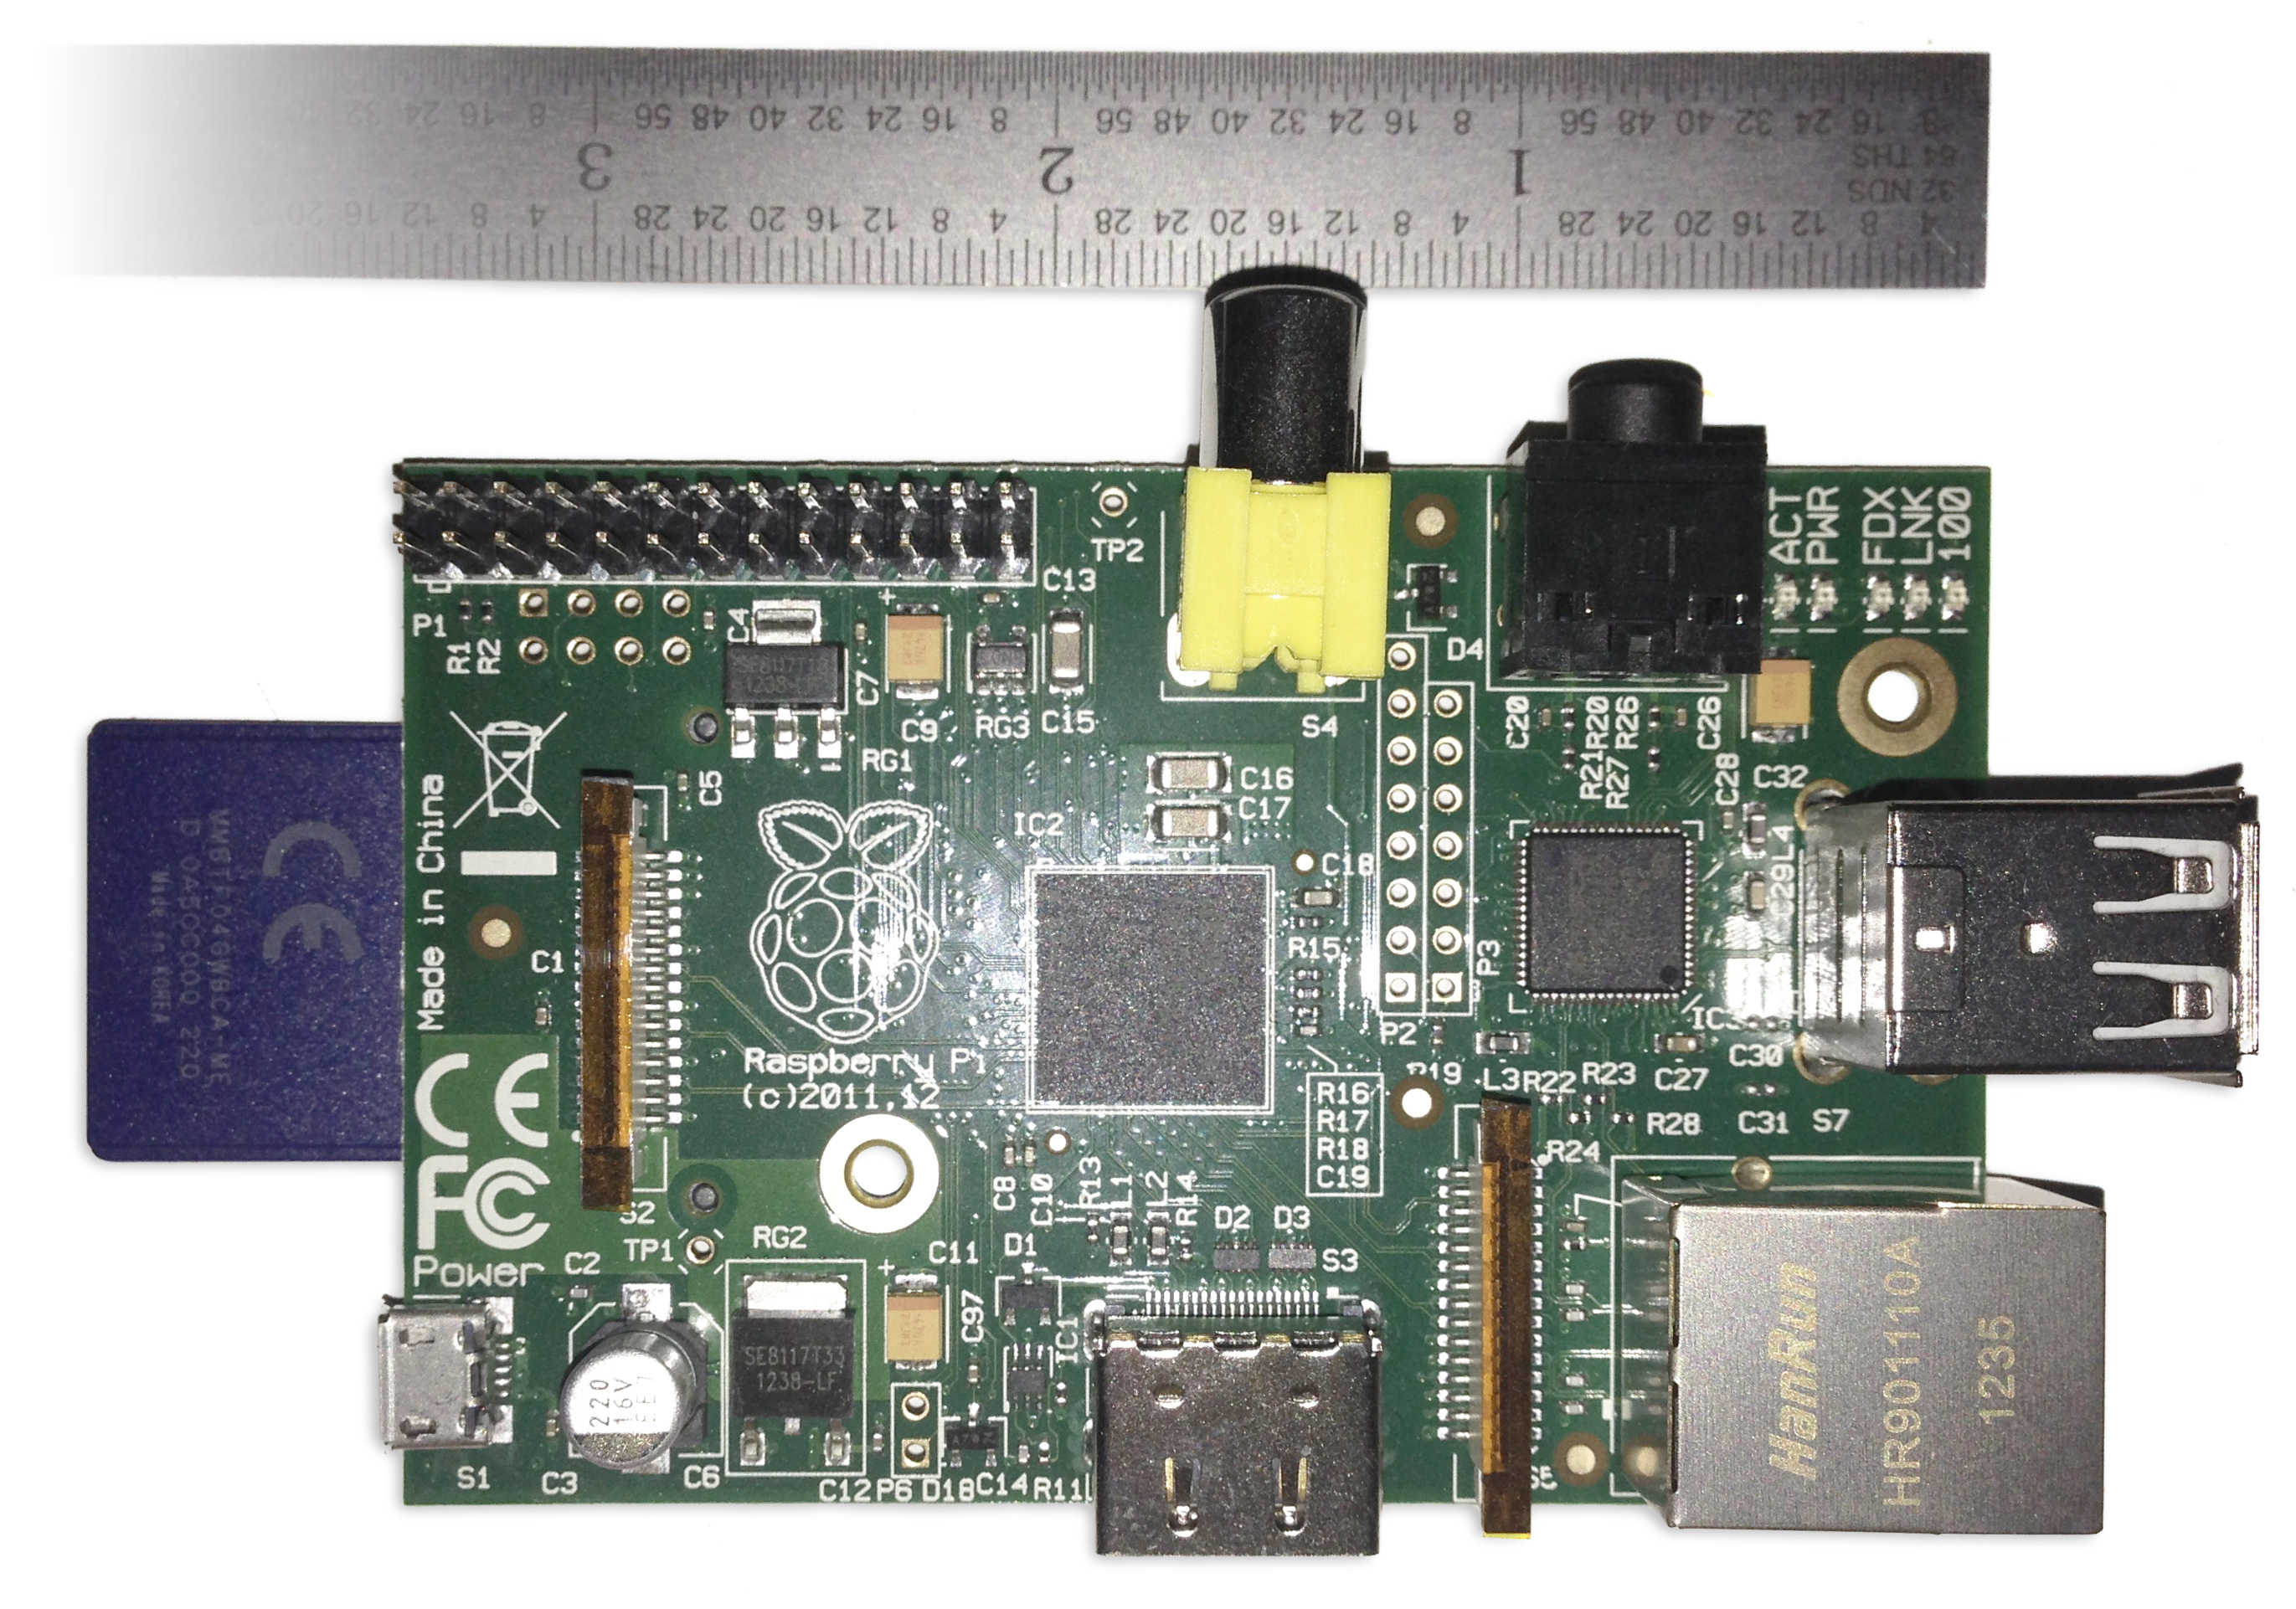
I recently (2 years ago) purchased a Raspberry Pi (The original model). I bought it off a friend who never ended up using it for anything useful. My intent was to run a small web server with it, and enjoy some savings over the old computer I use for a server that was eating up more than 100 watts of energy.
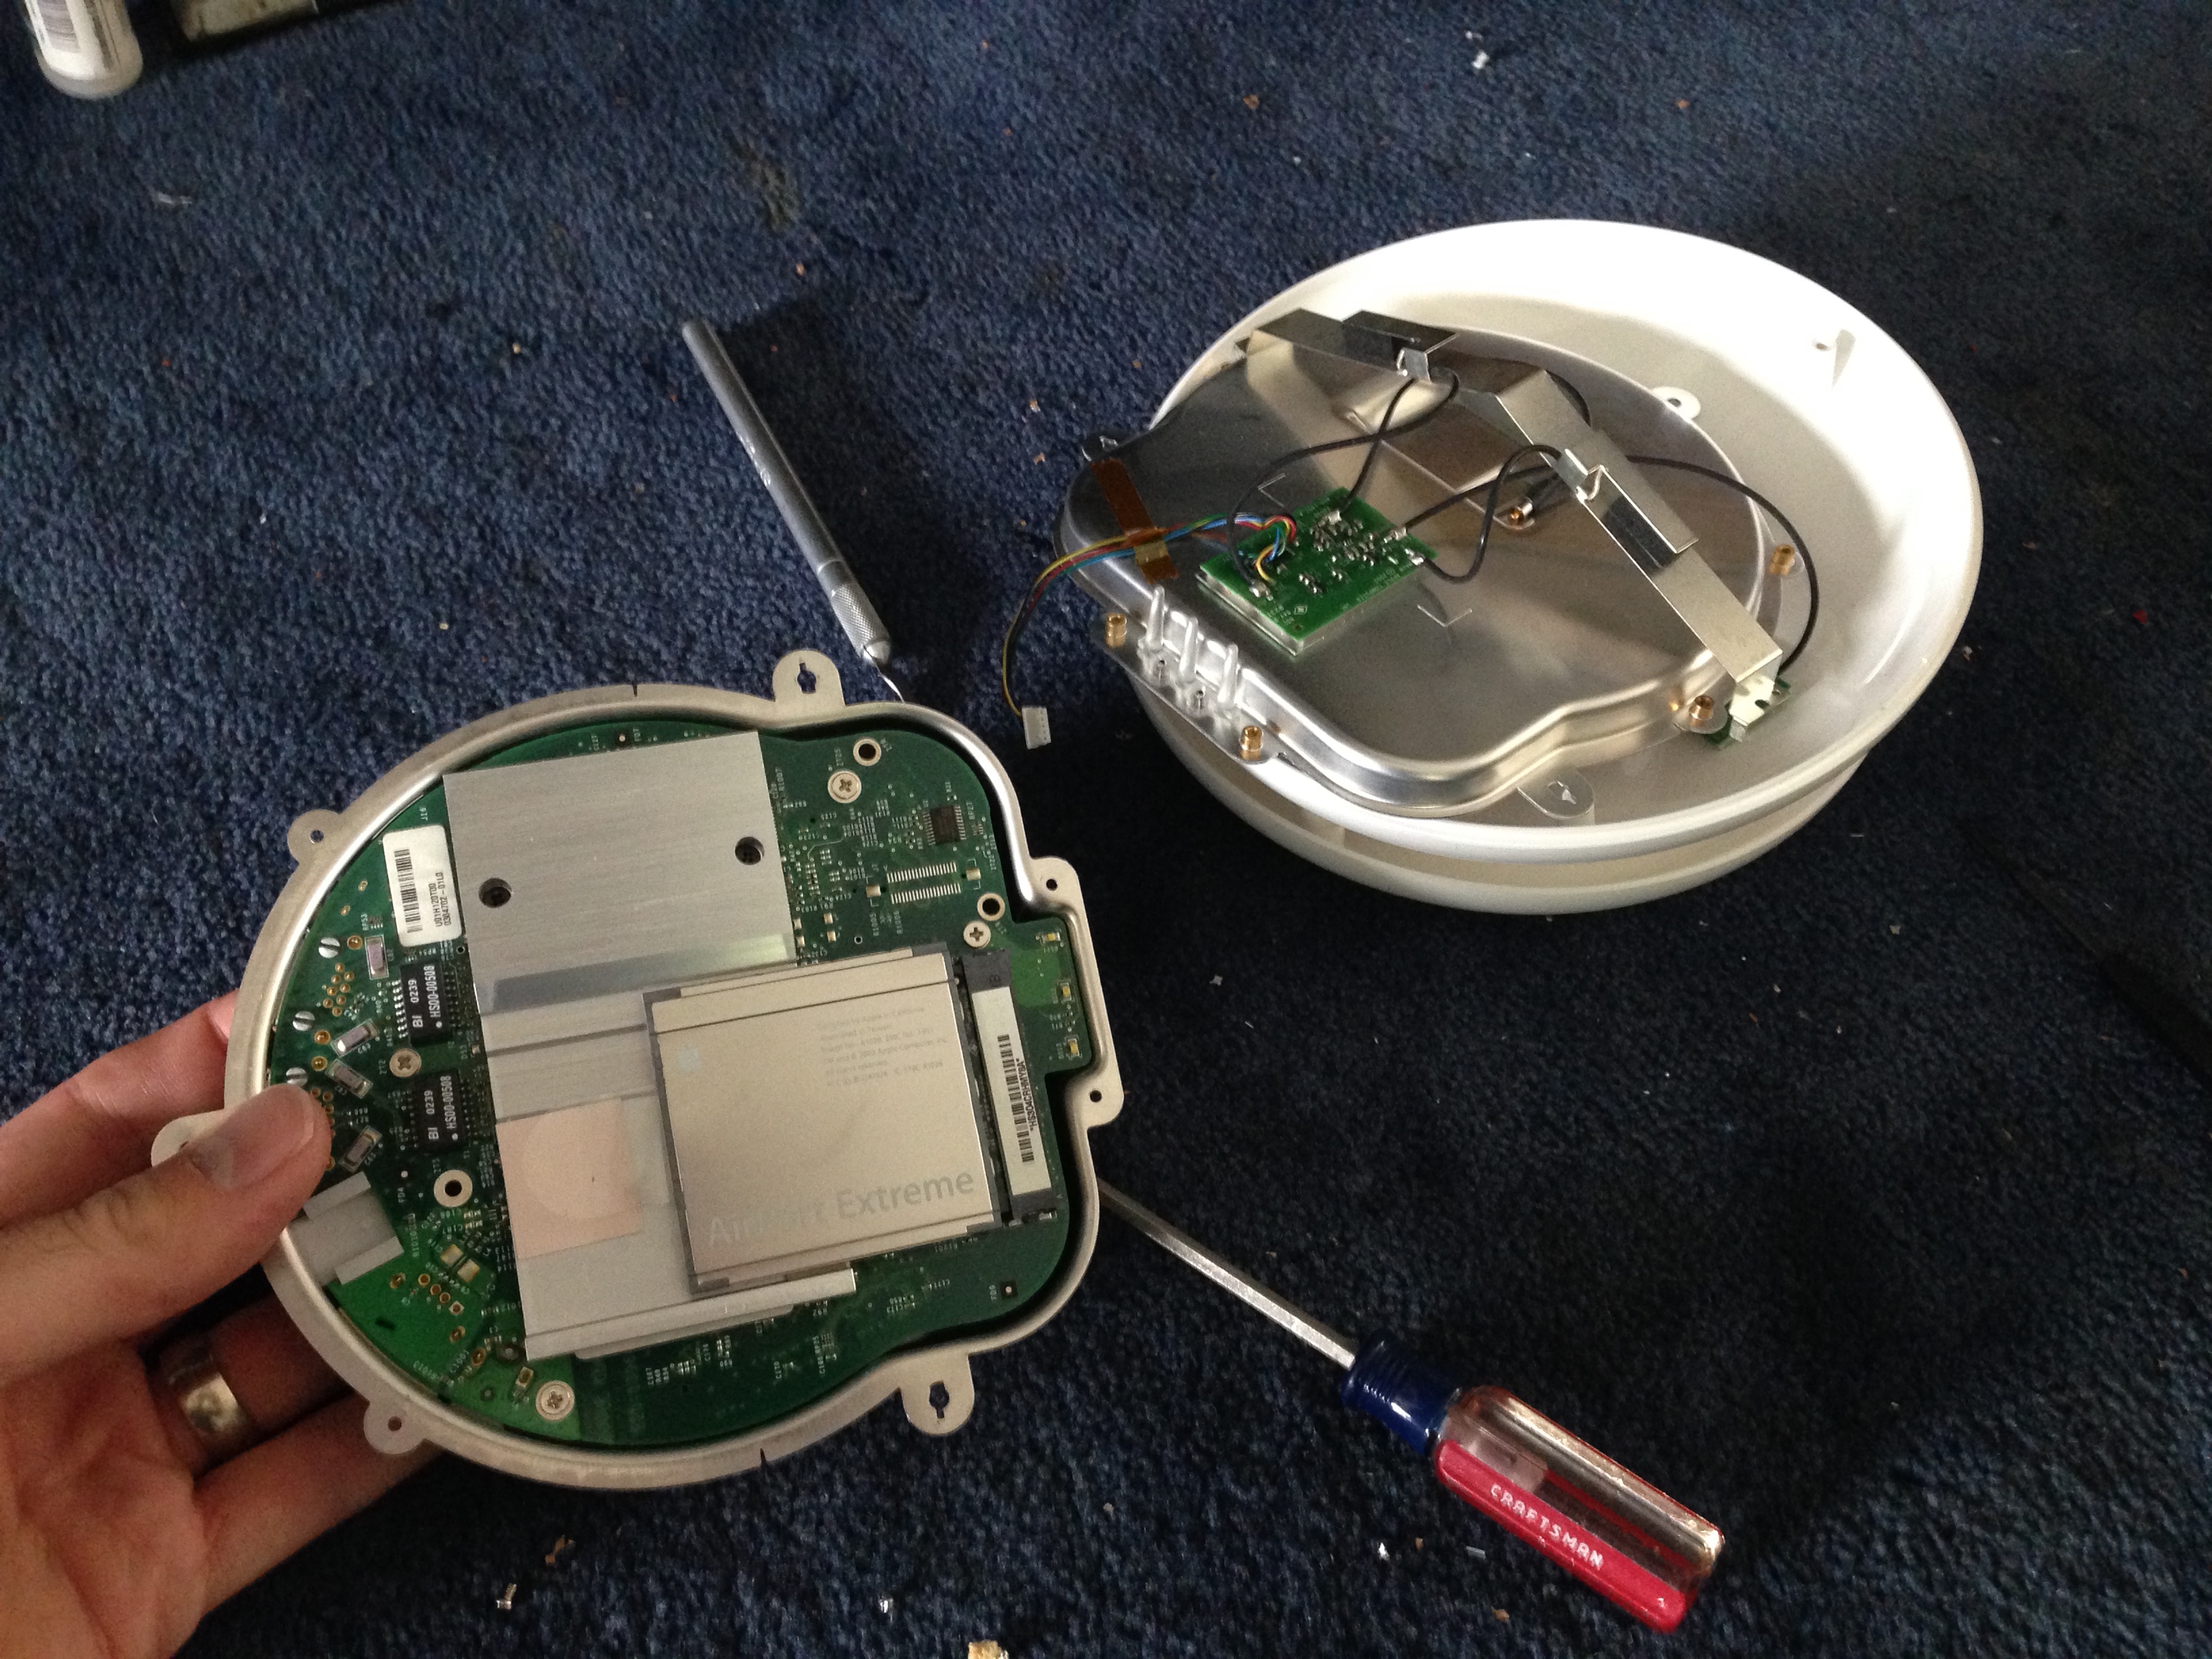
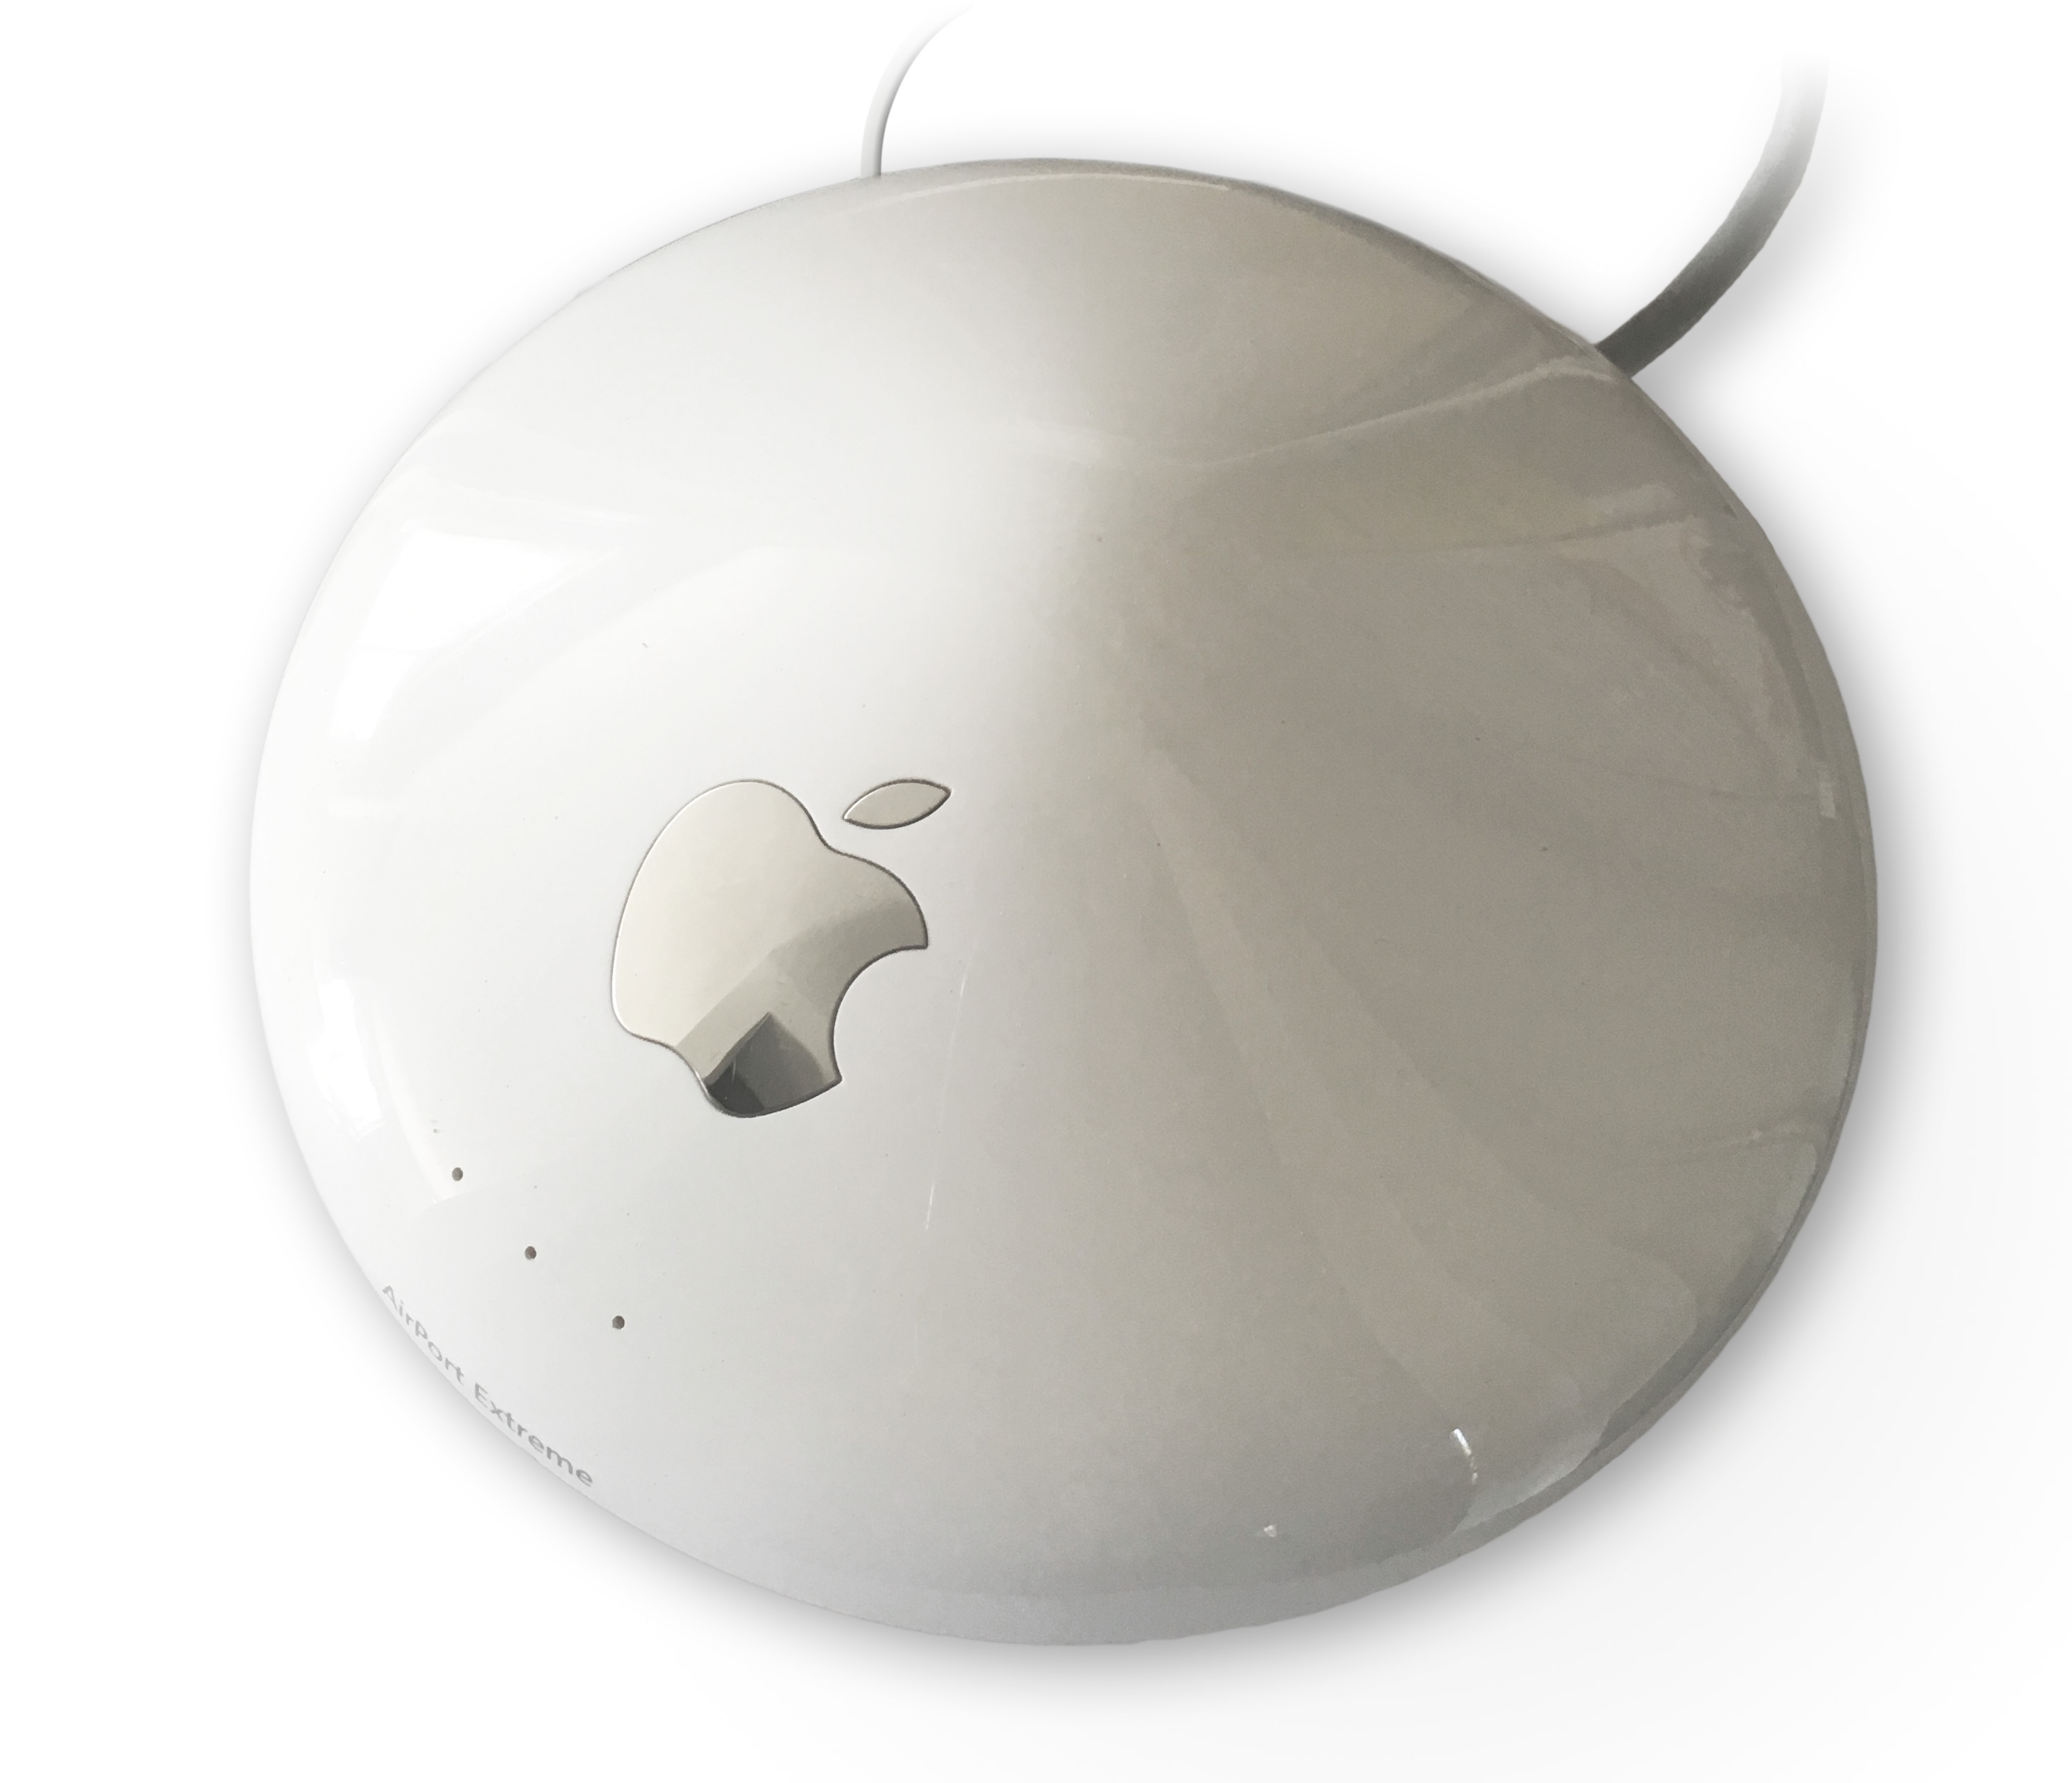
I also didn’t care for the case it came with. I also happened to have a first generation Airport Extreme that I also got second hand. It served it’s purpose, but had since died. I thought these two might be a match-made in heaven.
I gutted the poor airport extreme and inspected it.
It didn’t know what hit him.
I was going to throw out the PCB entirely, until I noticed that the Raspberry Pi had two holes that matched up perfectly with two holes on the Airport’s main board. I decided to keep the circuit board for mounting purposes, and reuse it’s input jacks since they line up so nicely with the enclosure.
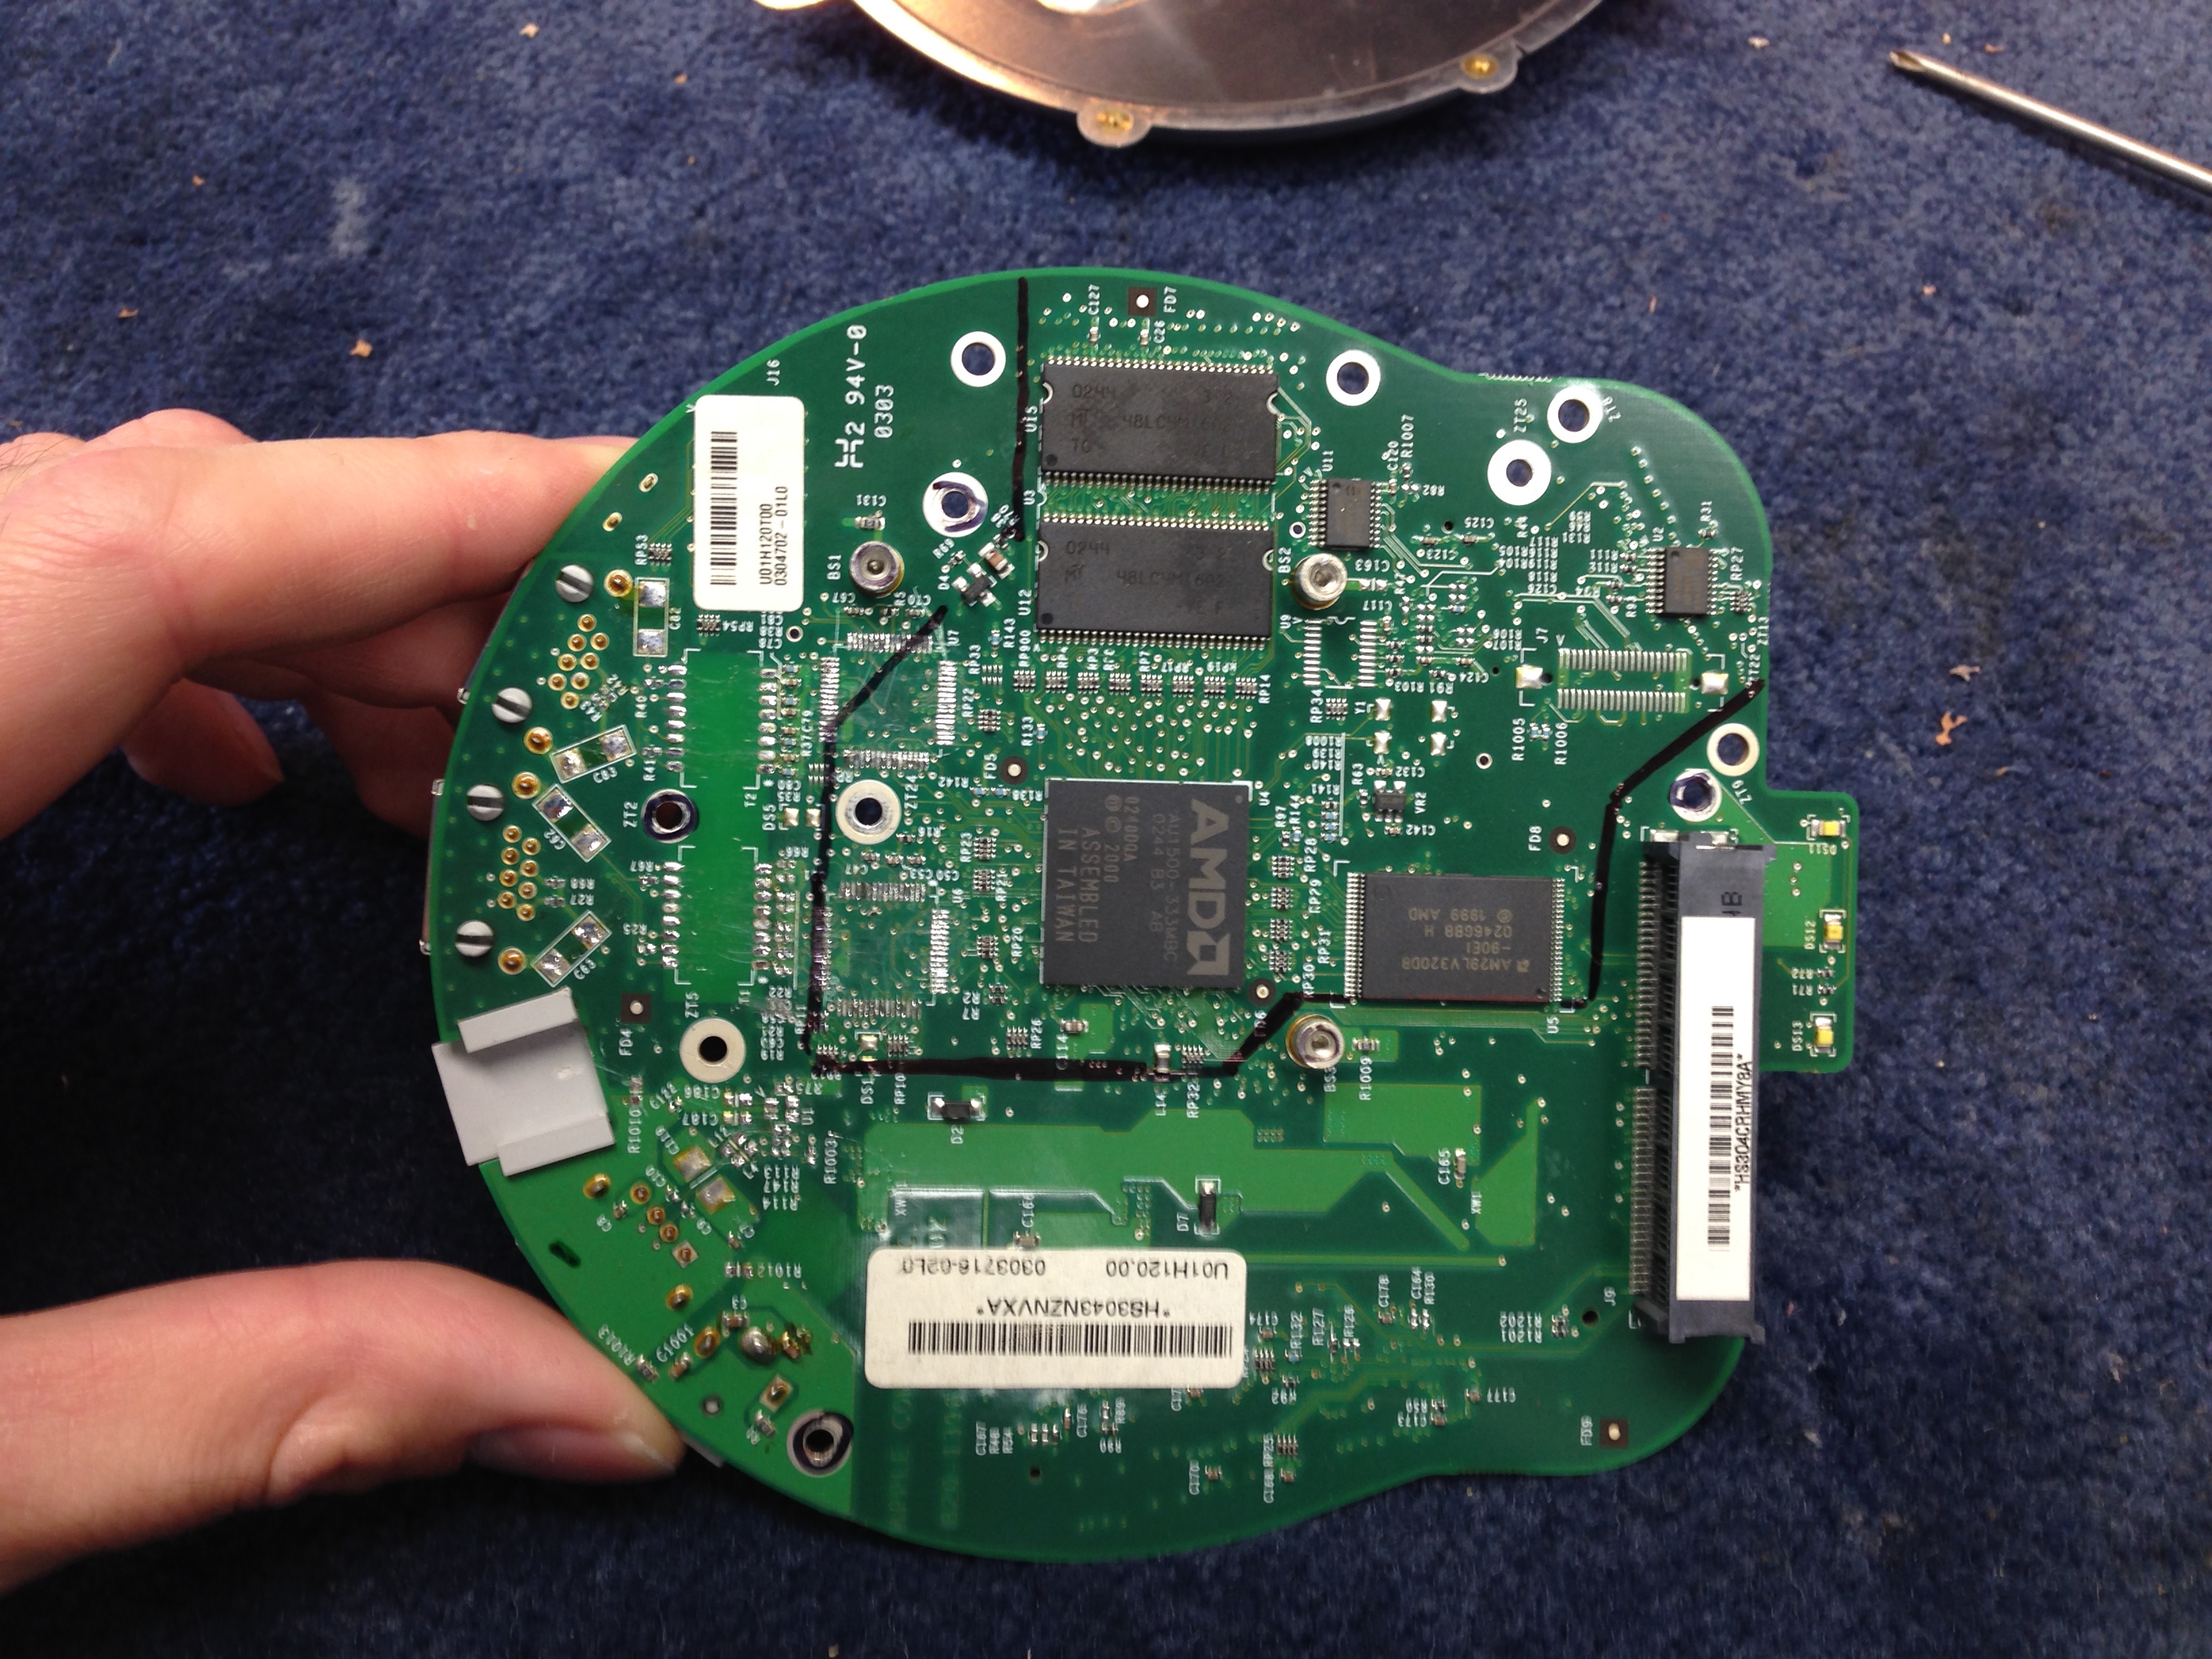
I desoldered all the parts I could near the connectors, and then marked off the part of the PCB I could remove. The intent was to remove all the circuitry that would be difficult to desolder. The result was a completely bare, partial PCB to work with.
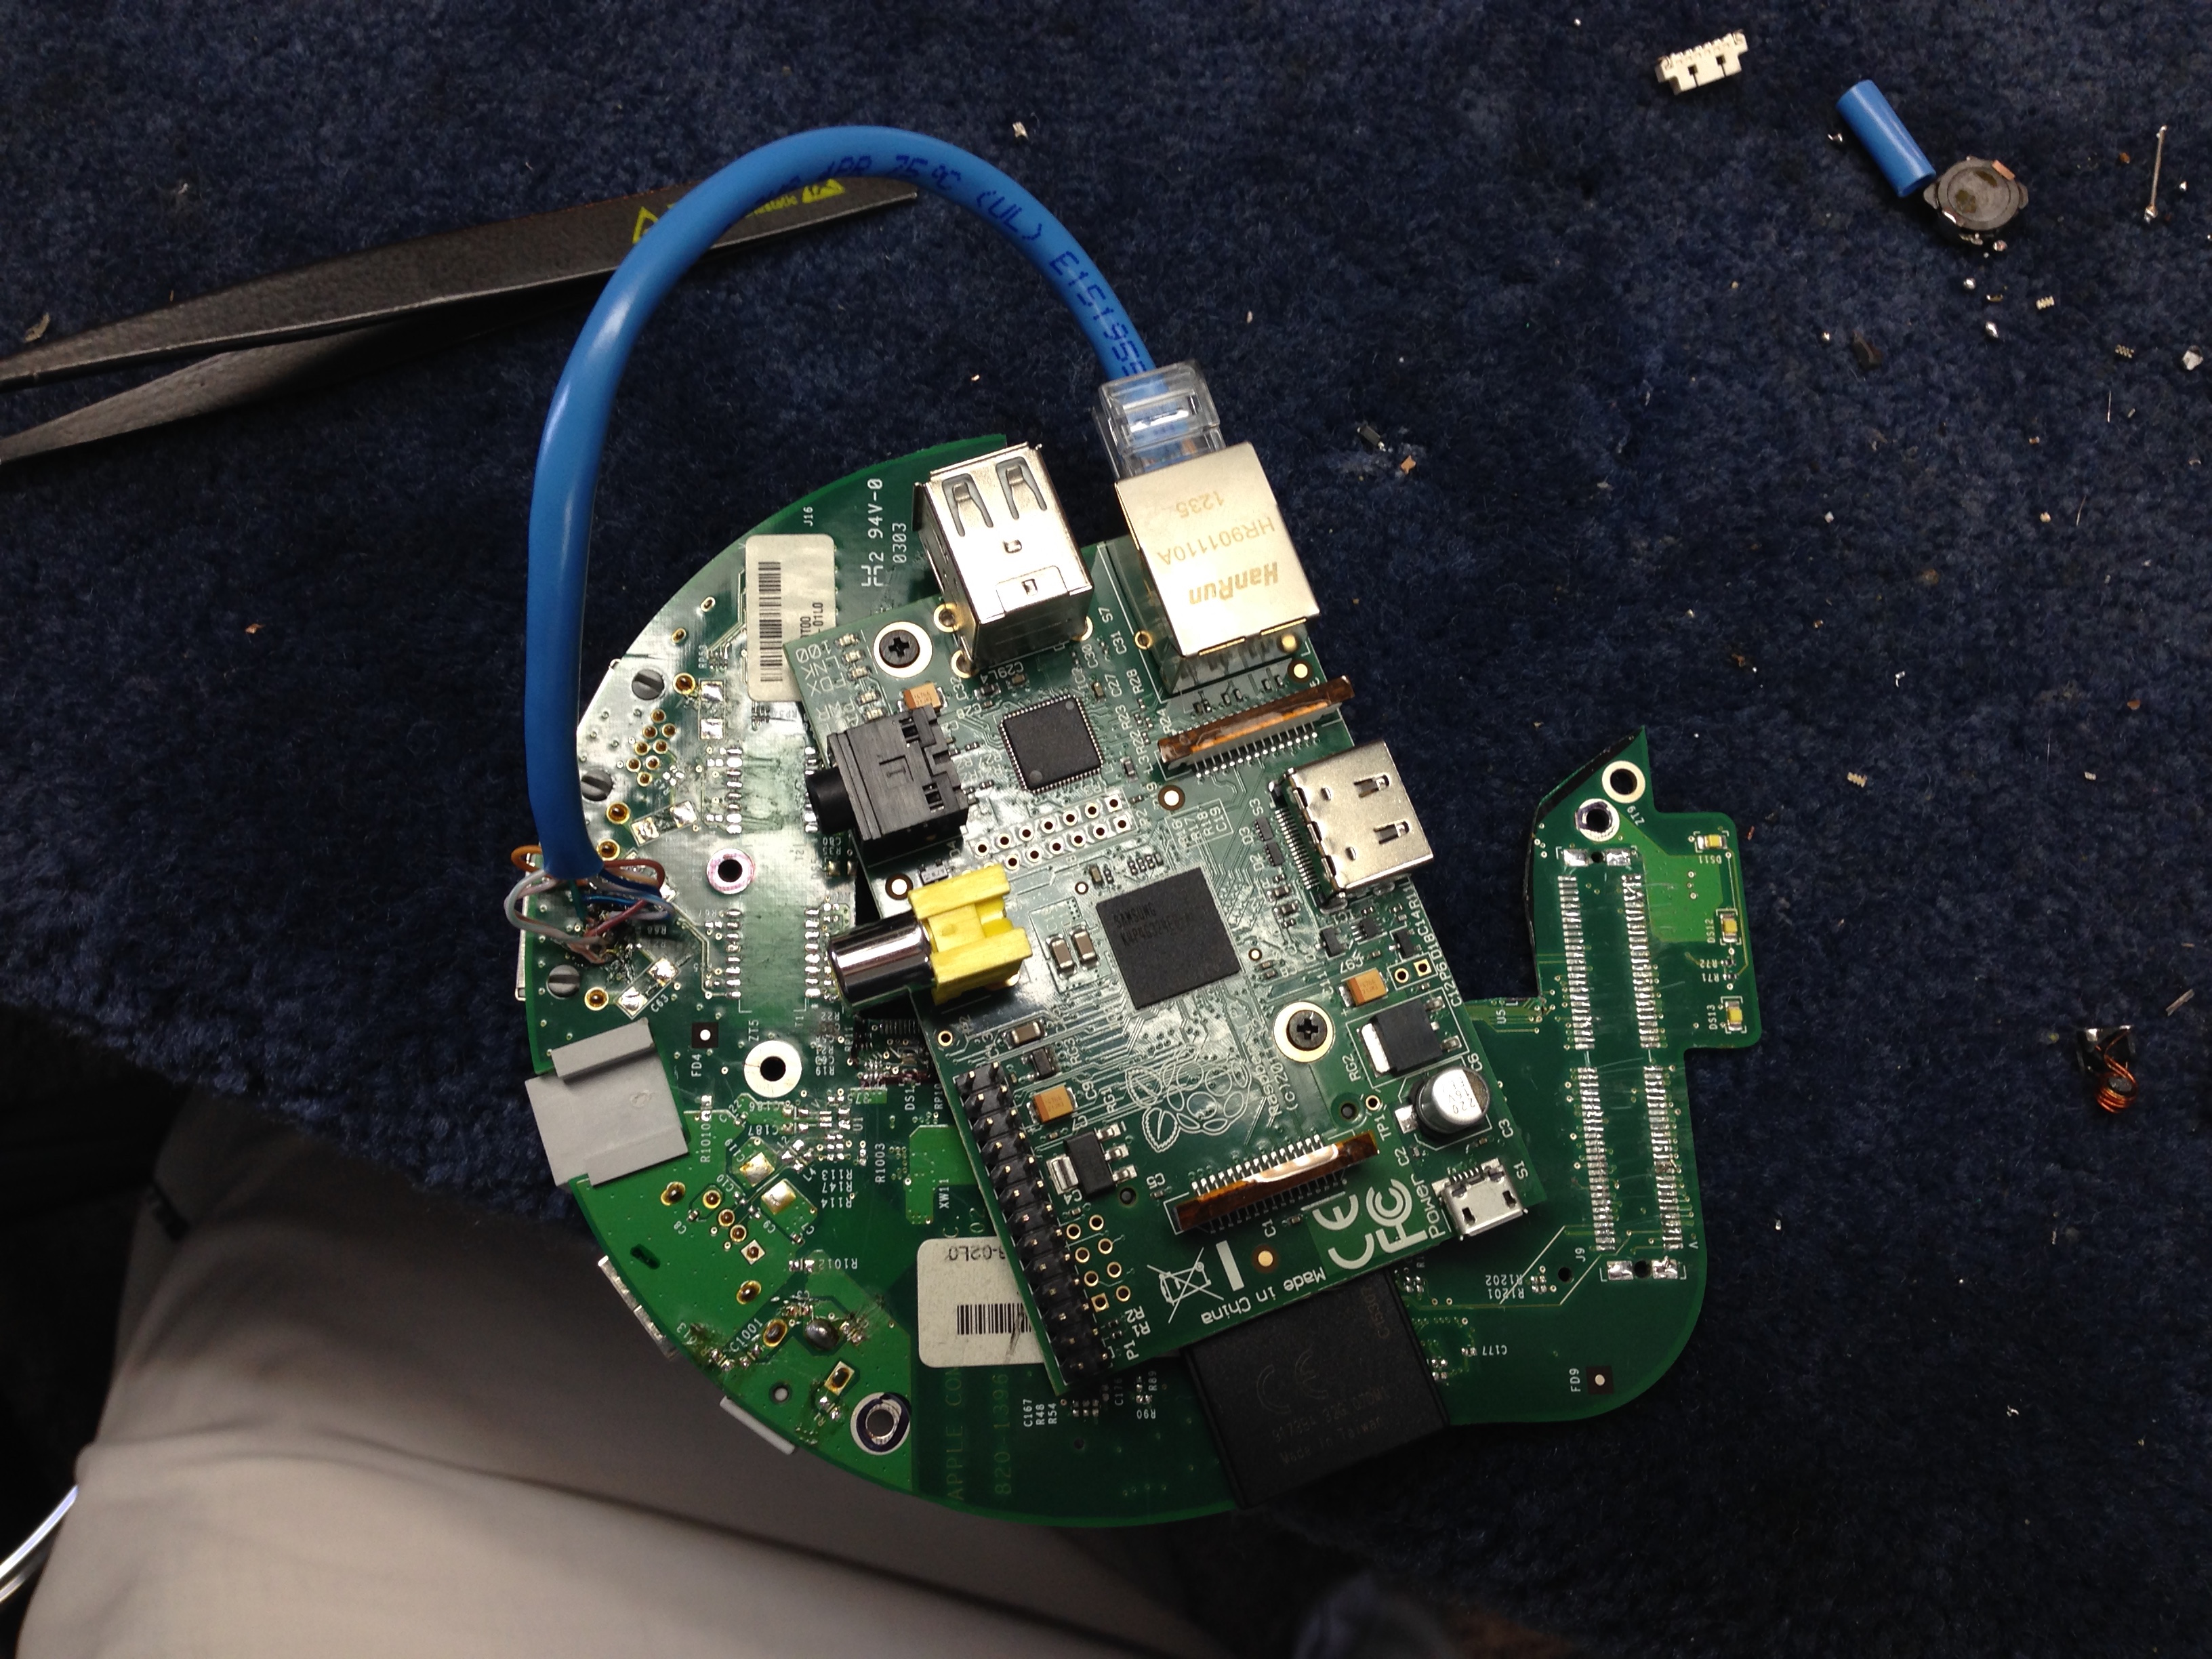
I then soldered power, USB and ethernet cables to the circuit board that would then connect to the Pi (so it’s not hardwired in, and can be swapped).
Now I have a low power web server in a cute, unassuming box.
I also wanted to have the filesystem accessible over AFP so I could access it on my desktop. this was easily achieved by installing netatalk using the command:
sudo apt-get install netatalkNow that I have the server’s disk mounted on my Mac’s desktop, naturally I need a representative icon.
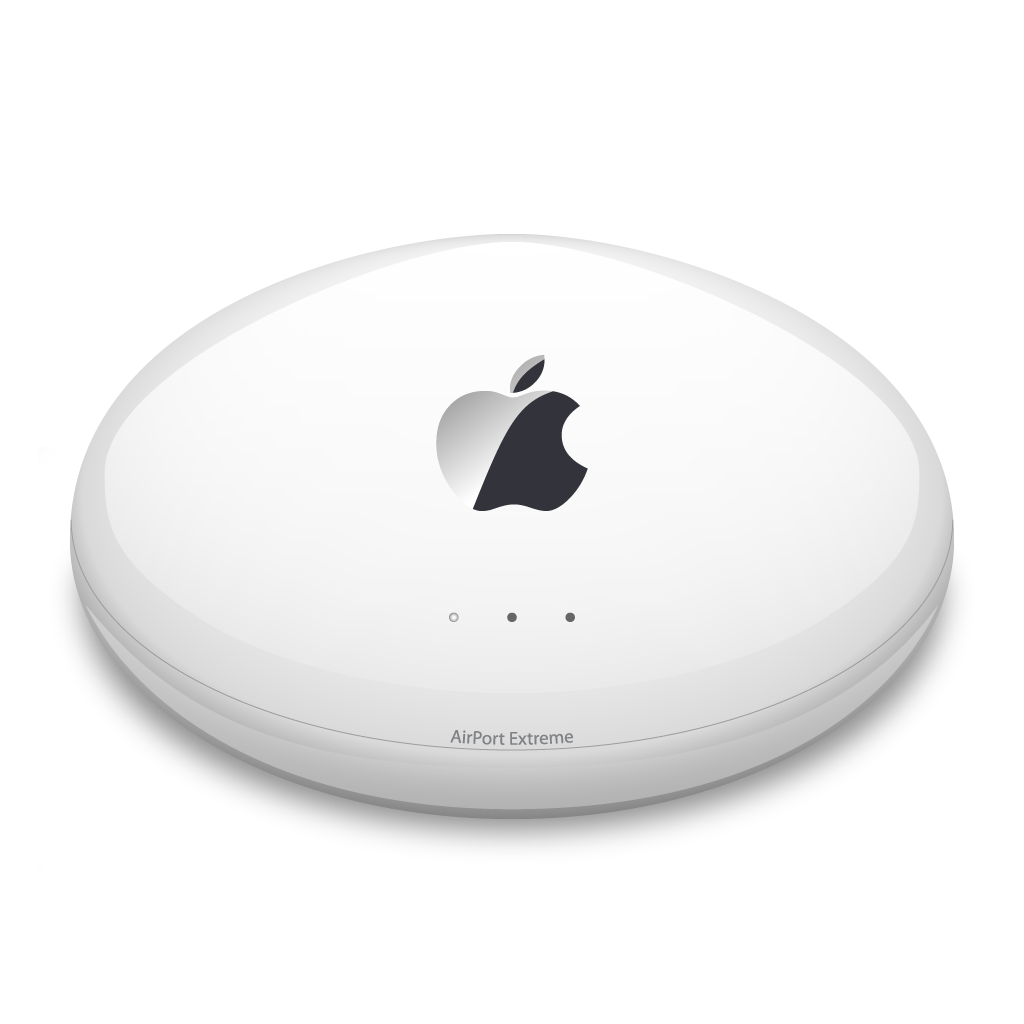
Using a reference picture, I was able to throw this icon together in Illustrator in about a half-hour’s time.