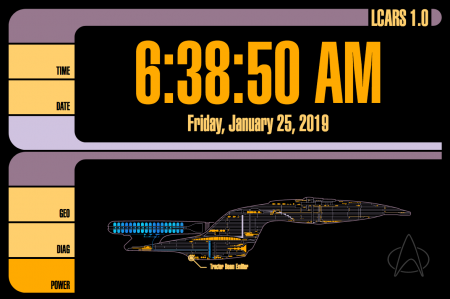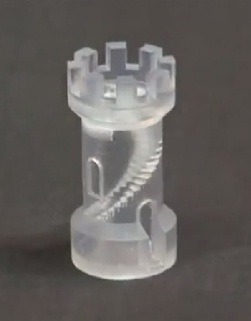
Way back when I was an itty bitty boy, I remember reading about rapid prototyping, and seeing pictures of objects created from an SLA printer. The object I remember most was a rook with an internal spiral staircase. Was was amazing about it is that it is an object that would be impossible to injection mold, or carve using a CNC machine. It had amazing detail for such a diminutive object.
When I went to college, we had a pair of powder bed printers that we could use in our manufacturing laboratory. Powder bed printing is extremely versatile because the objects being printed do not require any support structures. This allows for flexibility in design that could be difficult to achieve otherwise.
Since graduating, there has been an at-home 3D printing boom. I recall when the MakerBot went mainstream. It was very interesting, but I was very put off by the quality of the prints. The filament left a very jagged surface, there wasn’t a ton of detail, and the few prints I had seen in person had de-lamination issues in some of the layers. I’ve been very skeptical of filament printers since.
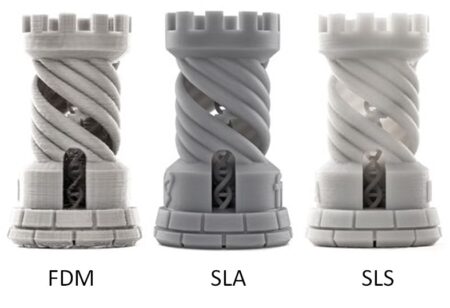
I finally gave in after seeing some prints a friend at work made using his printer. The prints still have the trademark layer lines of a filament printer, but the detail has improved so much. I got a Creality Ender 3 ($260 at time of writing) which seems so incredibly cheap. I am extremely impressed with what this machine can do.
Setup
The printer comes unassembled. It took about 30 minutes to put it together. It really required very little skill, as long as you know how to turn an Allen wrench.
Once it is assembled, the next thing to do is level the bed. This is accomplished with 4 knobs underneath the print bed. Again, it’s a pretty basic process.
Lastly, feeding the filament is a simple task. After that, it’s ready to print.
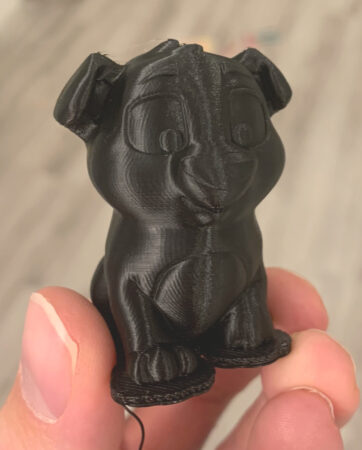
The first print I did was preloaded on the thumb drive. It was a little dog figurine. It printed perfectly!
Software
The printer came with it’s own branded software. Unfortunately, it is Windows only, but off the bat I was impressed by the ease of use. I’ve never seen or used slicing software before, but I was delighted by how intuitive and easy it is to use. It has basic presets as well as expert settings. For most things, the basic presets are great. I’ve used them for multiple projects without any real issue.
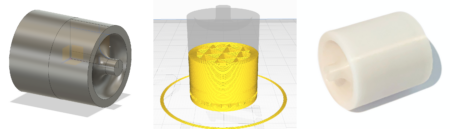
I did eventually find out about Utilimaker’s Cura and downloaded it so I could slice on the Mac, and also so I could test tree supports. Cura had a built in printer profile for the Ender 3, which was great. My first few prints using it for slicing have also been a success.
Printing
Now, it’s not all great. I’ve had my share of failed prints. Many times this is do to positioning something sub-optimally, or trying to print something that’s just too small and delicate. In most cases I’ve been able to work around it by rotating or splitting the object up. Another issue I’ve had is with smaller items sticking to the print bed. Adding a raft certainly remedies these issues, however it uses a lot of extra material.
I did buy an upgraded glass print bed. The plastic mat that came with the printer already had visible signs of wear after just a month or two. The glass bed has been performing pretty well, The adhesion is good, and it seems to be resistant to wearing. I still have problems with larger prints pulling up around the base edges though.
Conclusion
I’ve always steered away from FDM printers because of their inherent drawbacks, such as requiring supports and the inherent layered texture of the printed piece. Despite all those misgivings, I am quite pleased with this product, and equally with it’s affordable price. One thing to be weary of though, I’ve found that with this hammer in my tool chest, most of my problems have started to look like nails.