Eyes are interesting things. We have color receptors in our eyes tuned for three different wavelengths. Short (blue), medium (green), and long (red). Our brains combine this information and allow us to perceive millions of color, which is really just amazing.
These three colors are so important, that we specifically target them when we produce images on our monitors and TVs. All the images are made up of these three colors. Just as importantly, when we capture images with cameras, we actually filter the light going into the cameras into the three primary colors.
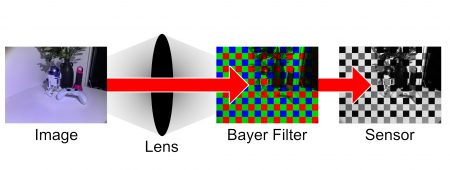
Camera image sensors aren’t inherently color sensitive. Each pixel we get out of a camera is actually made up from information gathered from 4 sub-pixels on the digital camera sensor. Each sub pixel has a filter in front of it for light to pass through; 1 Red, 1 blue, and 2 green. This is called the Bayer Filter. After the camera takes a picture or records a frame, the sub pixels get interpolated together to give a single pixel of data.
(It’s probably more nuanced than that, but that is the general idea)
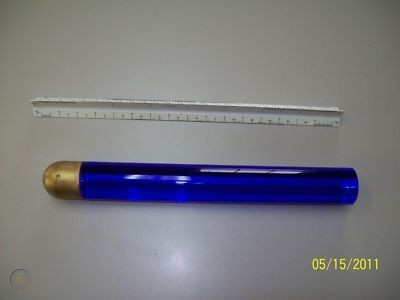
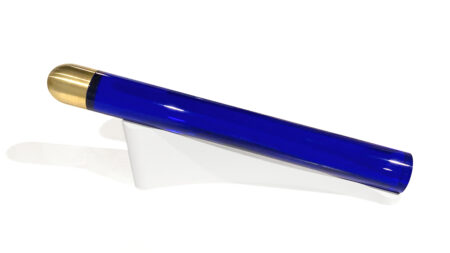
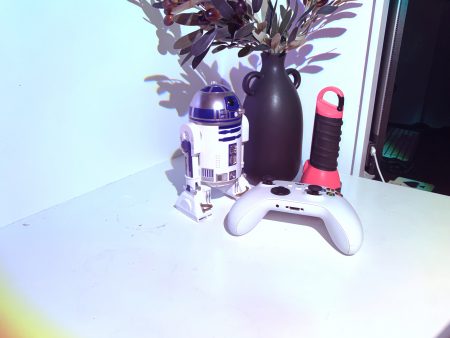
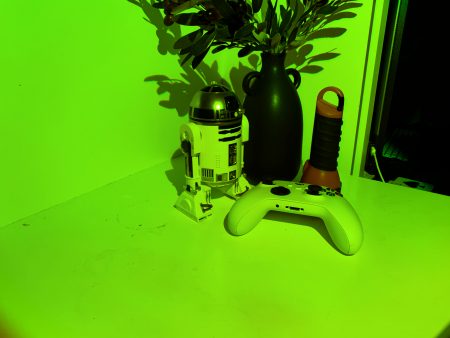
I recently purchased an RGB flashlight, and wondered how well I could reconstruct a color image by taking 3 photos illuminated with the different lights and combining them.
Ideally, I would like to try this using a black and white film camera, or black and white digital sensor, however I have access to neither, so I decided to use my iPhone.

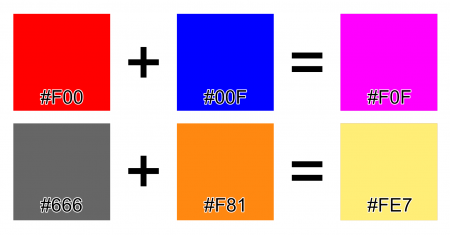
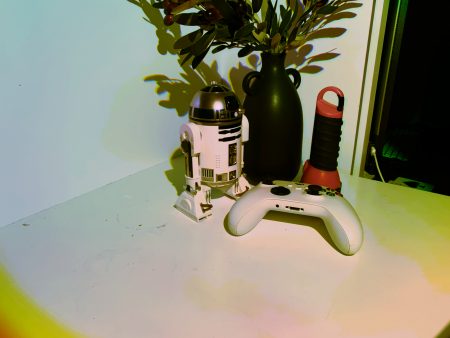
The first method I used was to take color photos with each illumination, and layer them on top of each other using the add blend mode. Using this blend mode adds the RGB values together. For example:
This method works well. It’s somewhat surprising considering that nothing I used was color calibrated.
The second method that I was more excited about was taking black and white photos of each and using those as the raw channel data to reconstruct the image.

I took the photos on my iPhone while using the black and white filter mode. I then used Affinity Photo to import the photos and assign them to channels. The end result was abysmal.
I was able to improve it a bit by mixing the blue channel higher and reducing the intensity of the green channel.
Still not great.
I believe some of the problems are that the BW filter on the iPhone is not at all true black and white. I was surprised initially to find that the image wasn’t actually grayscale. It was RGB. I also don’t know how the image is being converted to black and white. It’s plausible that in the process of converting to grayscale, more red and blue data is thrown away in favor of green because it produces a better result to our eyes.
Although this was a bit of an interesting exercise, I think in the end it didn’t achieve great results because of the lack of true black and white sensor. The color results would have been more meaningful if it had been achieved without any color aware equipment.
Additionally, I’d be interested in comparing a composited photo using 3 exposures with red, green, and blue lights to a composited photo using 3 filters and white light. Someday I can revisit this experiment once I procure a proper camera.