![]()
About 13 years ago (2001), my brother, dad and I embarked on a mission to create some arcade cocktail cabinets. My brother had bought some vintage arcade games at auction, and we both decided that it would be fun to own brand-new cocktail tables.
We got my dad on-board with the idea, which was probably the most important part, since he had all the tools and know-how. And if we were going to build 2, we might as well build more. We ended up creating 6 cocktail cabinets; one for each sibling in our family, one for a cousin, and another for a neighbor. This original endeavor is somewhat documented on my very old personal site.
The Cabinet
The first thing we did is measure an actual cocktail cabinet that we found at a local Marie Calendar’s. The cabinet was actually pretty terrible. It didn’t appear to be authentic, and was in bad condition. That aside, it gave us some basic ideas for size and construction.
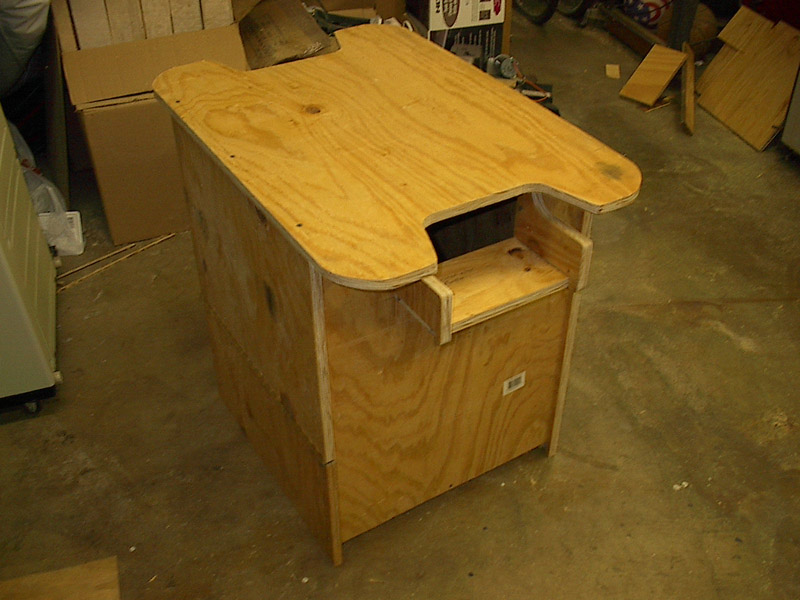
We build a rough prototype out of some old plywood that we had lying around in the garage. It was very crude, but it helped us cement down some measurements and figure out how we would do this with the actual cabinets. It was quickly built with ugly butt joints and no thought to finish in one evening. We then wrote down some final measurements and made plans for how to construct the final cabinets.
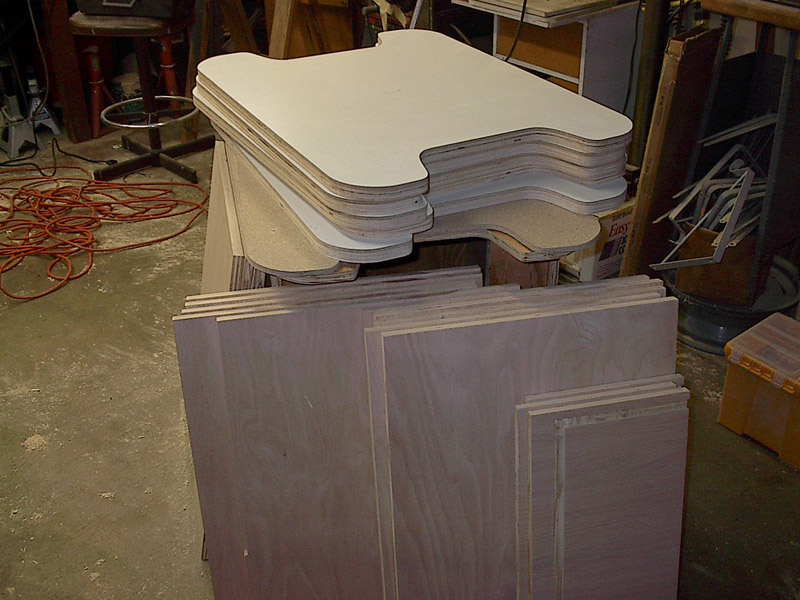
For the final cabinets, we used plywood with oak veneer. We used 3/4 throughout with the exception of the top which was 3/4 and 1/4 laminated together to make a substantial 1 inch thick surface. The pieces were all cut out on the table saw. We decided to use dados throughout the construction in order to eliminate the need to nails and screws. We wanted the finished product to look elegant and not cheap.
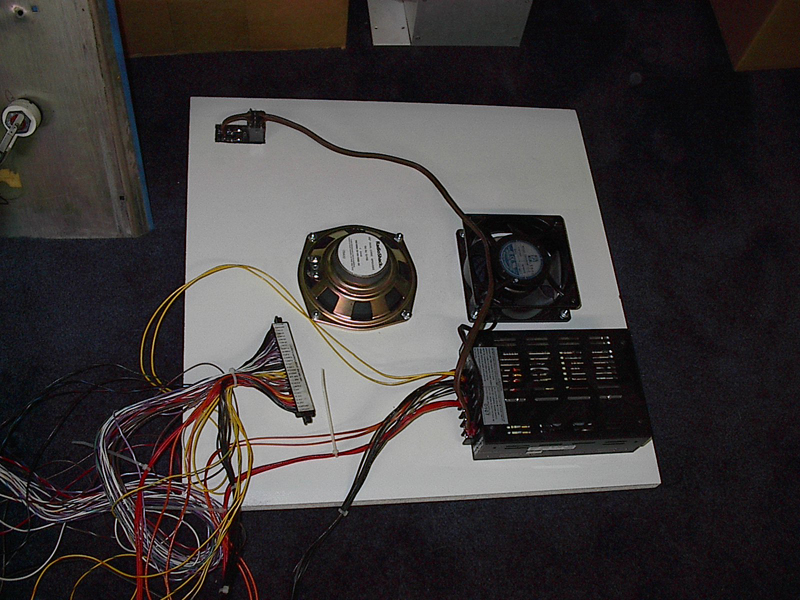
The bottom piece is made of particle board with a melamine layer on both sides. holes were pre-cut for a speaker, AC receptical, and fan. The power supply was also mounted to the bottom piece.
All of the sides were fitted together and glued. The dados provided strong joints once glued. For the door, we attached it using european hinges instead of unsightly piano hinges that are common on arcade cabinets. Since this is for personal use, we made no effort to make the cabinet lock. The edges were all routed with a groove in order to accept t-molding, however some of the cabinets were fitted with edge-tape veneer instead.
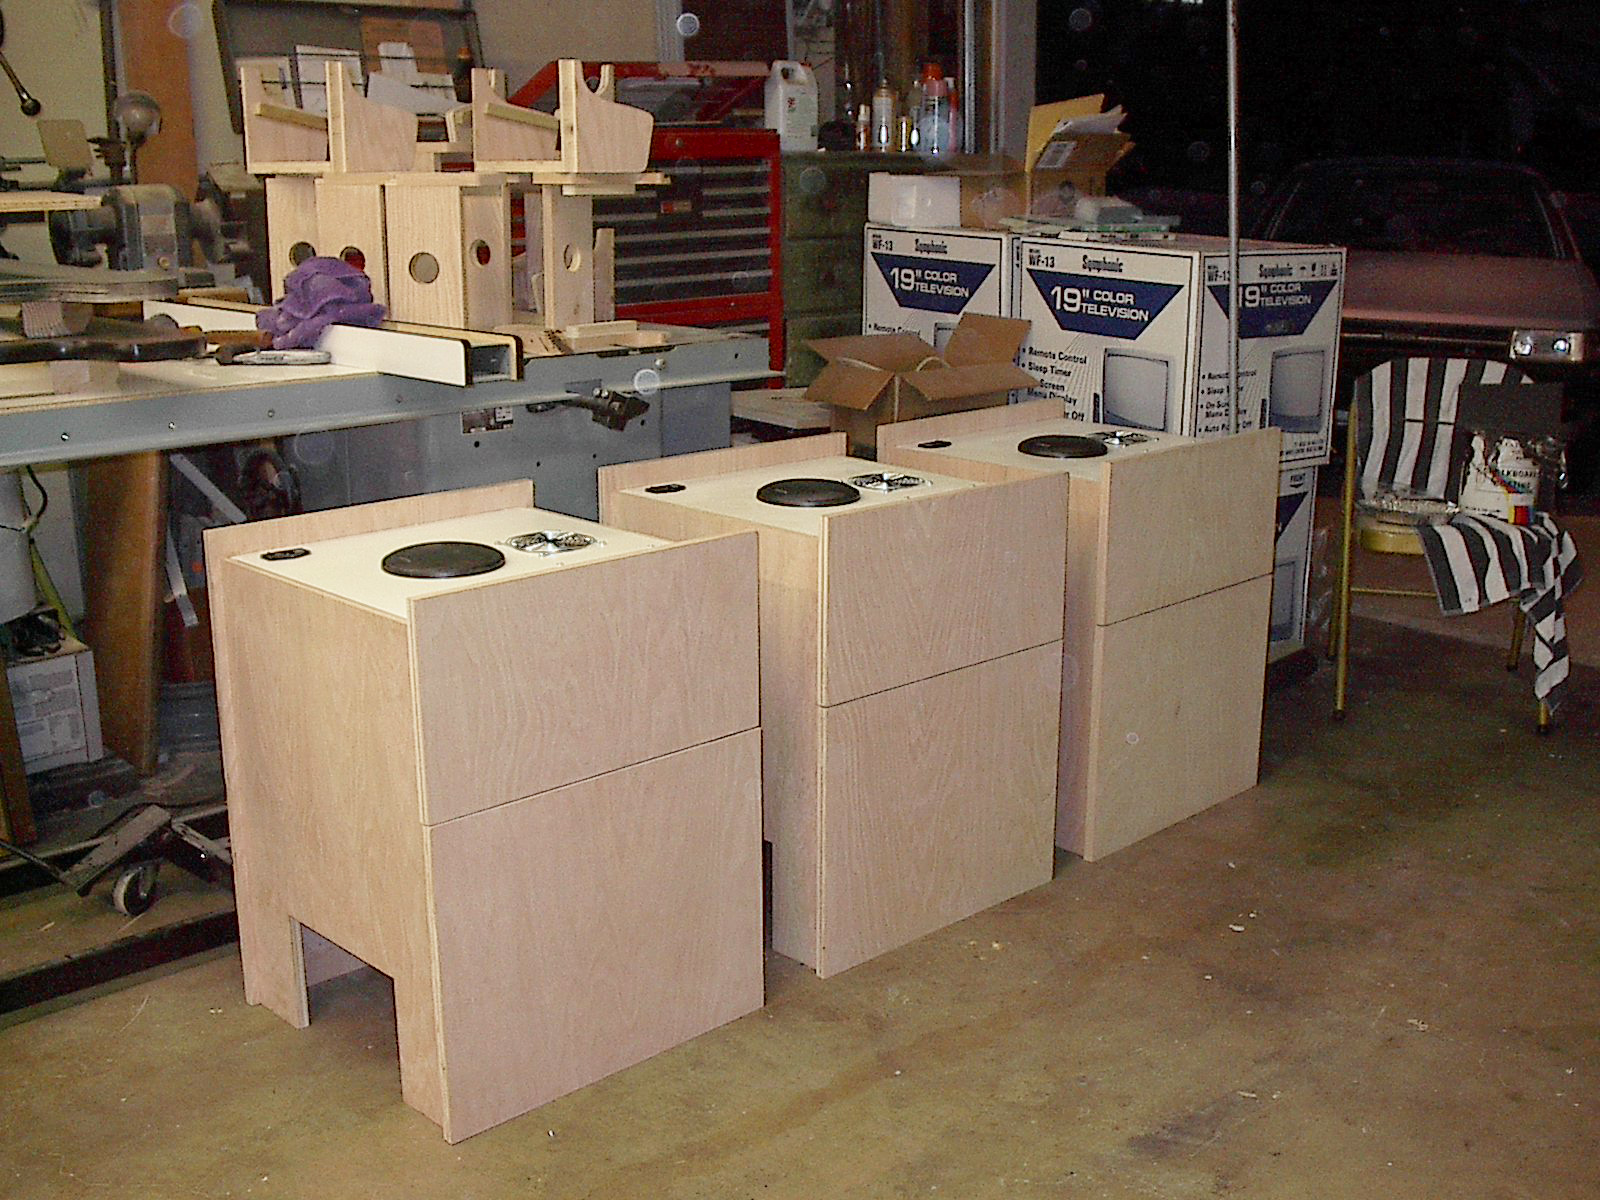
The tube is actually a cheap 19 inch CRT TV that we bought from Fry’s and then converted to accept the arcade video signals. For some reason, they sales person didn’t believe us when we asked for 6 19 inch CRT TVs…
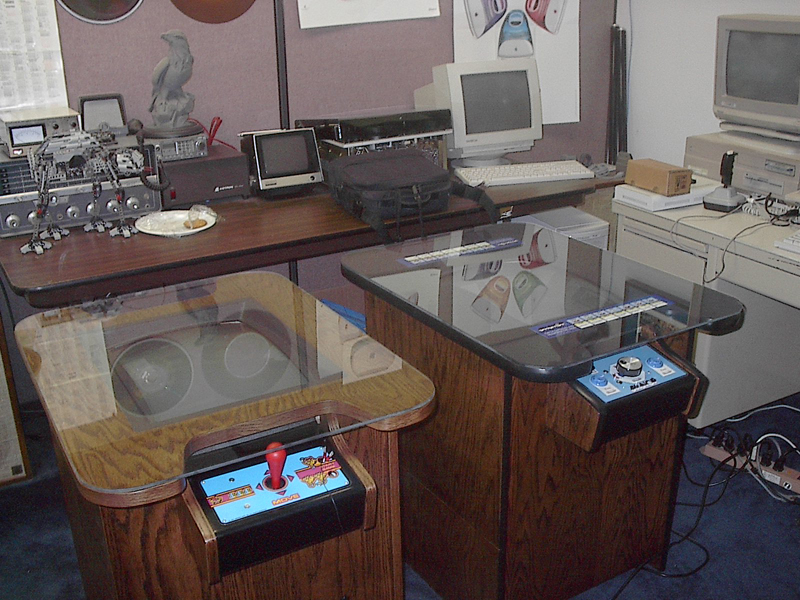
Of all of the cabinets, only 2 got 100% completed; mine, an Arkanoid, and my sister’s, a Mrs. Pac-Man. My other sister, who was in college at the time, didn’t want her’s put together since she had no place to put it, so it sat in storage in pieces.
Ten Years Later
My sister was hosting a family reunion, and wanted her cocktail cabinet for the kids to play on. I had agreed to finish her cabinet for her when she had a permanent dwelling. The time had come, but I didn’t have enough lead time to prepare it for the reunion. En lieu of her cabinet, I gave her my Arkanoid, leaving me with the unassembled cabinet in storage.
Over the last month or two I’ve been collecting all the pieces I needed in order to complete this game, including power supply, controllers, PCB, buttons, and the control panel overlay.
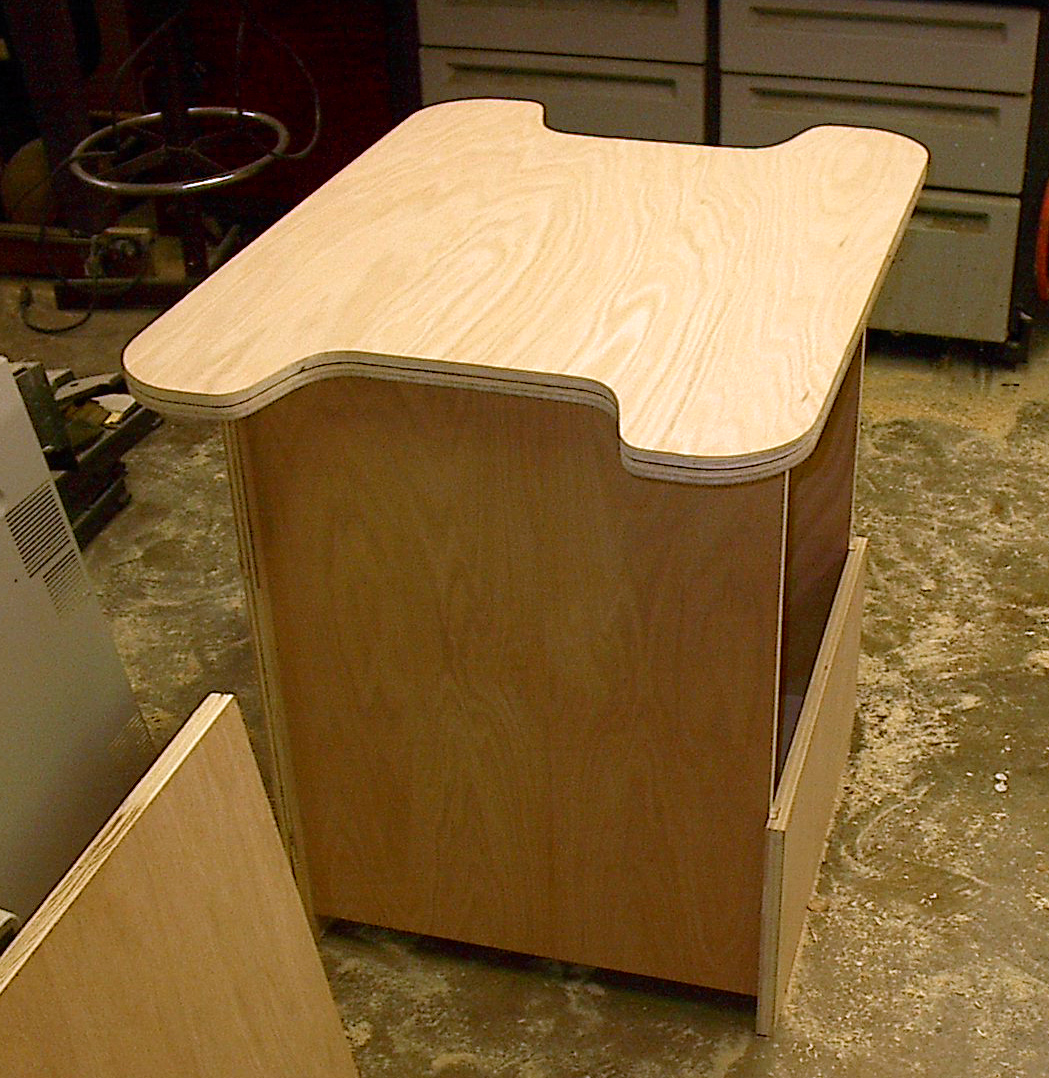
I assembled the cabinet by simply gluing the awaiting pieces together. It went together perfectly. Even the hardware for hinges was already in place in storage, so there was little to do there. This cabinet had its edged veneered instead of using t-molding. This is was actually preferable to me as I found that I didn’t like the look of the t-molding on my original cabinet after a while. I stained it using a red-wood colored Minwax. This time I opted for a red stain over the brown that I used for my original. From there I spent a weekend putting a clear coat of Deft over it.
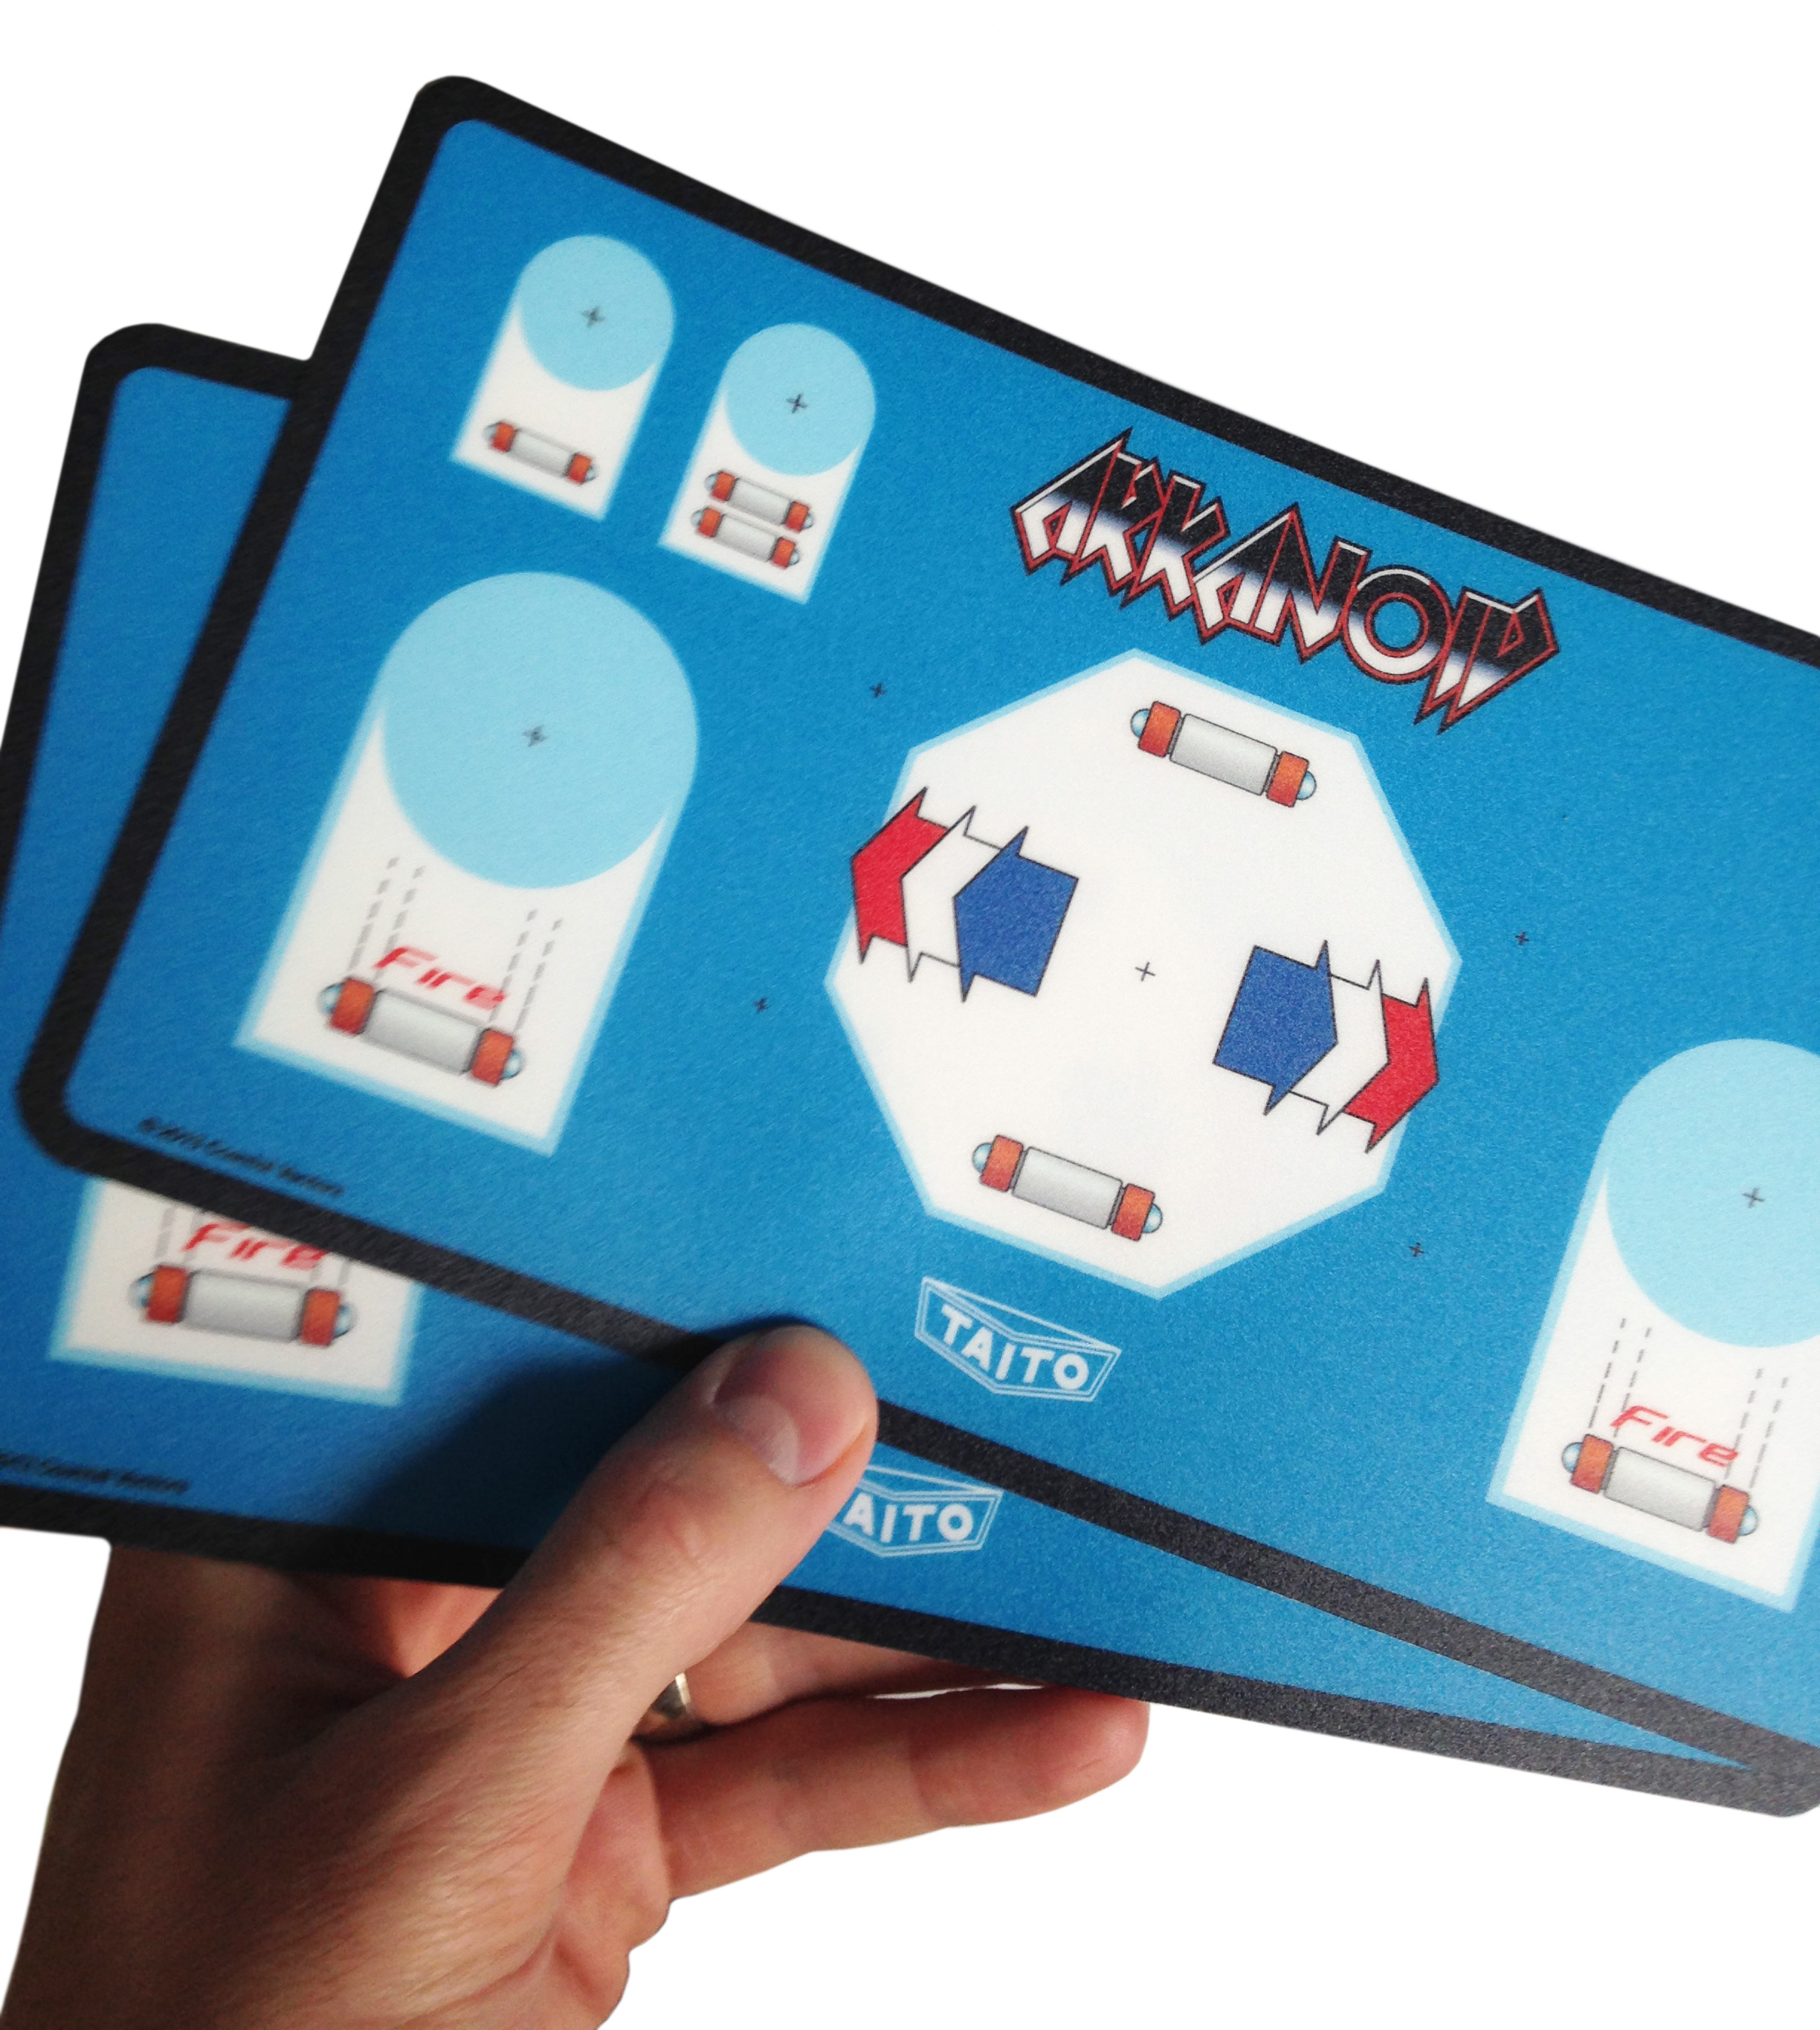
I took the original design file for the control panel overlay that I made back 10 years ago, and updated it significantly. I cleaned up some mistakes, and updated some of the graphics to look cleaner than before. (Before, I barely knew how to use Illustrator). The first time around, I printed them on photo-paper and put them under a thin sheet of plexi-glass. This time, I had them printed at ArcadeOverlays.com, and they turned out great!
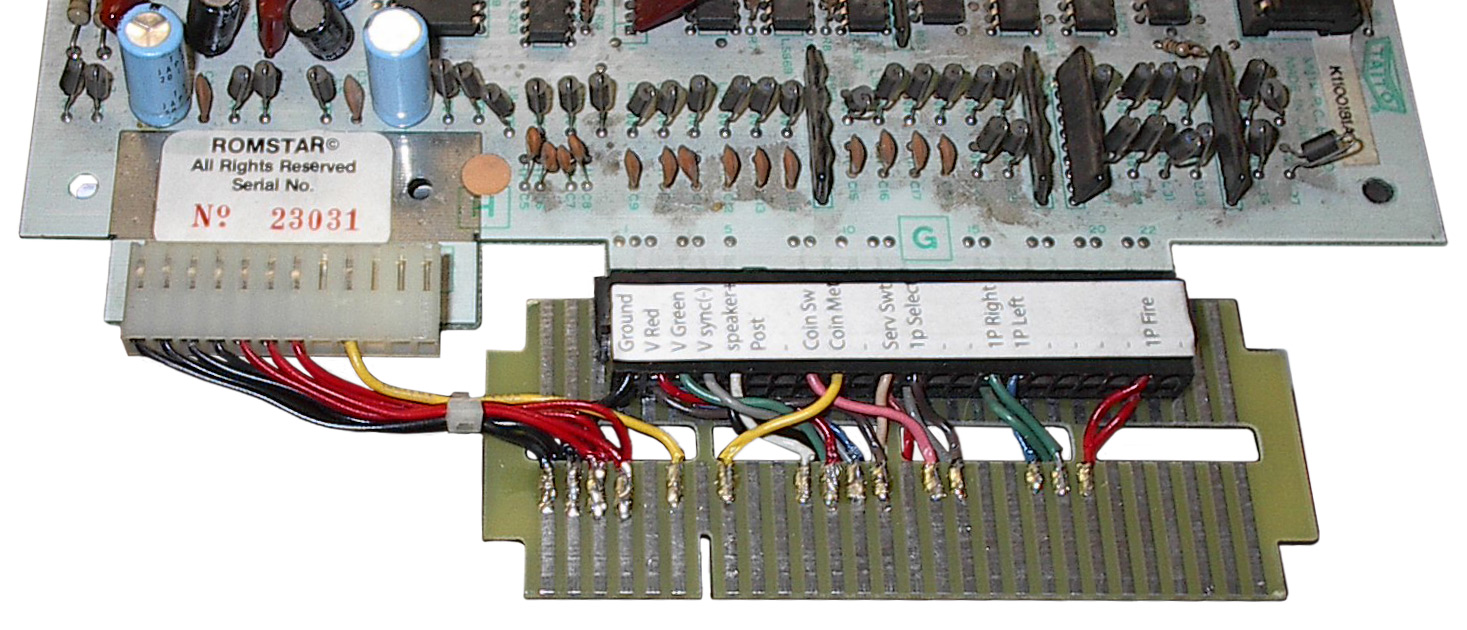
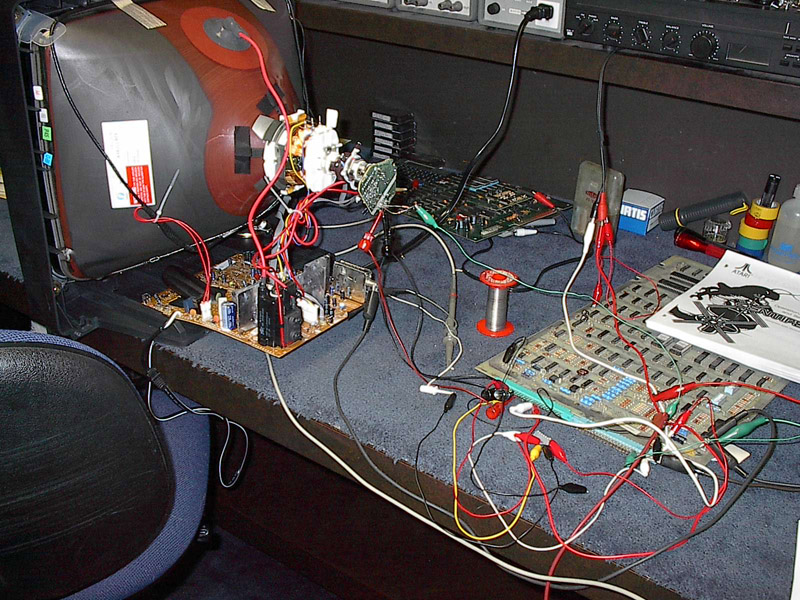
We fitted all of the cabinets with Jamma. This made it easy to swap games in and out if we ever needed to. The Arkanoid 1 PCB needed a custom Jamma adapter whereas Arkanoid 2 comes with a Jamma connector as standard. I build a converter board for my Arkanoid 1 PCB so I could quickly switch between Arkanoid 1 and 2.
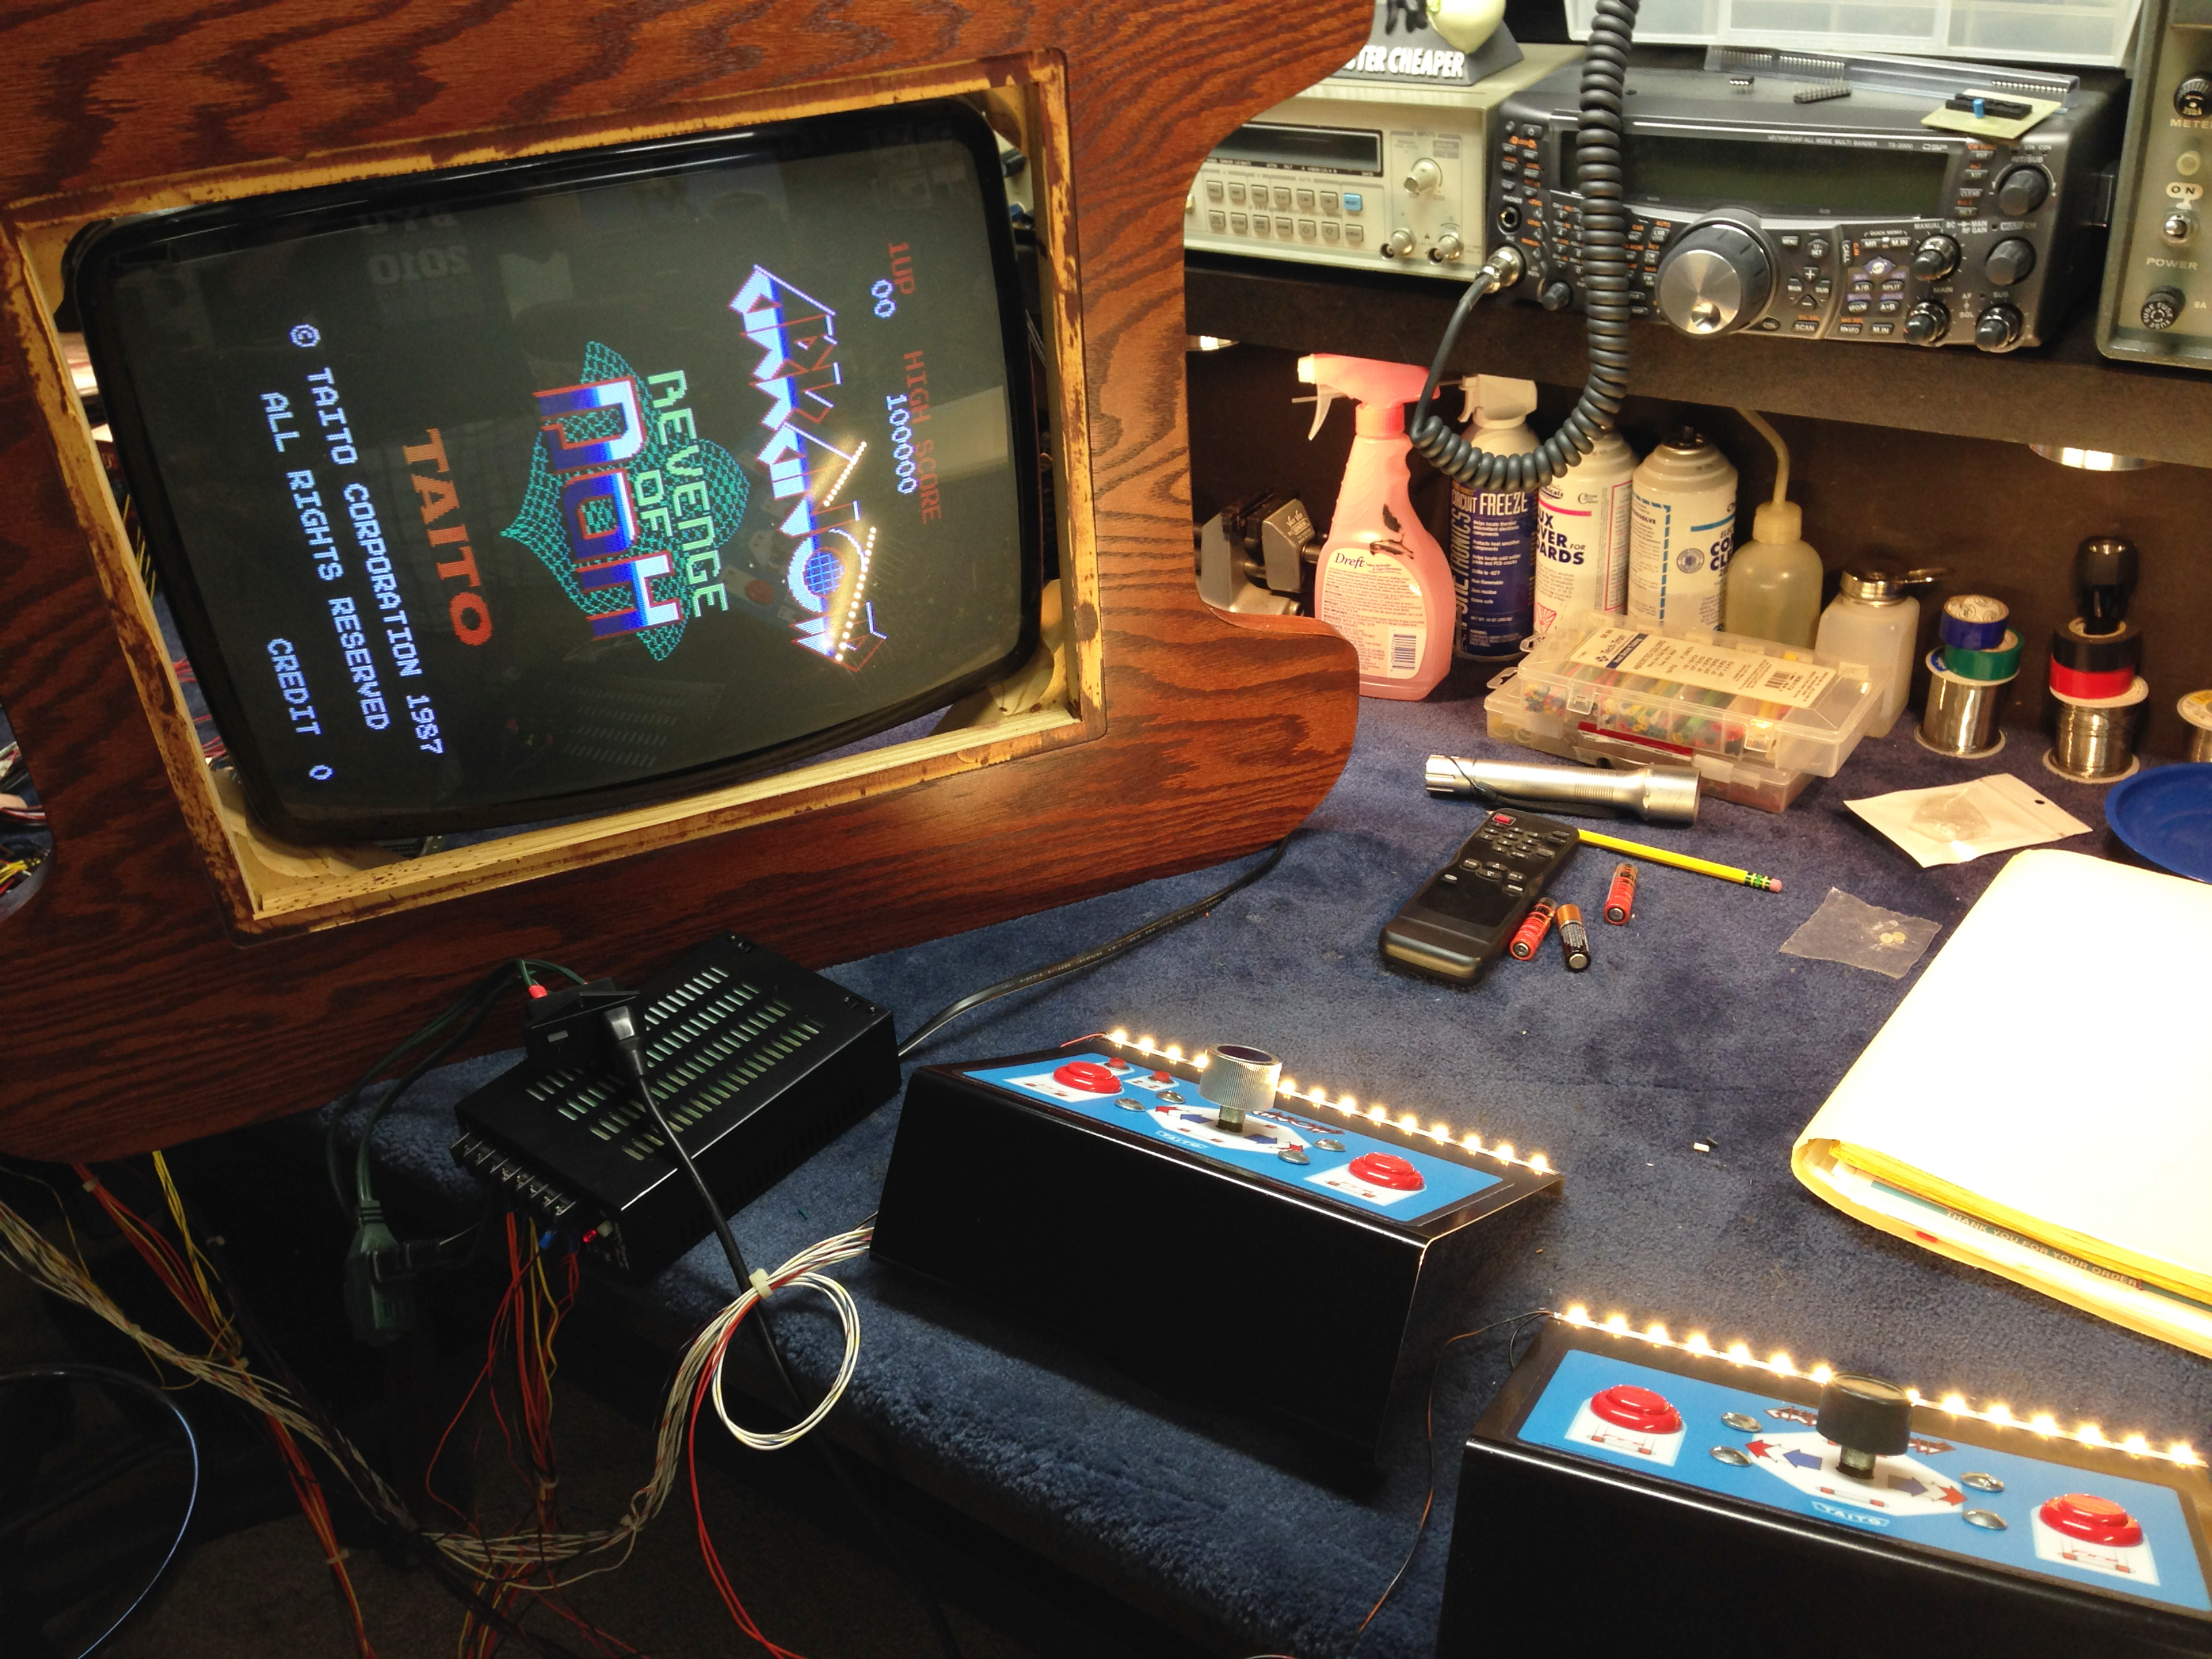
I spent about an hour putting all the connectors on the wiring harness, and hooking up all the controls, power, and monitor. I hooked it all up on the bench, and verified that everything worked, and it did! Another change I made was using an LED strip for the panel illumination instead of bulky, hot incandescent lights.
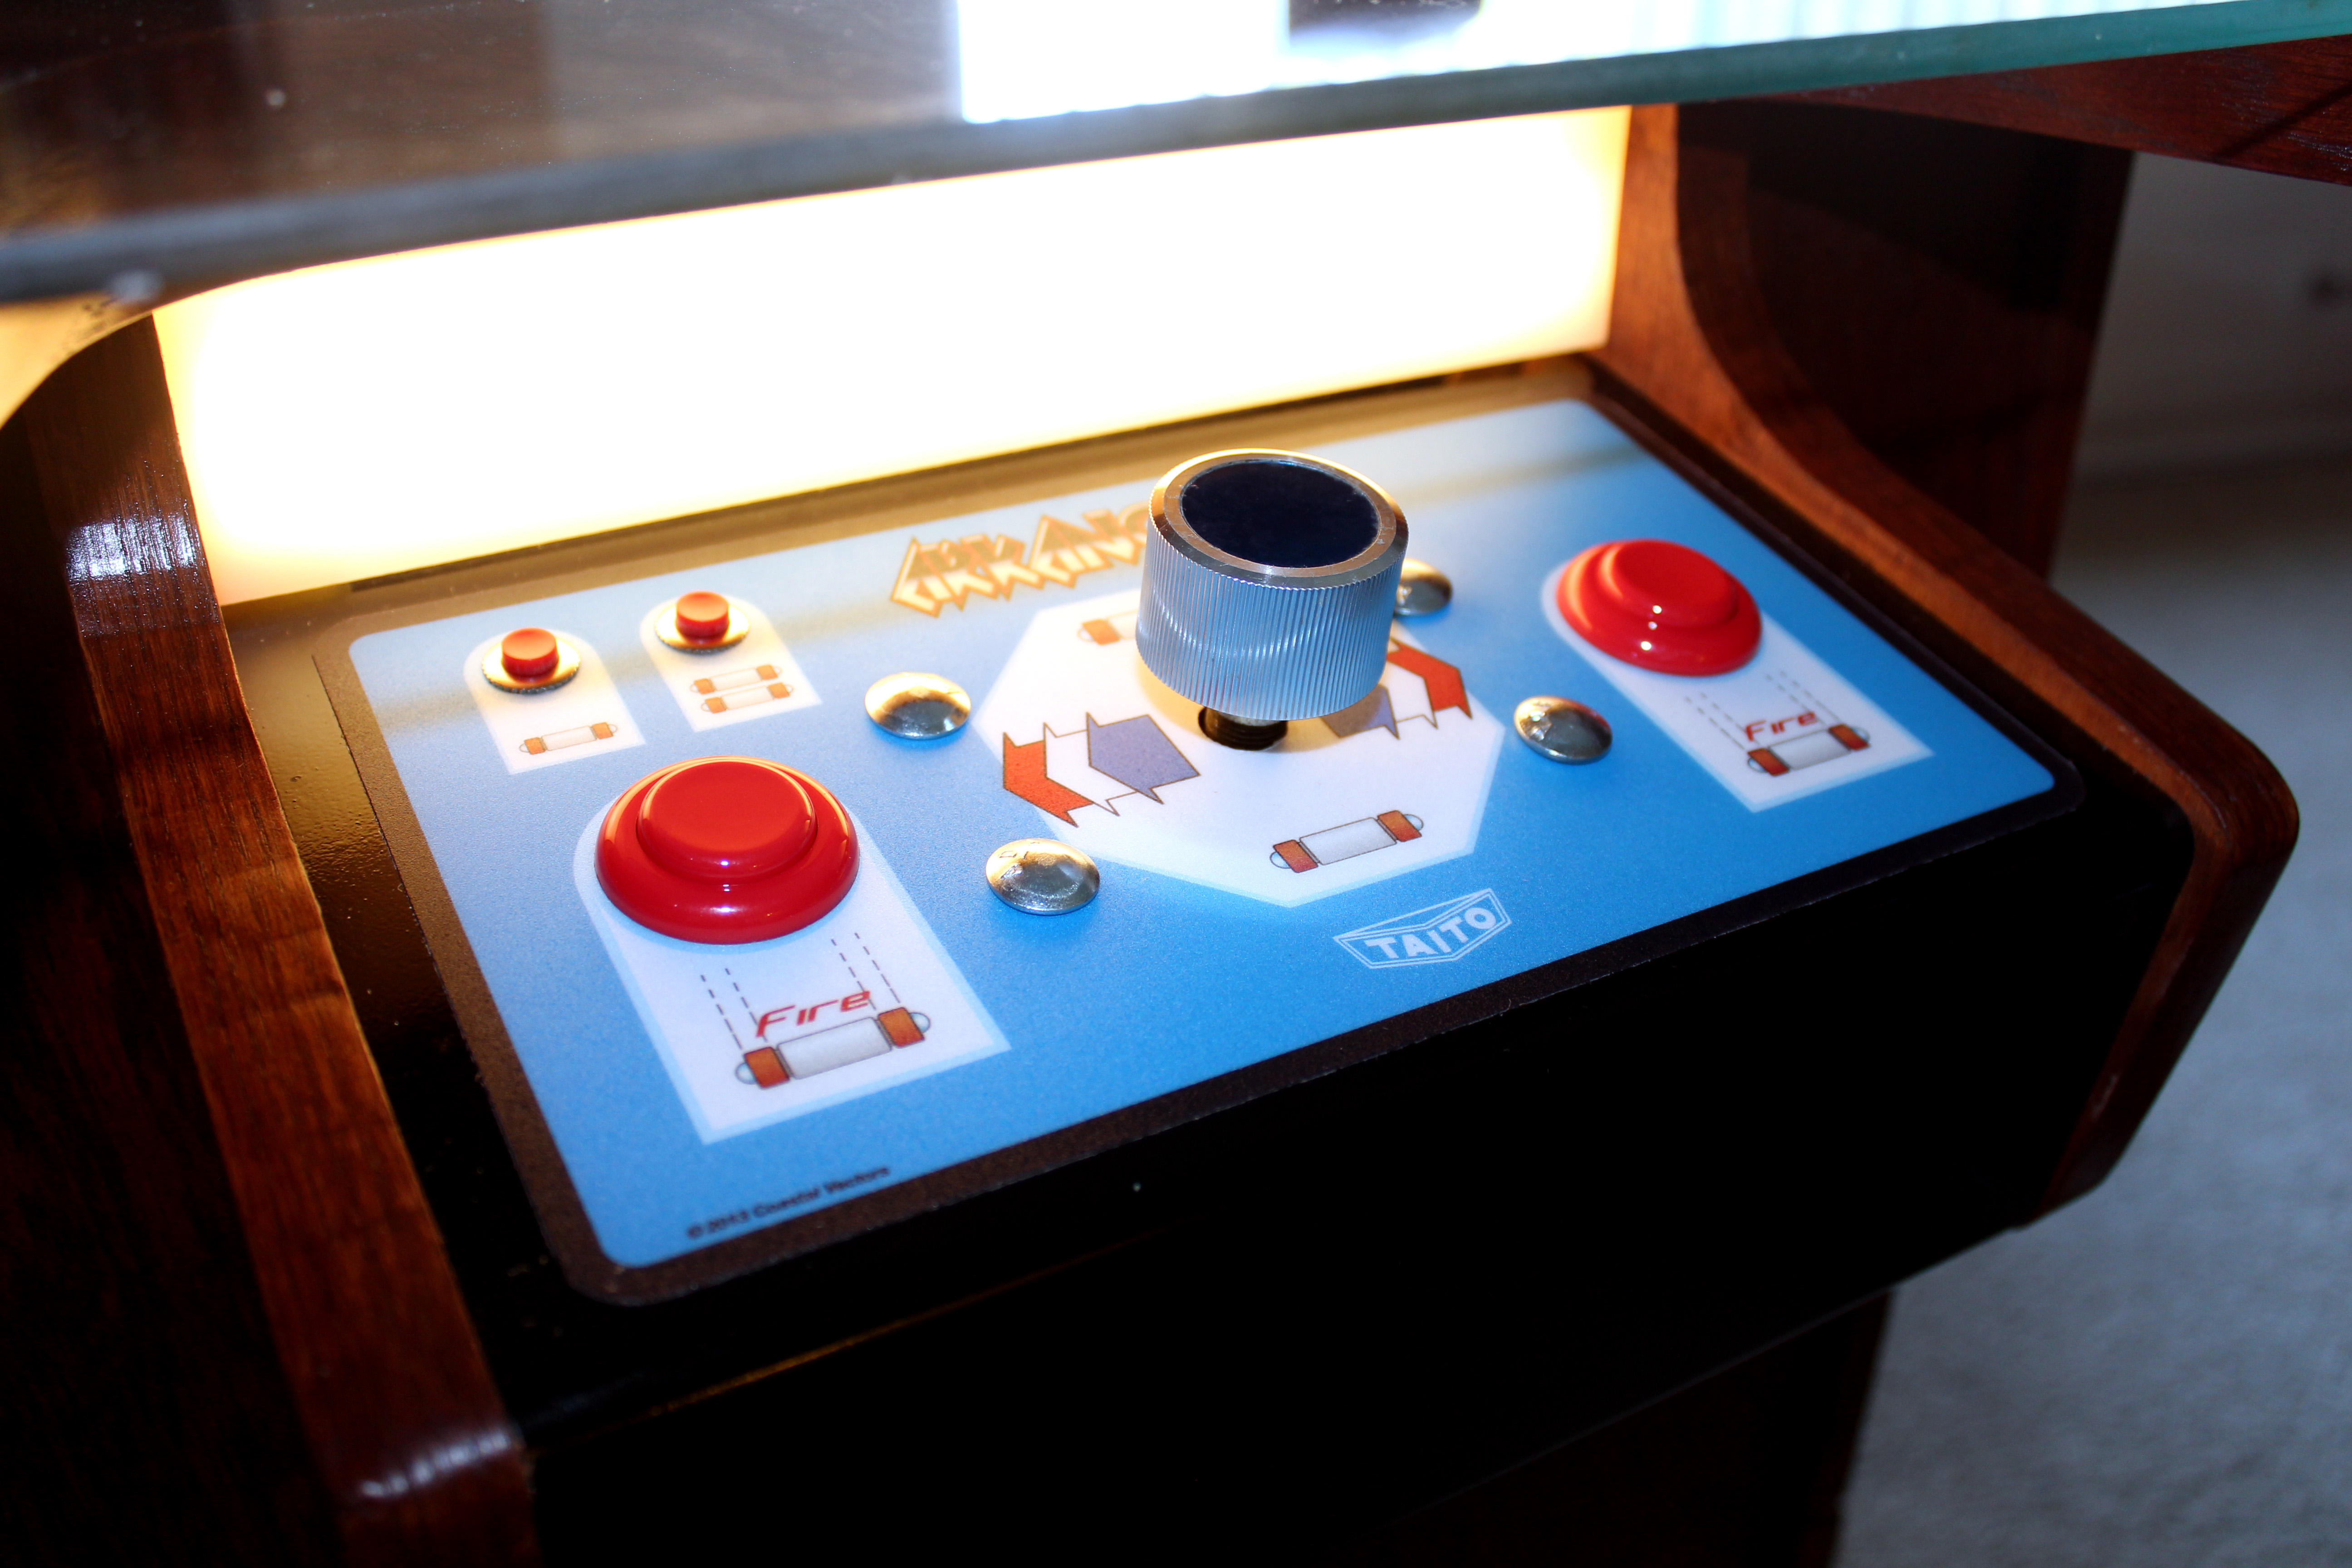
The control panels are made from sheet steel. I had a friend who works in a metal shop who bent them on his brake for me. I then drilled all the holes using a template I made in Illustrator based off of the design I had printed, and drilled the holes on a drill press. It was panted with black lacquer, and then I carefully placed the CPO sticker on. That was the most nerve wracking part!
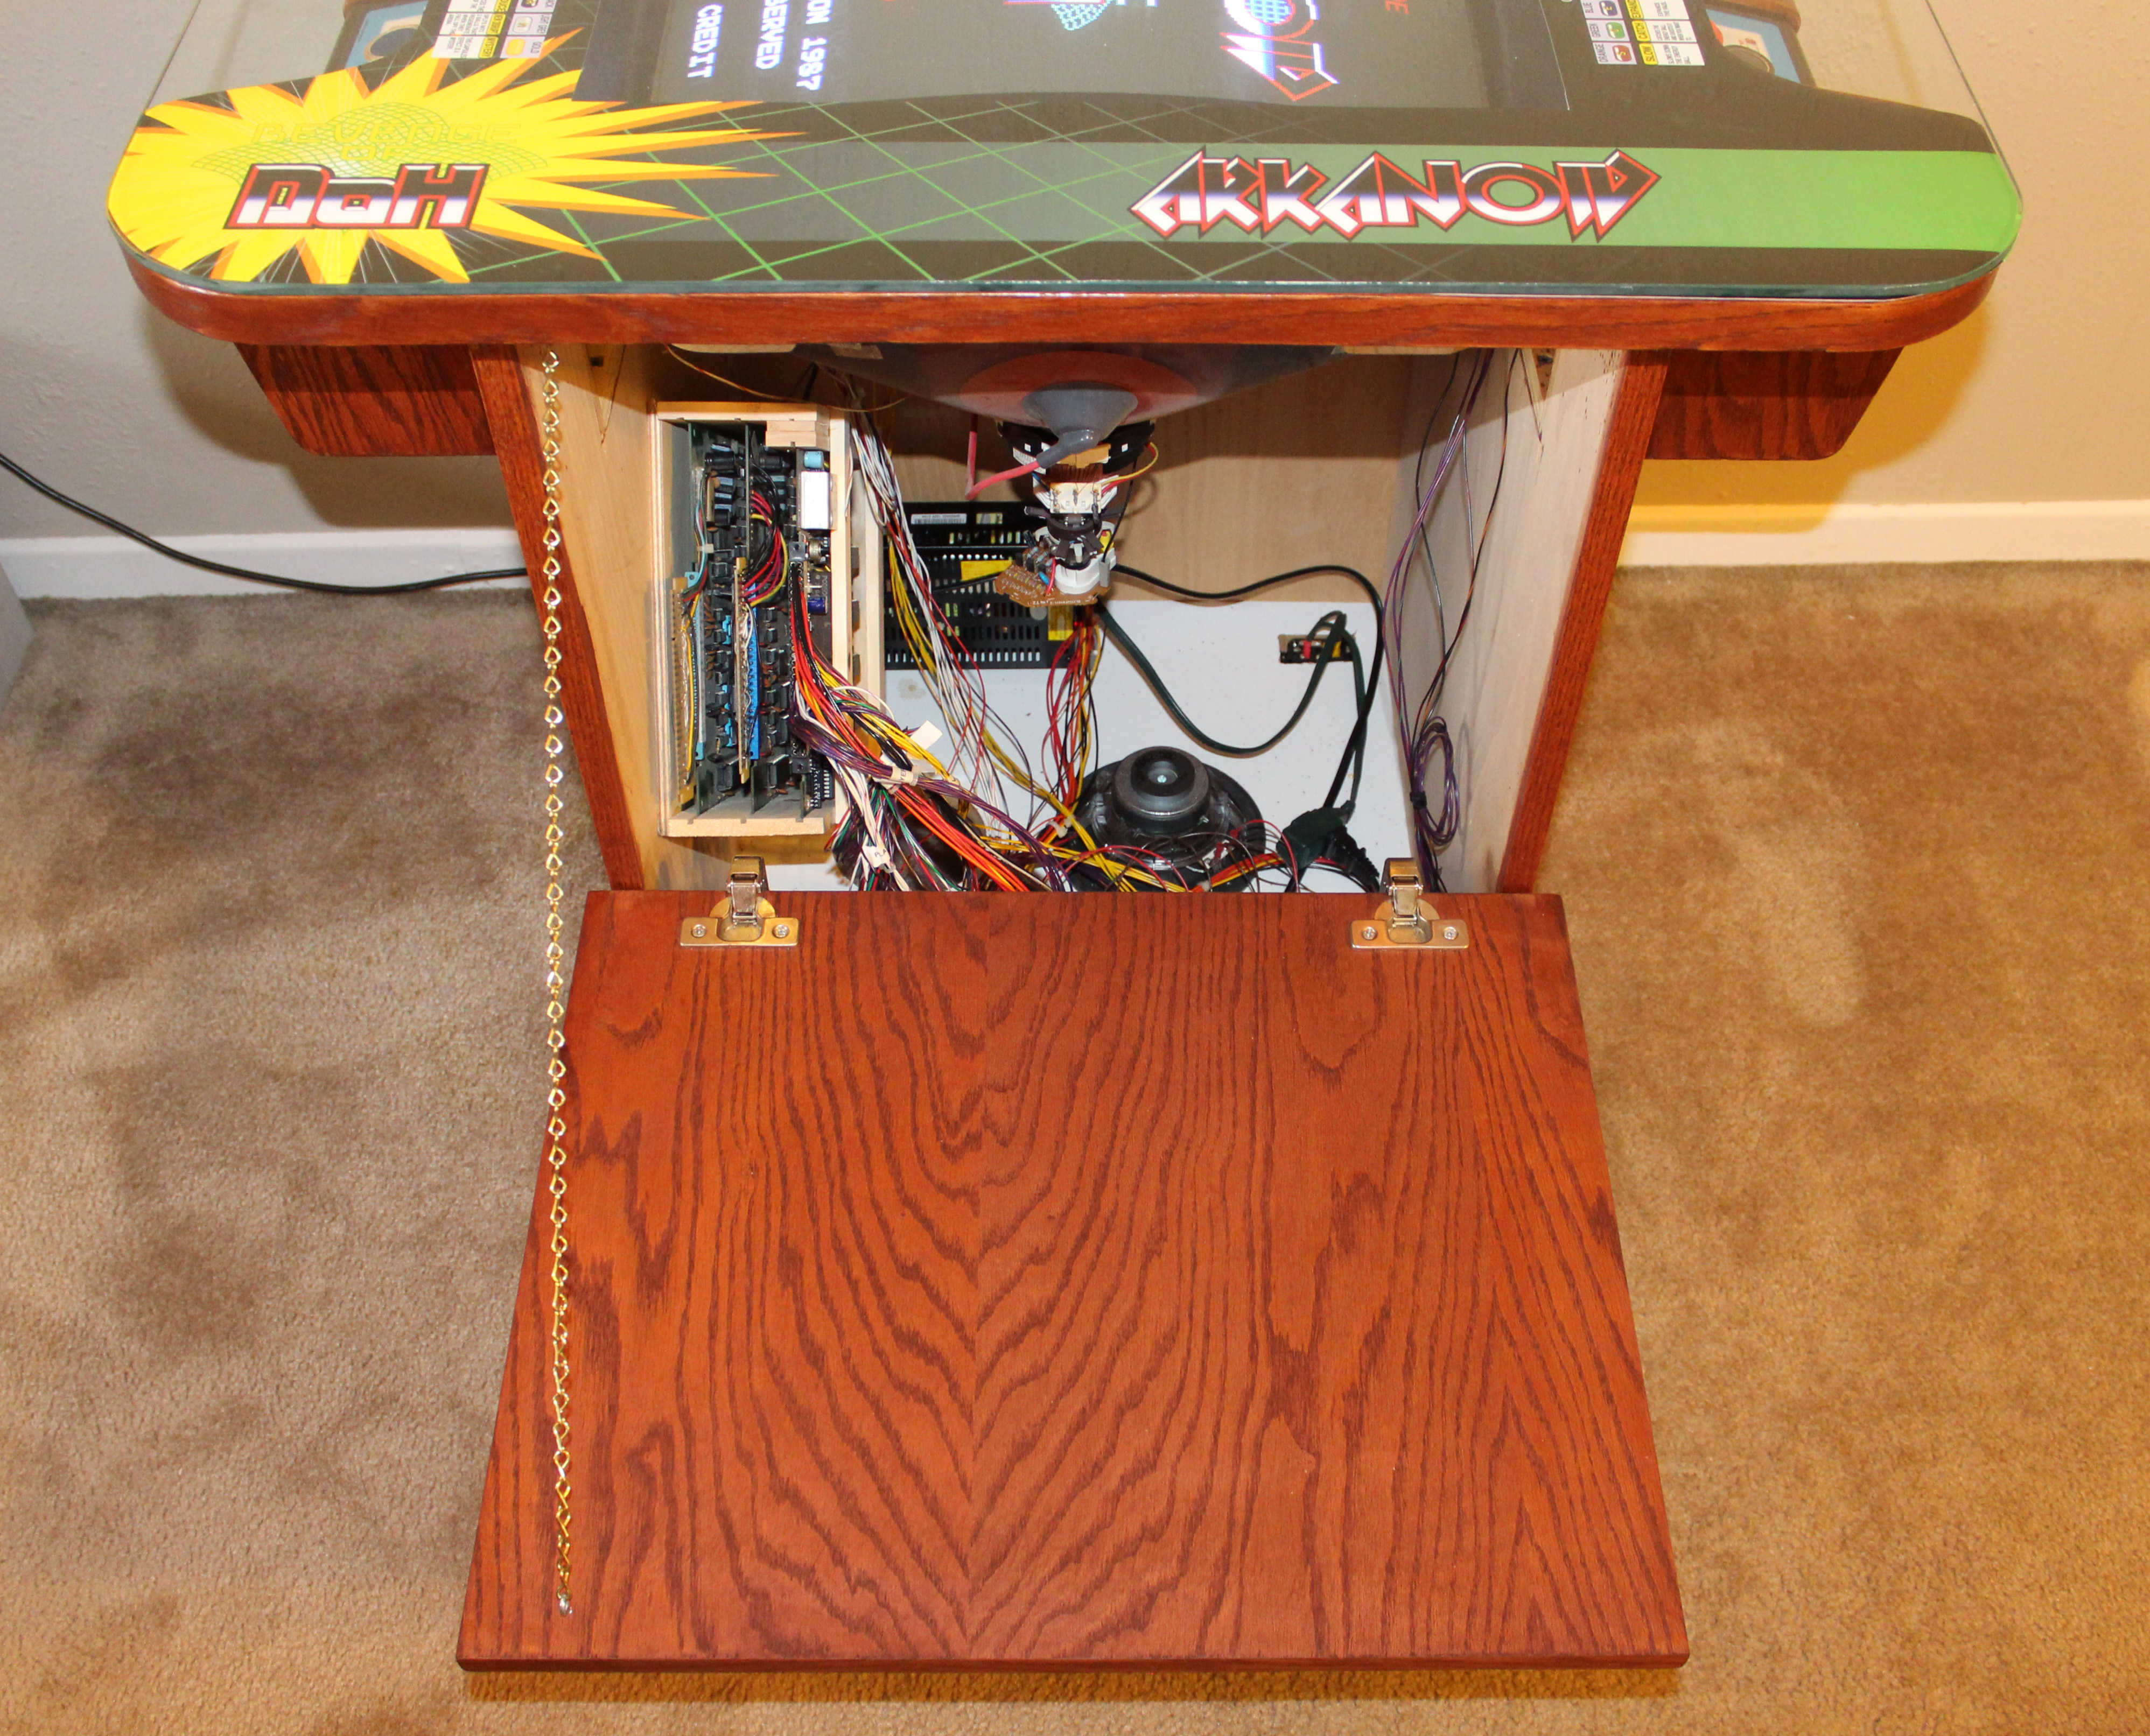
Once I had all the electronics working, and ready to go, all that was left was to stick it into the box. I made a little box that you can see on the left for holding the PCBs. It fits 3; Arkanoid 1, Arkanoid 2 and Tournament Arkanoid. Everything fit like a glove!
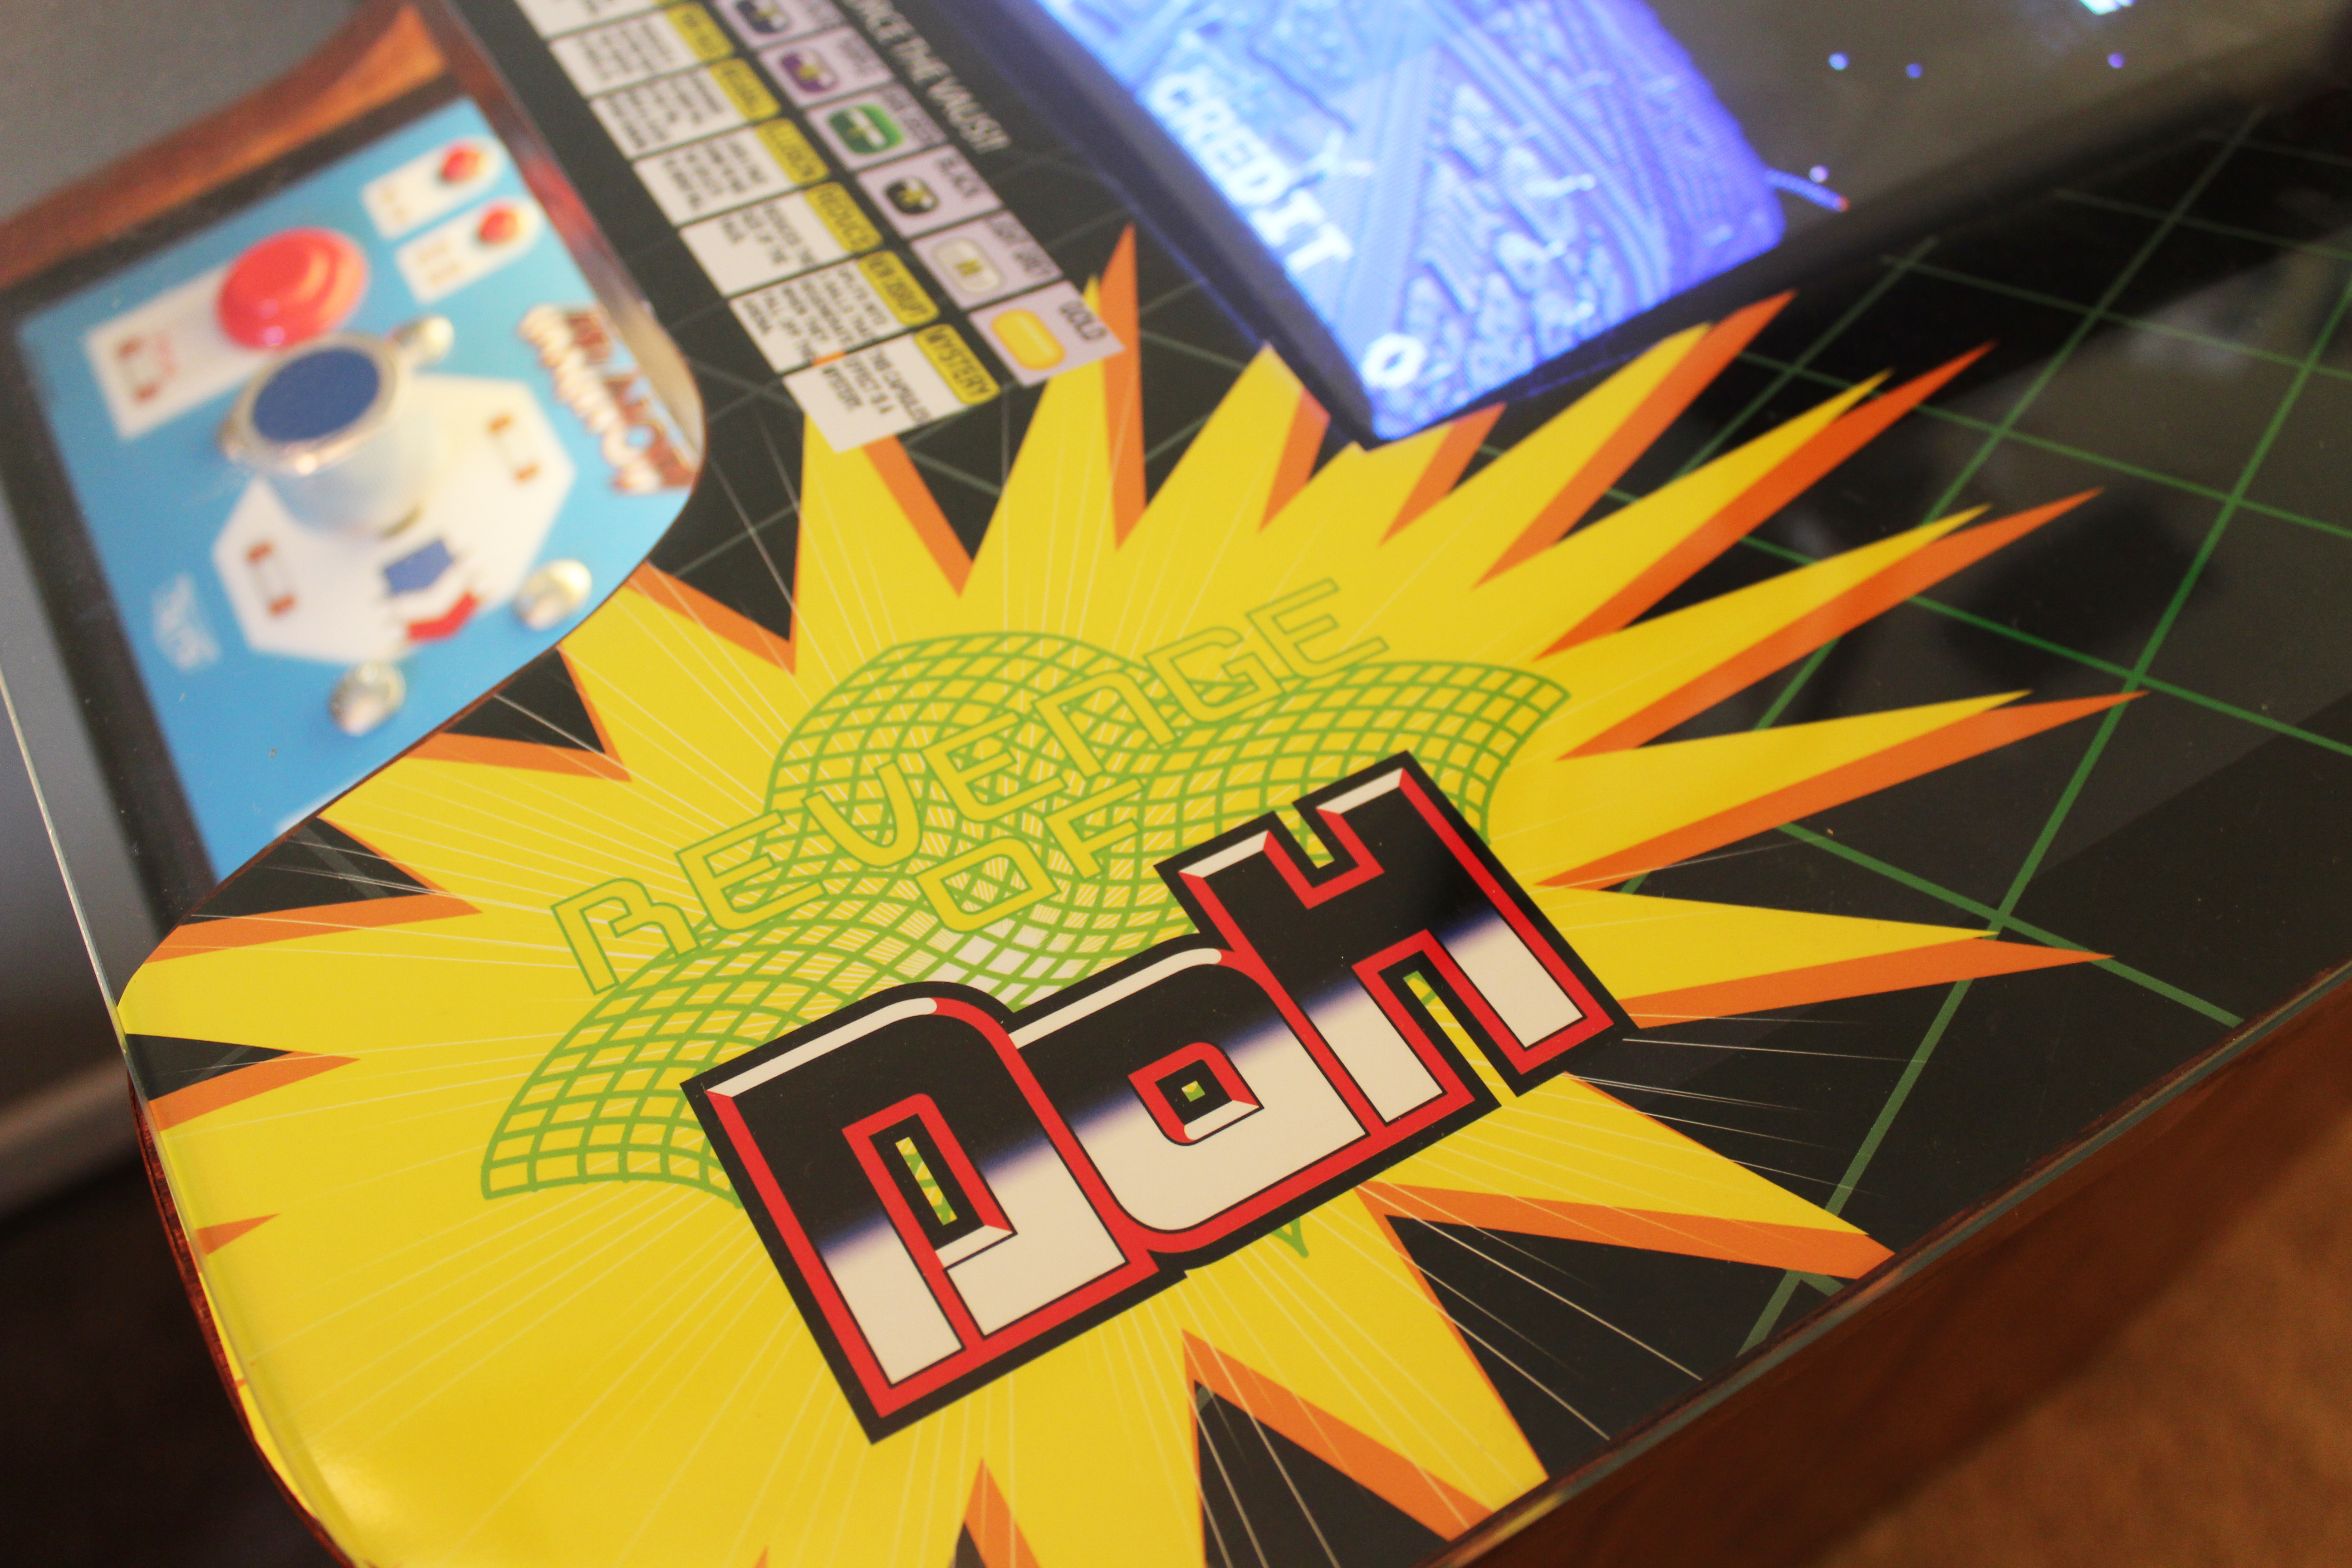
I made some top artwork a while ago in anticipation of this project. The design was meant to be retro, and a little cheeky. I’m not sure that will be a permanently displayed… It was printed on a friend’s large format printer, and then I cut it out with an exacto knife. I have a new design that’s a little less in-your-face that I’m contemplating printing…
The Finished Product
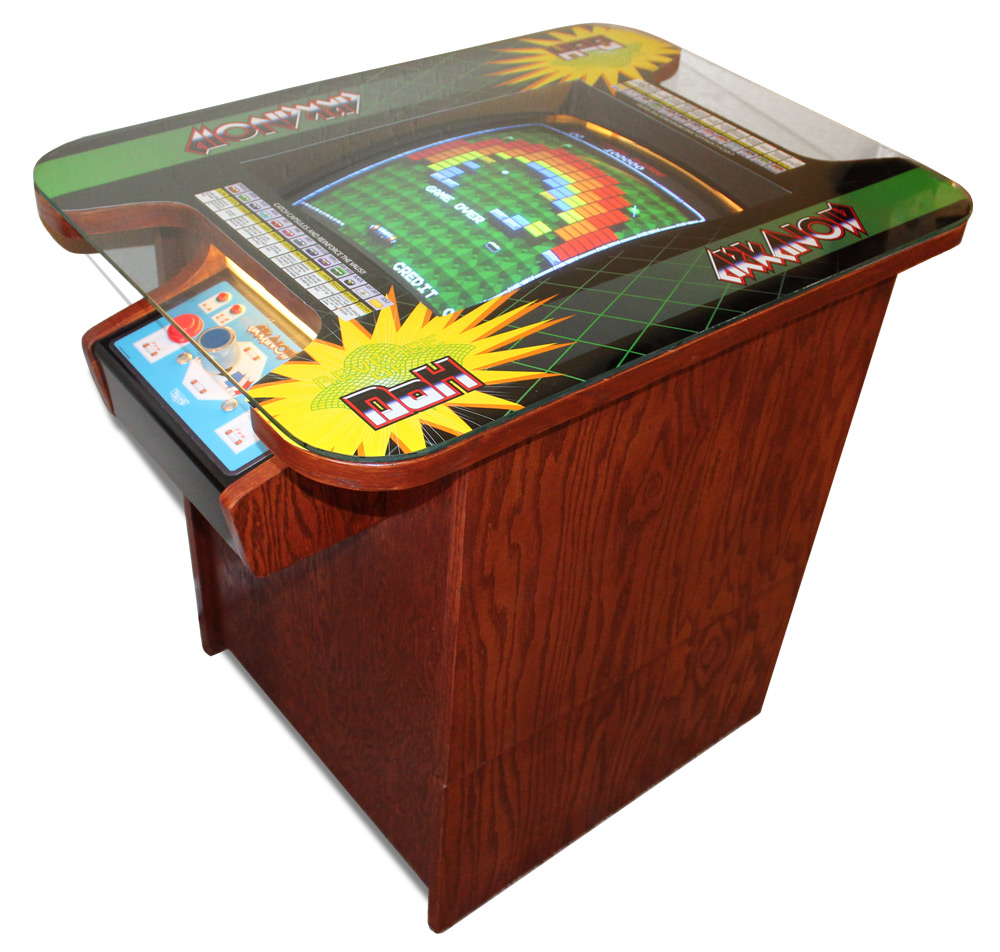
All-in-all, the cabinet turned out great. I’m very pleased with the look of the cabinet, as well as with the game itself. I quite enjoy Arkanoid, and enjoy having Arkanoid 2. It’s a little different but still familiar. I don’t think I’ll get tired of it soon.